Hello and Happy Tuesday!
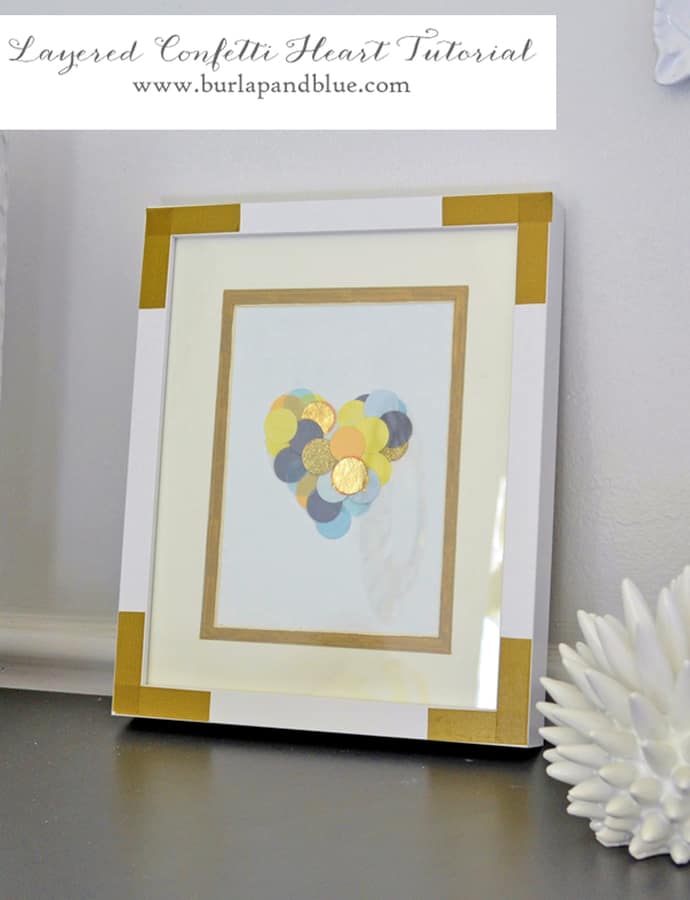
I’m currently working on sprucing up our bedroom, and I wanted an inexpensive piece of art to display on our dresser. I LOVE the confetti trend that’s out there now–it’s fun, it’s festive, and, most importantly, even a non-artist like myself can do it, so I came up with this simple, mod podged confetti heart! Keep reading for the how-to!
Materials:
Mod Podge
3/4″ circle punch
scrap paper
5×7 flat canvas
foam brush
frame (used this Ribba frame from Ikea)
gold Sharpie (optional)
washi tape (optional)
Step 1: Decide on your color scheme, and start punching out circles. I really love the contrast of using plain cardstock, vellum, glitter cardstock and gold foil sheets. You can also do this with patterned paper or wrapping paper! I used approximately 30 circles for my heart, of course, you can always cut out more if you need to.
Step 2: Now I’d love to be one of those people who could freehand a perfectly shaped, symmetrical heart..but I’m not. So I cut out a heart out of scrap paper, and traced it onto my canvas. Obviously, feel free to freehand it if you’re more talented than moi. 🙂
After tracing your heart, apply a layer of Mod Podge and start adding and layering circles. I started with the heart’s perimeter and worked my way to the center.
Step 3: Once dry, apply 2-3 layers of Mod Podge to seal, allowing your canvas to dry well in between coats.
Step 4: And you’re done! But if you want to take your craftiness a step further and add some glam to your plain jane picture frame, just grab a sharpie and add a border around the inside of the mat like so…
I also took washi tape and created some pretty decorative corners around the corners of the frame.
Have a lovely day!