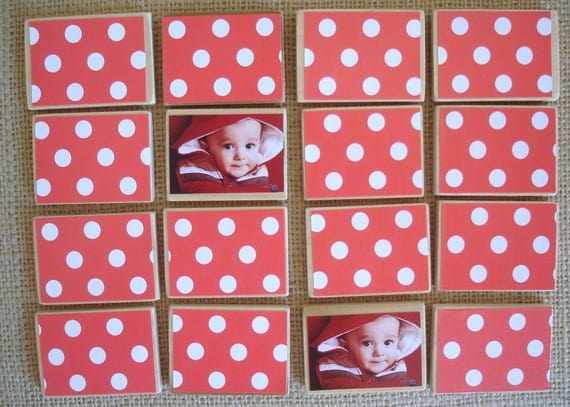
I’ve received several requests lately for a personalized matching game tutorial…so here it is!
They are a (little) bit of work, but make a fun gift for the little ones in your life-children love seeing pictures of themselves!
The materials are simple. You’ll need:
- Pictures resized to approximately 1.5″ x 2″
- Mod Podge Matte
- Mod Podge Hard Coat
- Scrapbook Paper
- Wooden Tiles (find some here or cut your own)
- Foam Brush
Step 1:
Step 1: First, decide on the size of your tiles. My husband cuts our tiles himself, but, if this isn’t an option for you, or you want to save a bit of time, you can find pre-cut tiles on Amazon.
Cut your scrapbook paper to fit your tiles, and use your Mod Podge Matte to adhere paper to tiles. Repeat for each tile.
Step 2: This is where it might get a bit tricky…you need to take your photos and reduce them to 1.5″ x 2″. I use Photoshop Elements to do this; here is a screenshot of what I do…
I leave the Pixel Dimensions as is, and change the Document Size to the measurement that I want. There are lots of online tutorials, depending on which editing program you use. Next, print out your mini-photos and Mod Podge them to the back sides of your wood tiles.
Step 3: Allow both sides to dry well, and apply several coats of the non-toxic sealer of choice (Mod Podge makes a Hard Coat sealer that is perfect for this)!
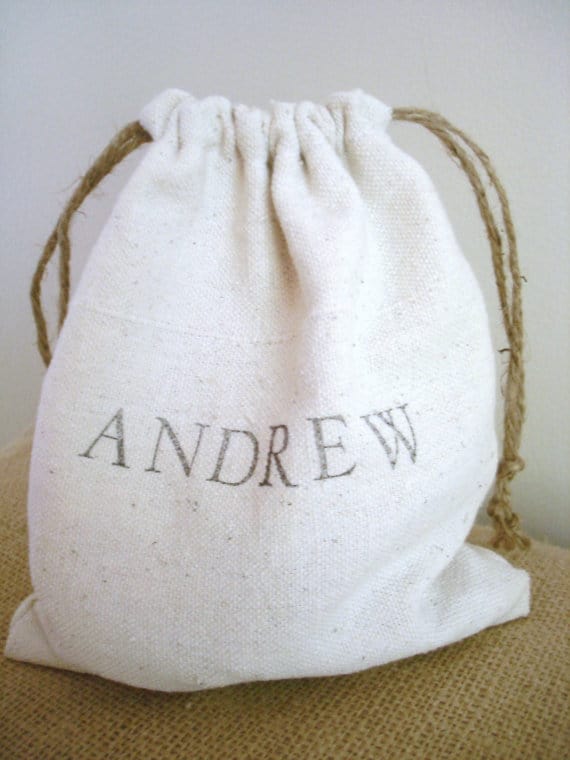
Insert pieces into cute bag of choice….
…and gift away!
That’s all there is to it! The little people in your life will LOVE this, take my word for it.
Thanks for reading all about my kids’ matching game! Have a crafty day!
Happy Gift Giving!


take m y a
Tuesday 26th of June 2012
Awesome website...
[...]the time to read or visit the content or sites we have linked to below the[...]…...
Lucy Jane
Monday 21st of November 2011
CUTE CUTE CUTE!!! (oh, and I love it!)
Alanna N
Monday 21st of November 2011
This is just fantastic! What a great idea for little kidlets, and the young at heart :)