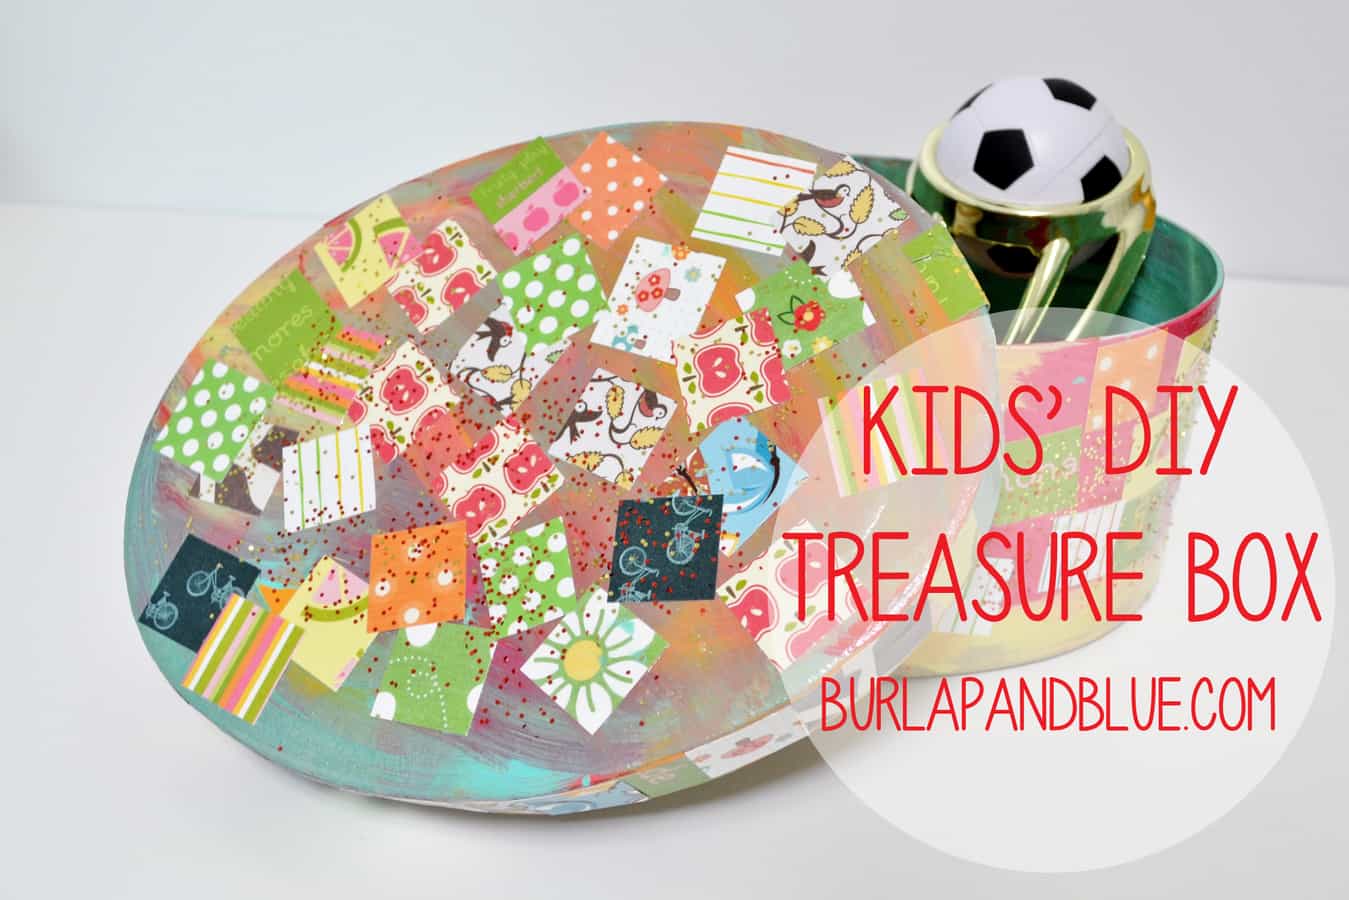
I don’t know about your kids, but mine? Mine are constantly finding and bringing home “treasures” that they just can’t seem to part with. The question is then how to store these little gems so that they’re both accessible and contained at the same time. Enter this DIY Kids’ Treasure Box, not only does it do the hard job of storing all the things your kids cannot do without, but it’s also a great craft project to complete together.
Materials:
Mod Podge
paper mache box (ours is from Hobby Lobby, and comes in lots of different sizes)
foam brush
squares of scrapbook paper (tissue paper would work, too)
glitter
paint
Step 1: The first step is to gather some craft paint and a paintbrush (we used a foam brush), and paint your box. Let dry.
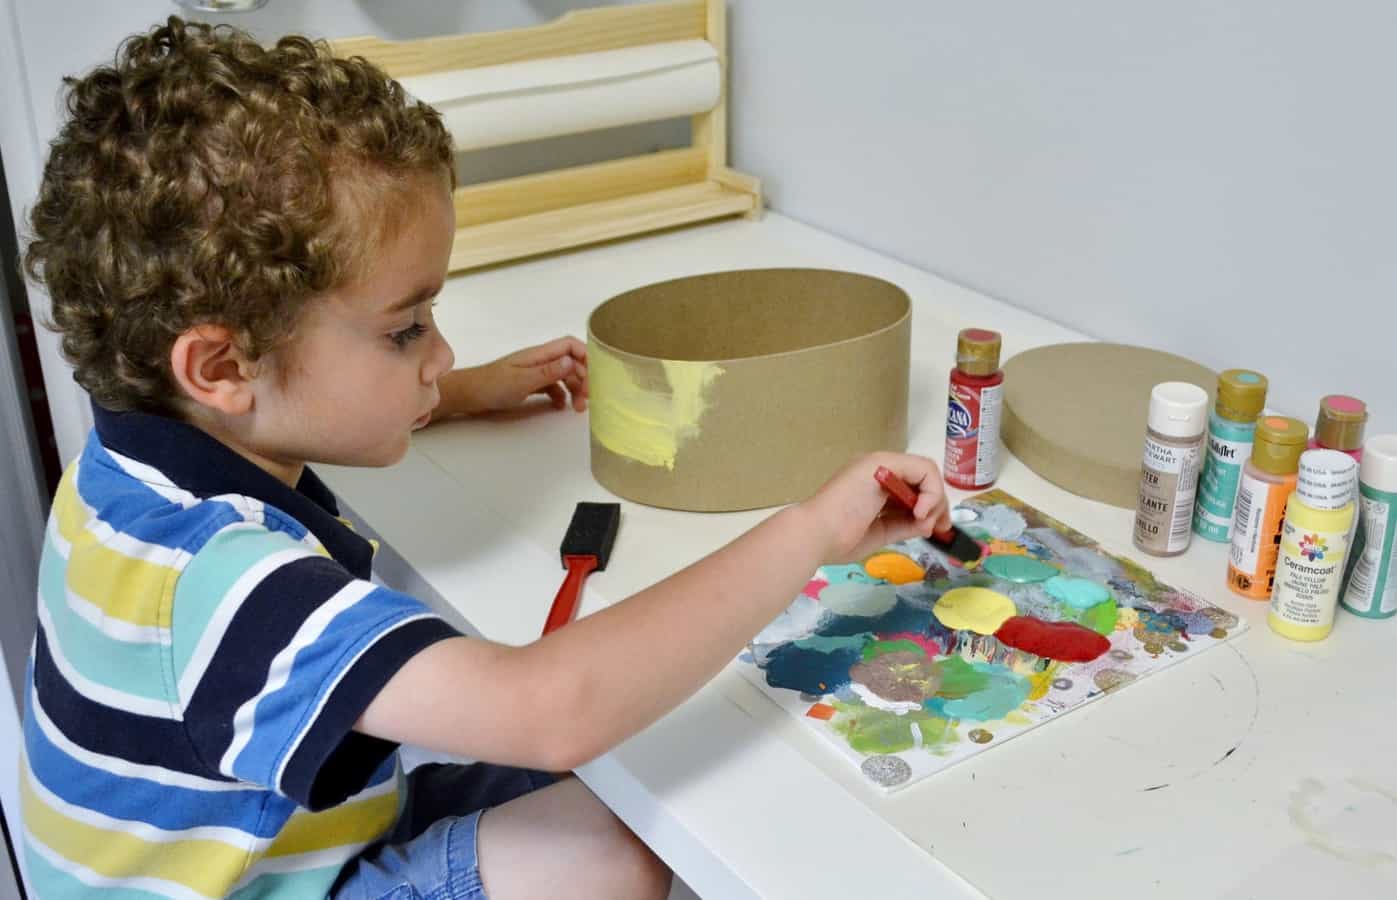
Step 2: Once your box is dry, it’s time for the real fun to begin. I used a paper cutter to cut scrapbook paper into 1″ squares, and my 5 year old had a blast painting Mod Podge onto the box and gluing down the squares (Ok, I’ll admit it-I had a blast doing it as well!) After squares are Mod Podged down, let dry. If you want to overlap your squares, you’ll probably want to go back and repeat the process. If not, let dry completely and seal with one or more coats.

Step 3: And because a craft project isn’t truly complete until we’ve made an absolute mess, it’s time to add some glitter! Brush on a light coat of Mod Podge, and sprinkle glitter onto the top and sides of your box (we used gold and red glitter for this step).

And that’s it! This was such a fun and easy project to complete, and having a “crafting partner” was a lot of fun, too!
Thanks for reading all about my Mod Podged Treasure Box! Have a great day!