Sharing 8 clever and cute stencils to create your own DIY front door mats! Perfect for crafters of all levels, these DIY front door mats are sure to add a dose of fun to your front porch!
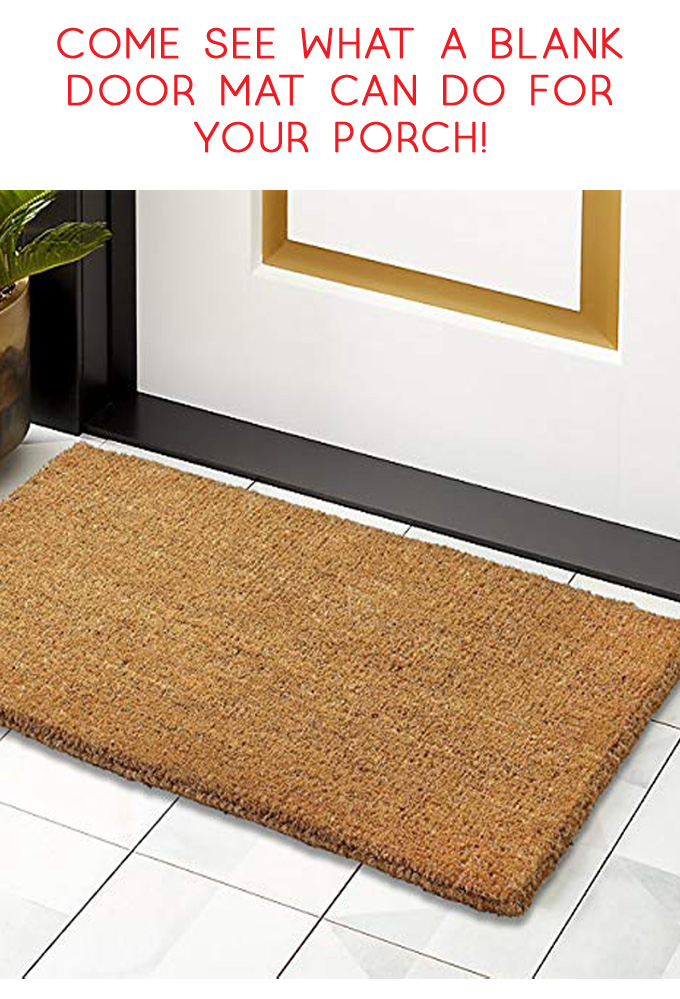
Your doormat is the first thing people see when they walk into your home. That being said, it should be a reflection of your personal style and/or sense of humor. While anyone can buy a doormat at the store, it’s much more personal if you make one.
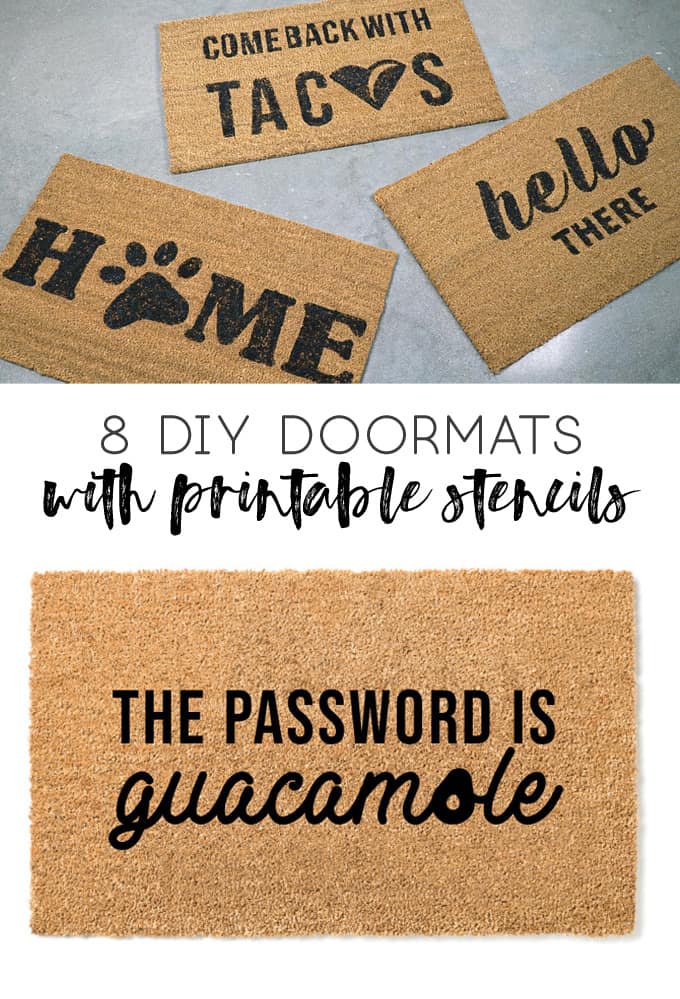
With this tutorial from Simply Self Storage you can do just that! It takes you step by step through the process of making your own DIY Doormat from start to finish. It also provides 11 printable stencils that you can use as your starting point.
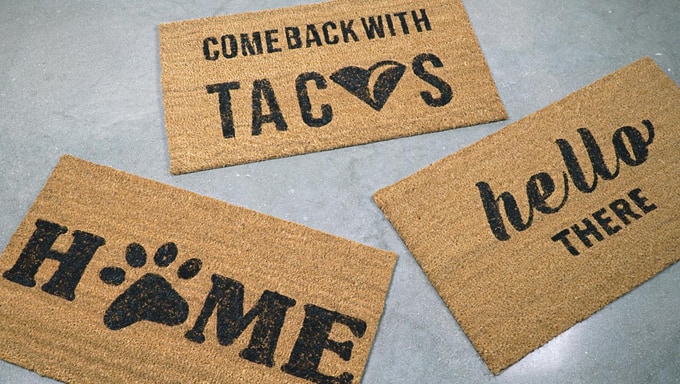
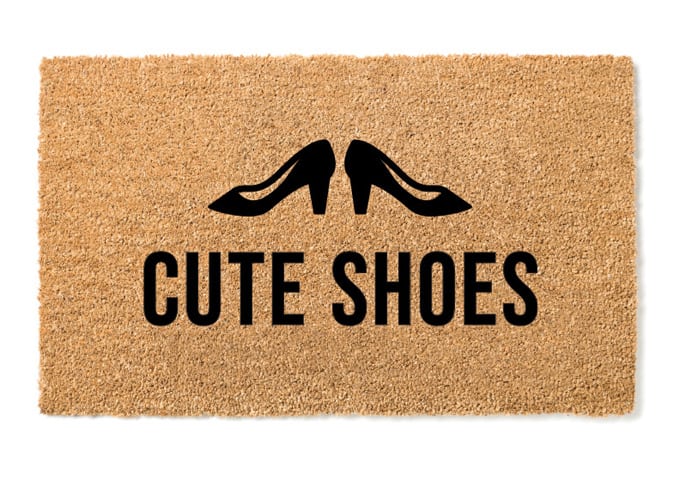
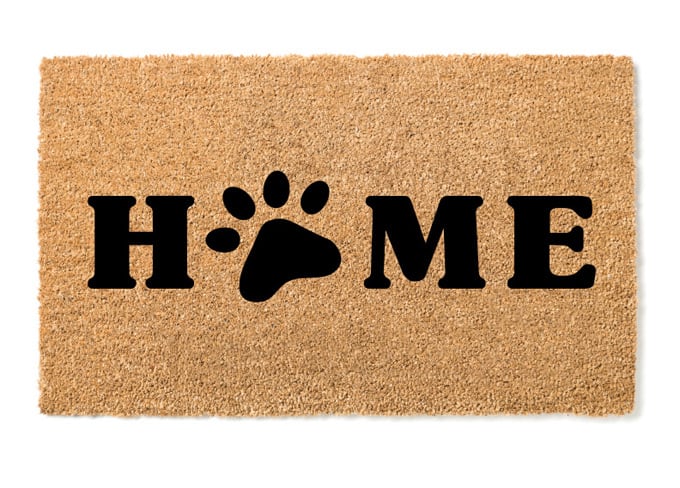
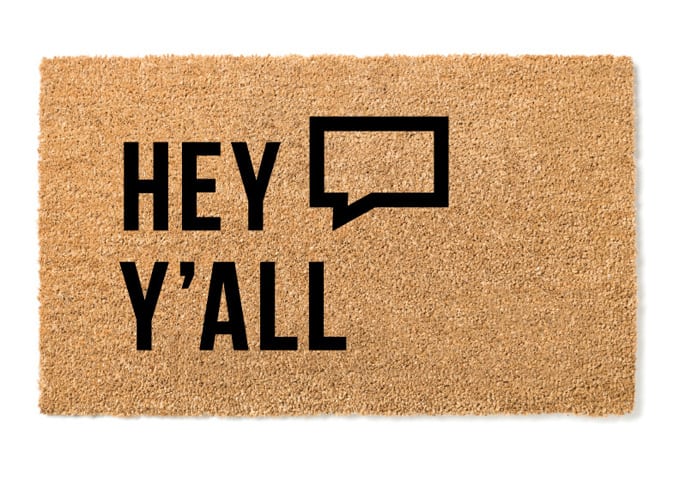
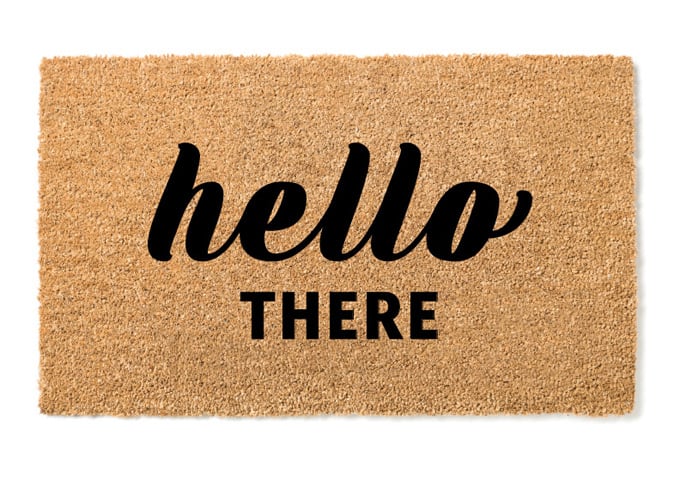
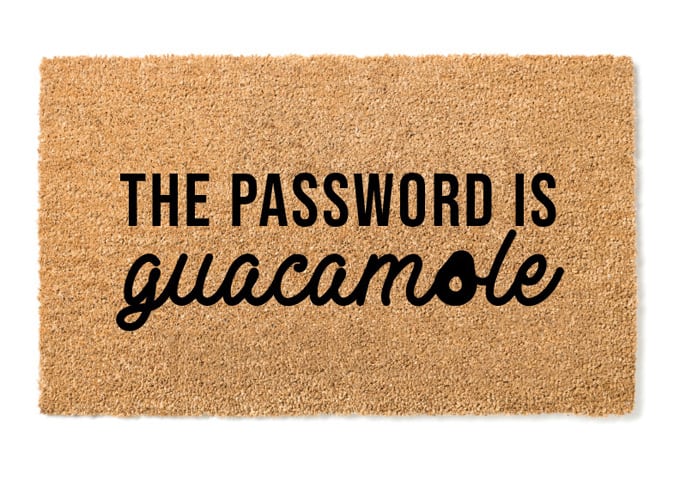
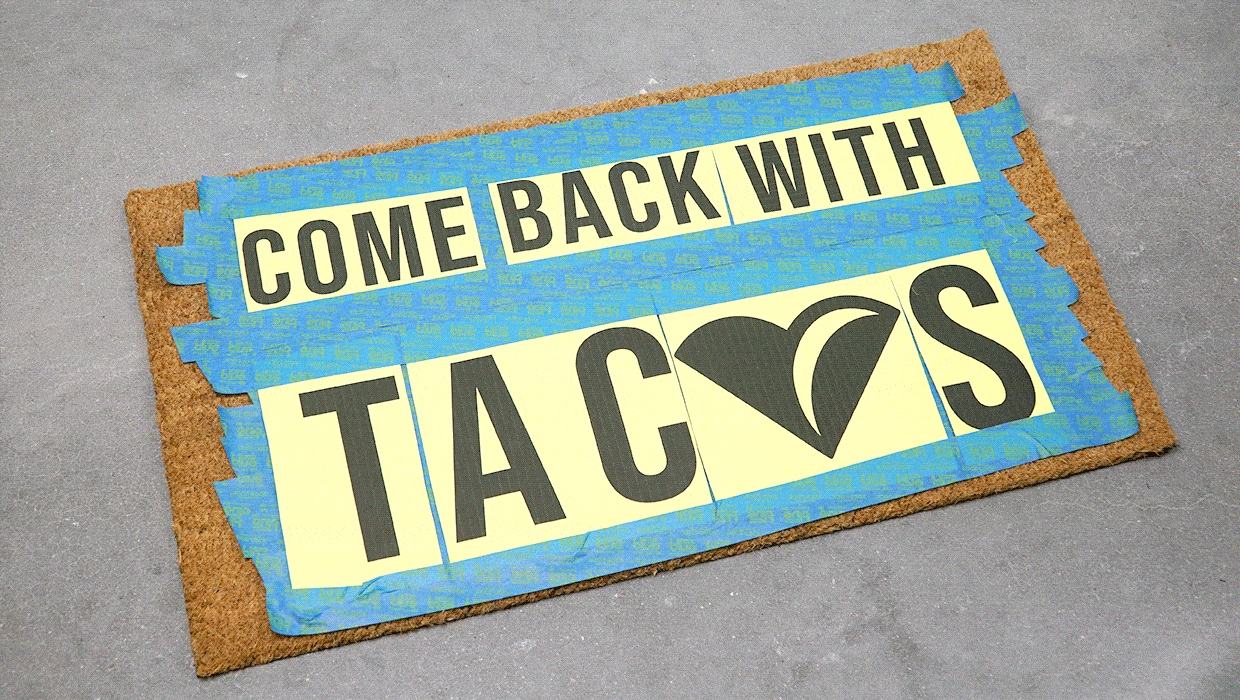
You can choose from options ranging from the traditional “Live Love Laugh” to more sassy expressions like “Hope You Have Wine”. One of our favorites is “Come Back With Tacos”, because who wouldn’t rather their guests bring a bunch of delicious tacos with them?
Choose the one that strikes your fancy and then gather your materials.
These don’t take too long to make, but they do have a small learning curve. I suggest starting out with a larger font design, and remember that straight, blocky edges will make it easier to cut.
With a few inexpensive supplies, you can make your very own doormat in a few easy steps. All you need are a few supplies, most of which you can purchase from Amazon or at your local crafts store.
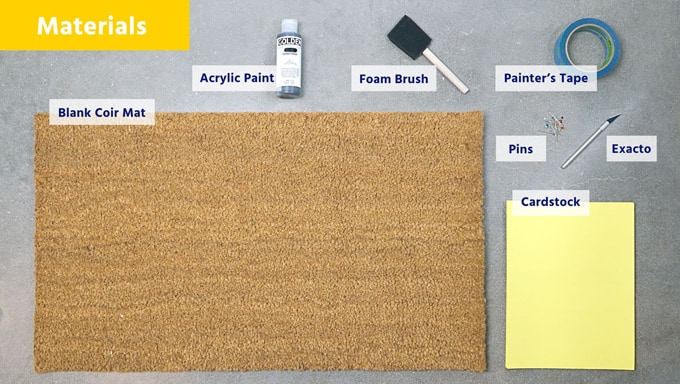
You will need:
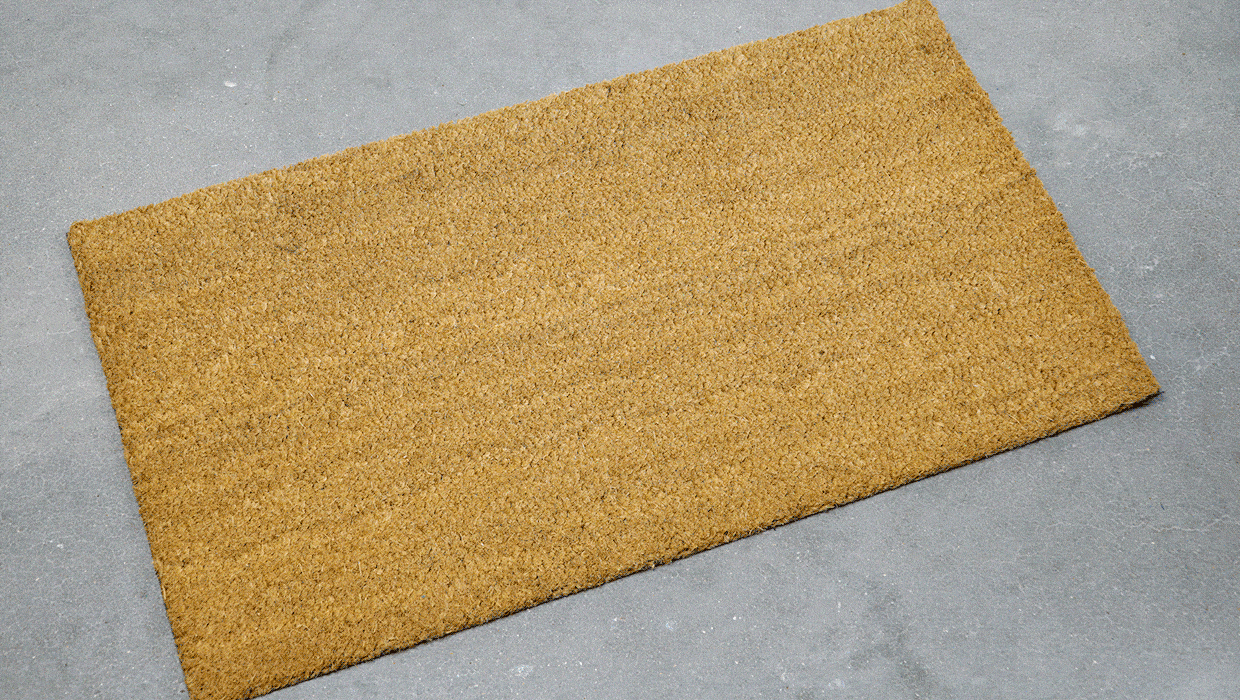
- A blank coir mat
- Outdoor acrylic paint (we used black)
- Cardstock (kudos if it can run through an inkjet printer)
- Exacto knives
- Foam paint brushes
- A stencil
- Painter’s tape
- Pins
- Printer access
Follow the steps below to make your very own!
1. Print Your Stencil
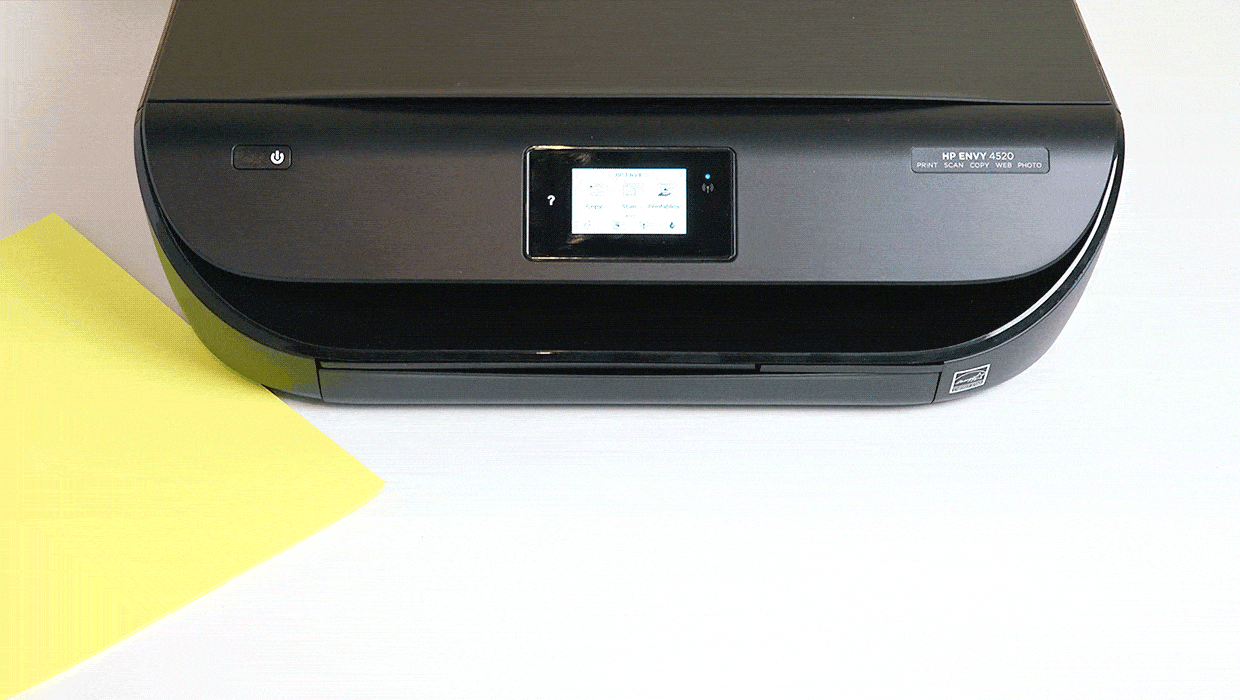
Once you choose and download your template, you will want to load your printer with printer-safe cardstock. The thickness of the cardstock will make it easier to cut the stencil out and will help it stay in place while you’re painting.
Choose from the following templates:


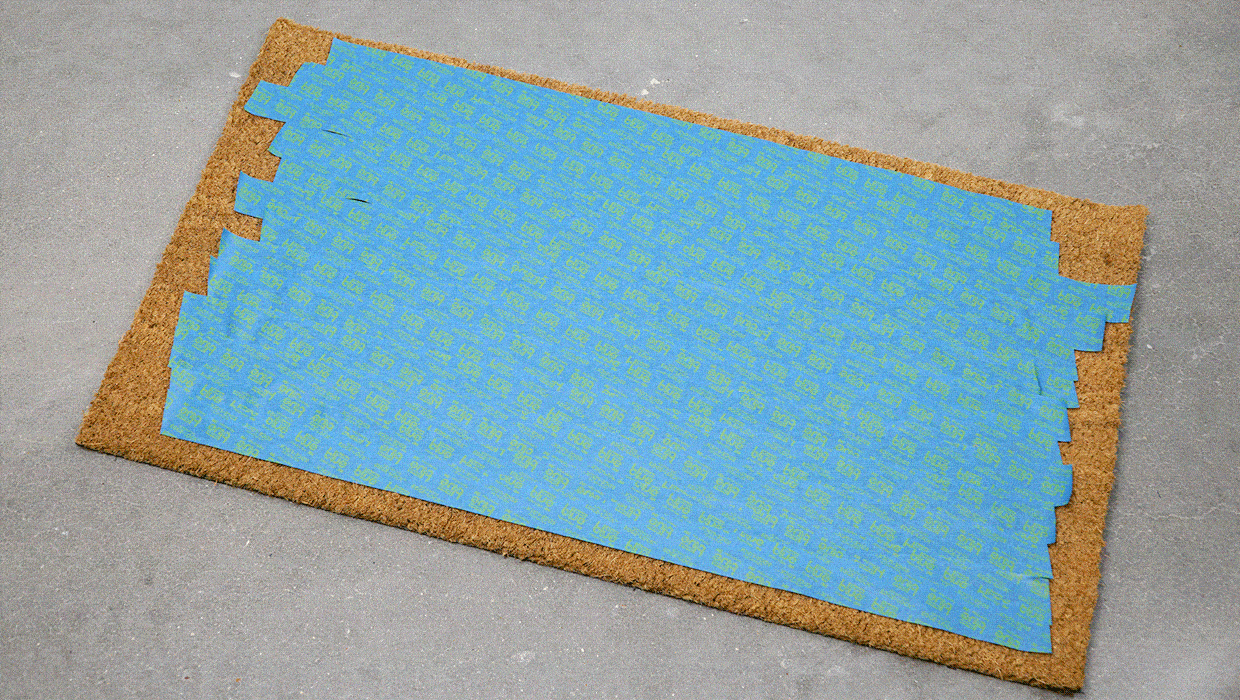
2. Secure Your Tape
Think about how you want your design to lay on your doormat. Our stencils are designed for an 18×30 inch standard doormat, although you can make them work with a slightly smaller or larger mat.
First, tape the area of the doormat that you want to decorate. Make sure that the tape is pressed firmly into the mat. You will want the edges of the tape to overlap and form a layer on top of your doormat. This will help prevent the paint from bleeding into unwanted areas.
Press the tape down firmly one more time, just to ensure it’s sticking.
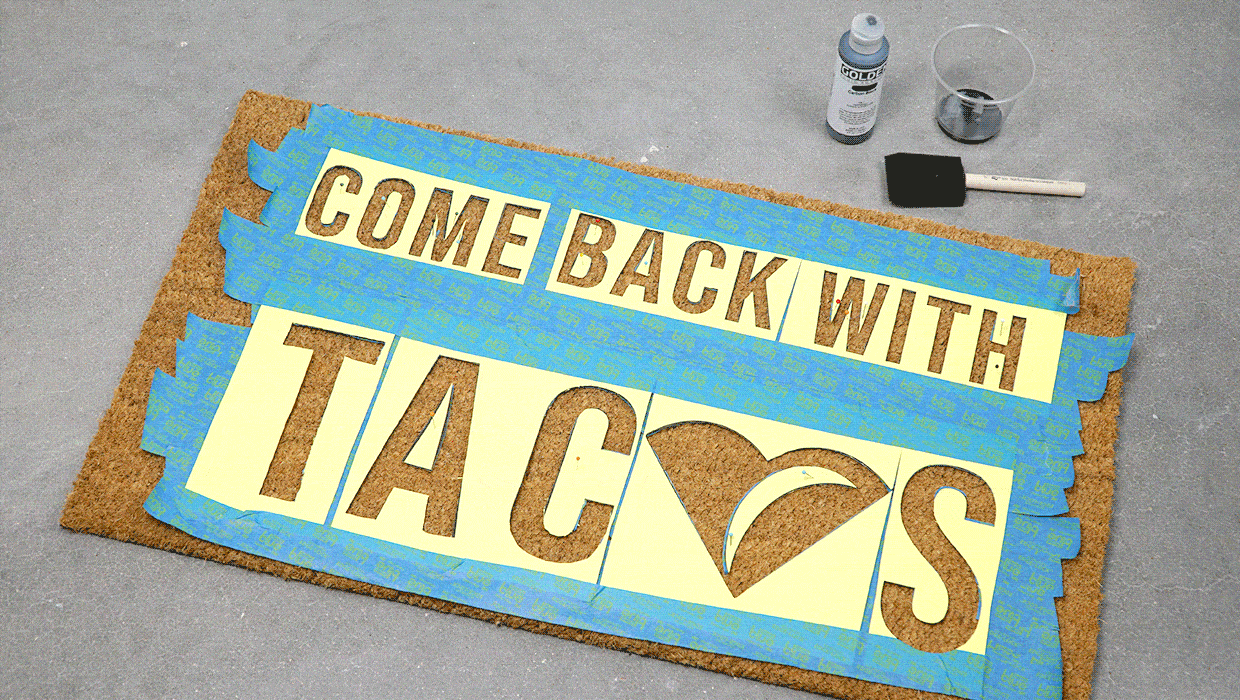
3. Place Your Stencil
After your tape is secured, it’s time to layer your stencils on top. Lay your design down on the mat exactly how you’d like it to appear when painted.
Secure the design to the mat using your pins. This will keep it in place while you are cutting out your stencil.
4. Cut Out Your Design
Once your stencil is in place you can begin using your exacto knife to carefully cut out the letters of your printed template. Be extra careful with letters that may have tight spots or designs that have thin fonts.
Using a sharp, new blade is helpful here. Cut through the cardstock as well as the tape.
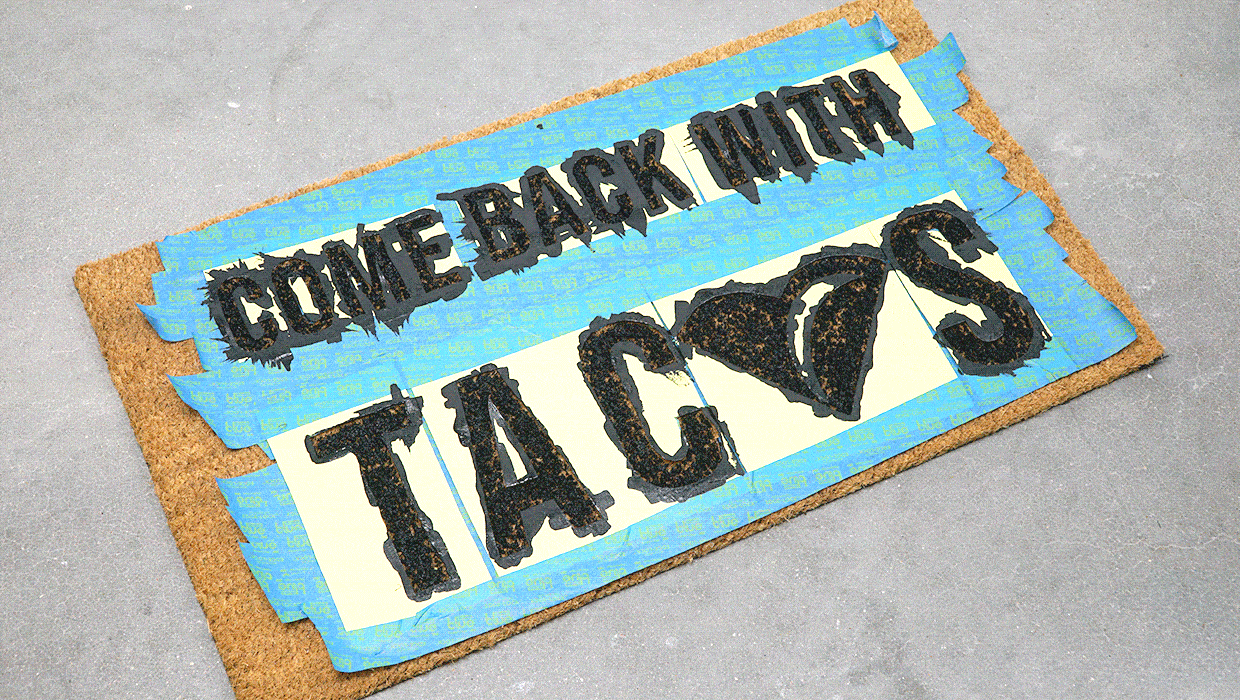
5. Paint Your Doormat
Once your entire design is cut out you can begin preparing to paint. It’s best to use an outdoor acrylic paint so that the design lasts longer in the elements. Put your paint onto a disposable plate and prepare your sponge brushes and paint!
Remember that a little bit goes a long way when it comes to these paints. You will want to lightly dab your ink throughout the template. The first coat of paint will look light, and you will want to give the mat about three coats to get the desired color.
Resist the urge to press down harder with your sponge brush or risk the paint bleeding beyond your template.
Apply three or more coats until you reach the desired shade of black that you want. If you have a hair dryer handy, you can blow-dry the mat in between coats to help it dry faster.
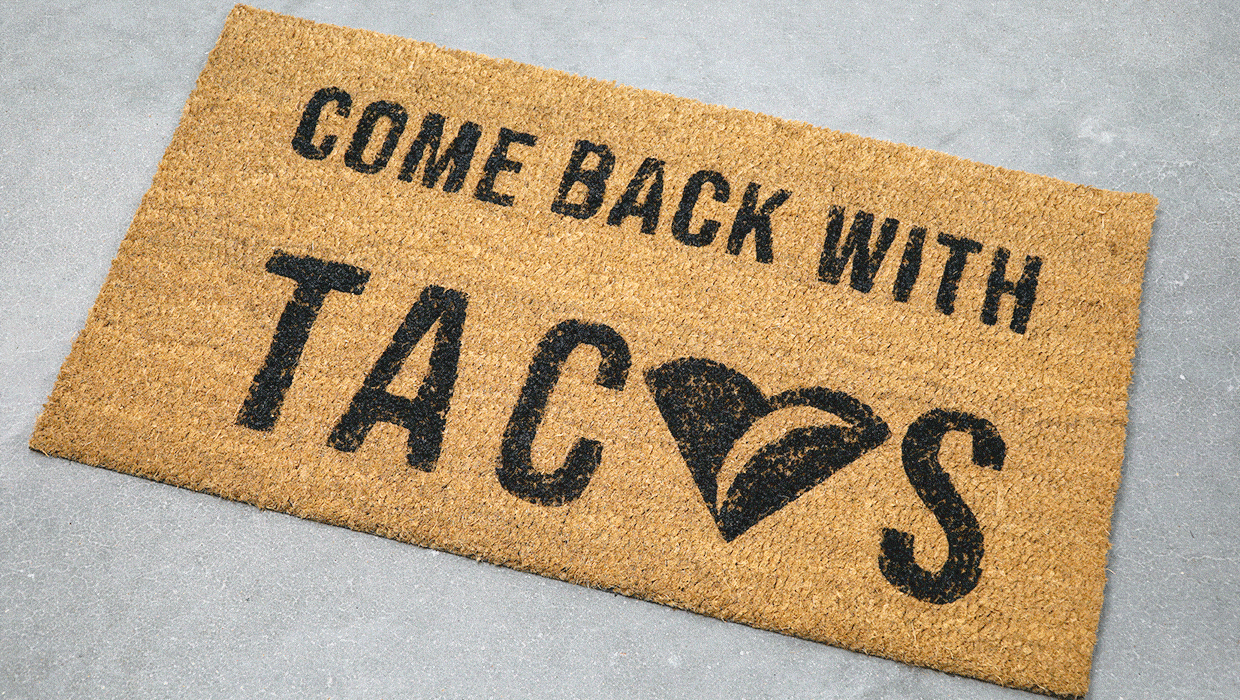
6. Reveal Your Design
Once your paint has dried, you can remove the painters tape. Be sure to remove it carefully and slowly so that no paint peels off in the process. You will begin to be able to see the finished product after removing a few pieces.
After you’ve taken off the tape to reveal the design, you have the option to coat your doormat in UV resistant finishing spray. This will help your doormat last longer.
7. Enjoy Your DIY Doormat
Now you can enjoy the spoils of your labor… your DIY doormat is ready. You can place it at your front or back door. These also make great housewarming gifts. Enjoy!
Thanks for reading all about our DIY Front Door Mat Ideas…With Stencils! Have a great day!
7 Handmade Gifts for Dog Lovers that You Can Buy or DIY - Kol's Notes
Sunday 11th of October 2020
[…] This time of year is like PEAK muddy paw/show season, so an adorable door mat is both a thoughtful and practical gift for the door lover in your life. We like options with a little sass. This “let’s keep it real” dog hair warning mat can be purchased from Imagineered on Etsy. Or you can DIY your own doormat using this tutorial from Burlap and Blue […]
20 Craft Projects for Adults You’ll Have Fun With – My Blog
Monday 20th of July 2020
[…] Credit: burlapandblue.com […]
20 Craft Projects for Adults You’ll Have Fun With - Craftsy Hacks
Wednesday 17th of June 2020
[…] Credit: burlapandblue.com […]
9 Quick and Easy DIY Hand Lettered Gift Ideas | Awesome Alice
Thursday 25th of October 2018
[…] 3. DIY Front Doormat Ideas by Burlap and Blue […]
Snickerdoodle Create Bake Make Party #244 - This Autoimmune Life
Saturday 11th of August 2018
[…] DIY Front Door Mat Burlap & Blue […]