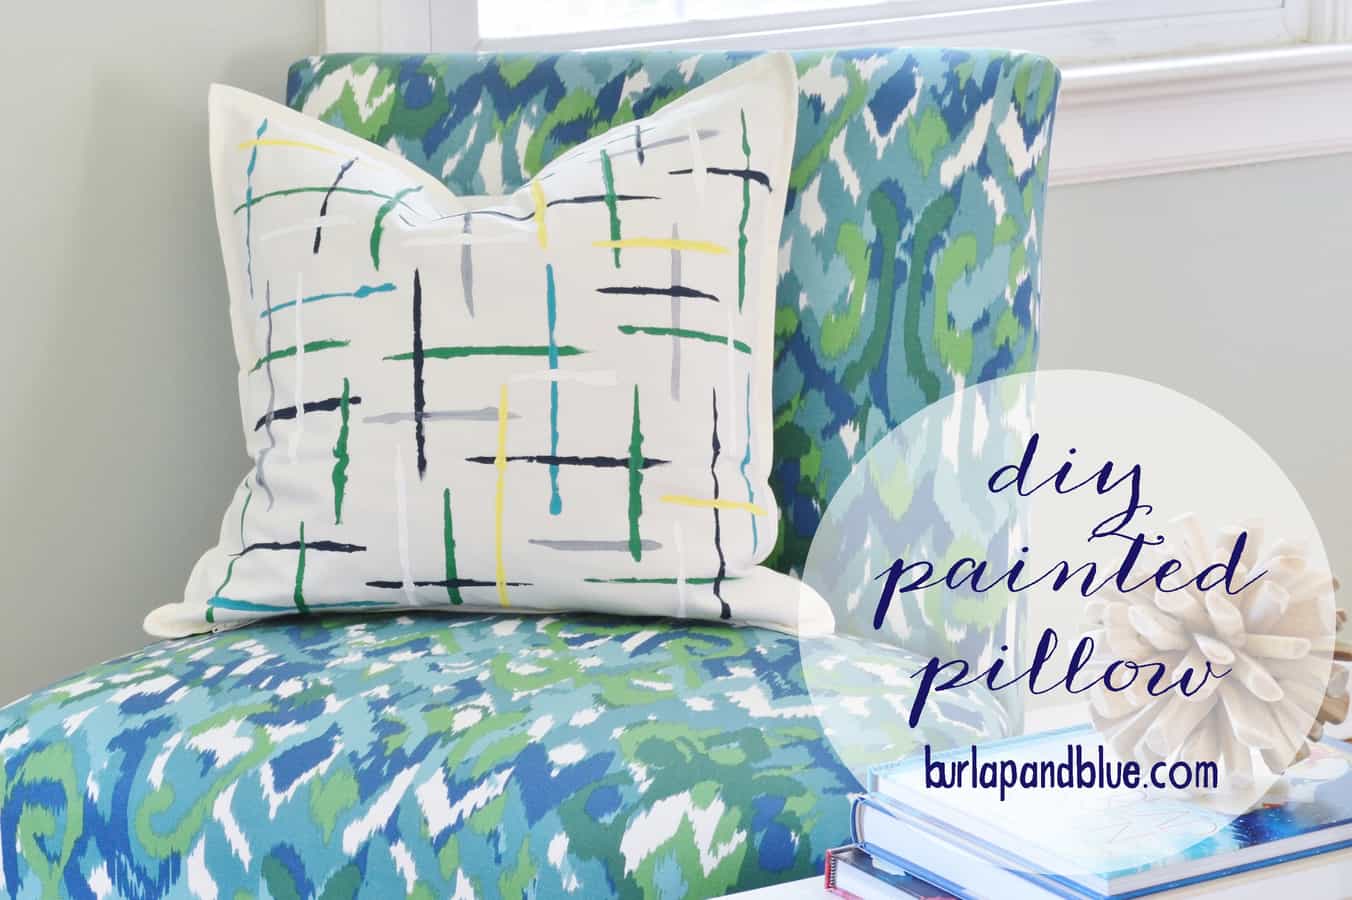
Happy Monday! I apologize for my blog being quiet last week–Summer has, so far, been quite busy (all in a good way, but still). Today, though, I have a DIY painted pillow tutorial for you all! Hope it makes up for my silence:)
You may remember my painted pillow tutorial from a couple of months ago…while I liked the concept, I wanted something a little less colorful, with a little more white space to better blend in my my living room’s decor. I made two of these, in about an hour, and I love them! Here’s the how to….
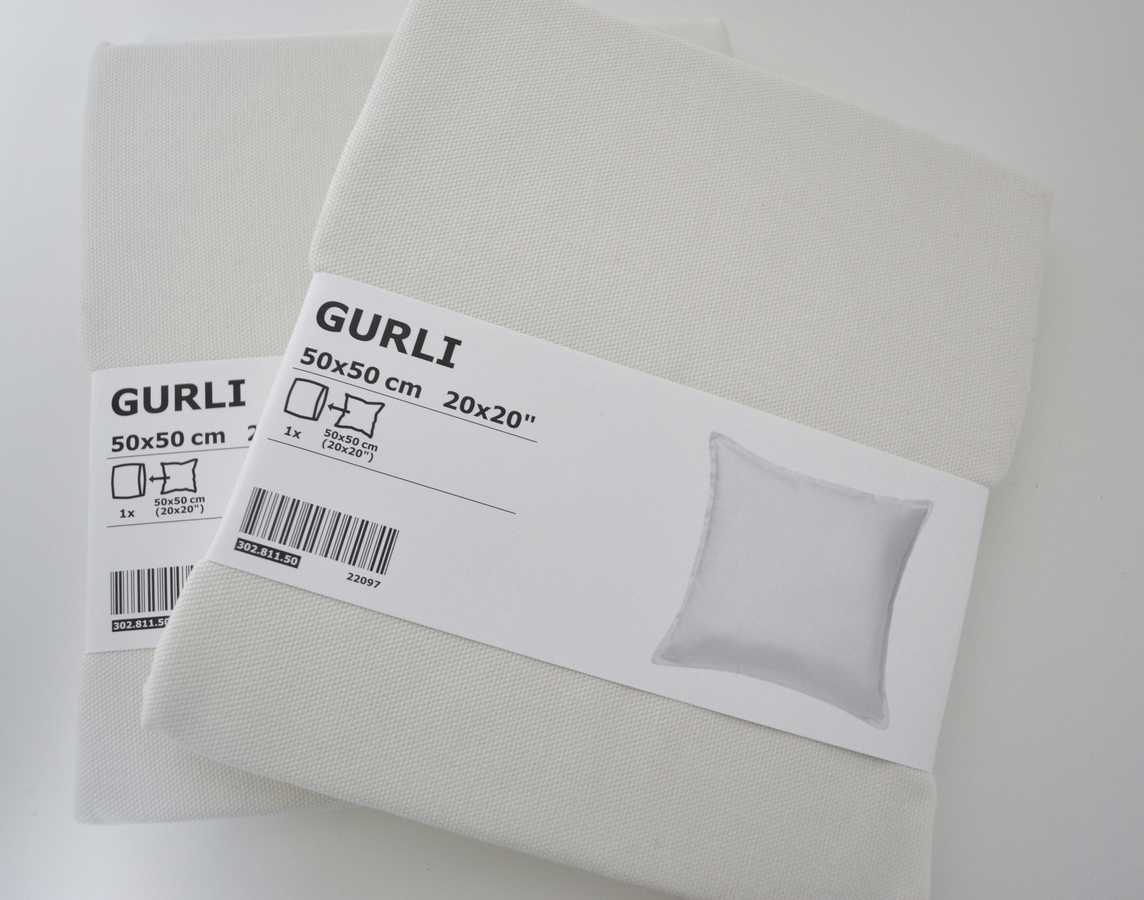
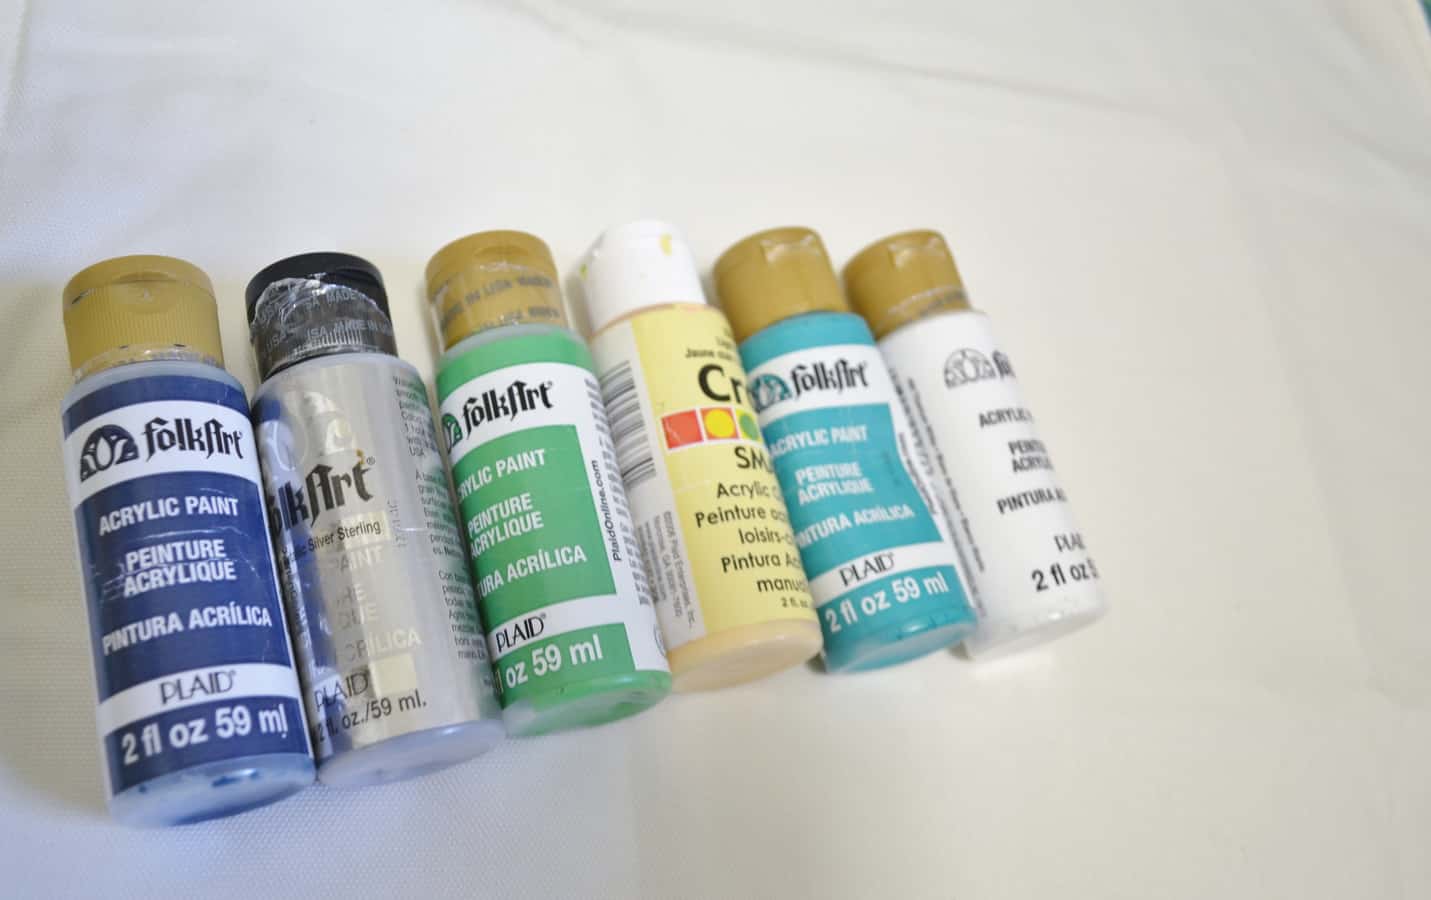
For these pillows, I used white Ikea pillow covers, and a selection of craft paint (navy, turquoise, kelly, gray, white and yellow).
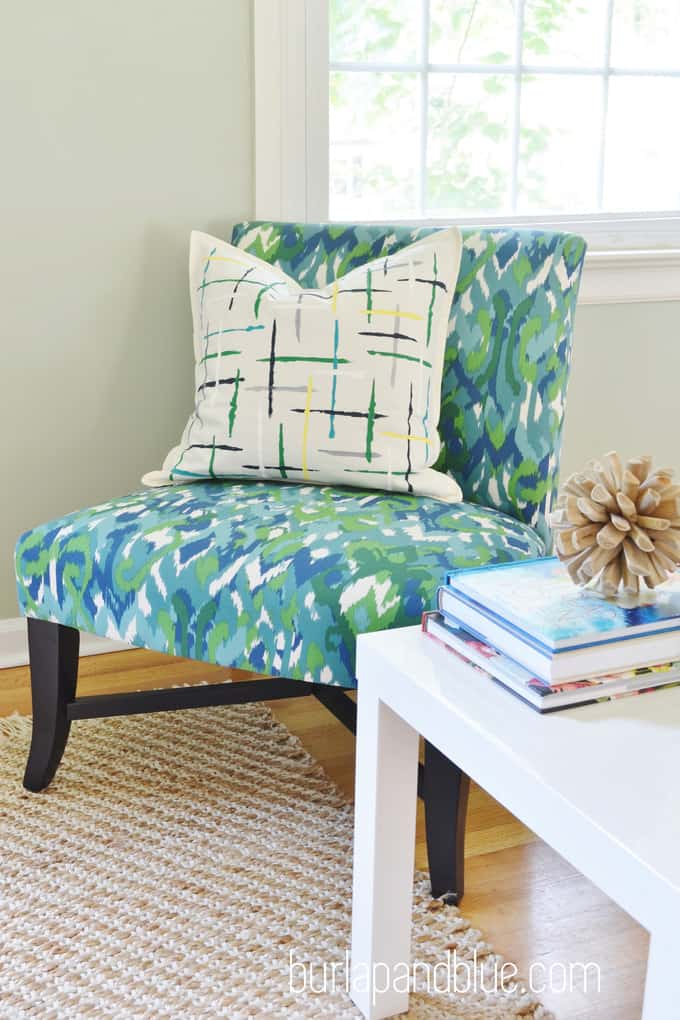
Using a paintbrush (I used the end of a foam brush, one per color), dip it into your paint, and make simple brushstrokes randomly across your pillow covers. I started with my darker colors, and let them dry before applying my lighter colors to avoid excessive bleeding and blending of colors. I varied the length and direction of my strokes, aiming for a random, whimsical pattern. Here they are about halfway through!
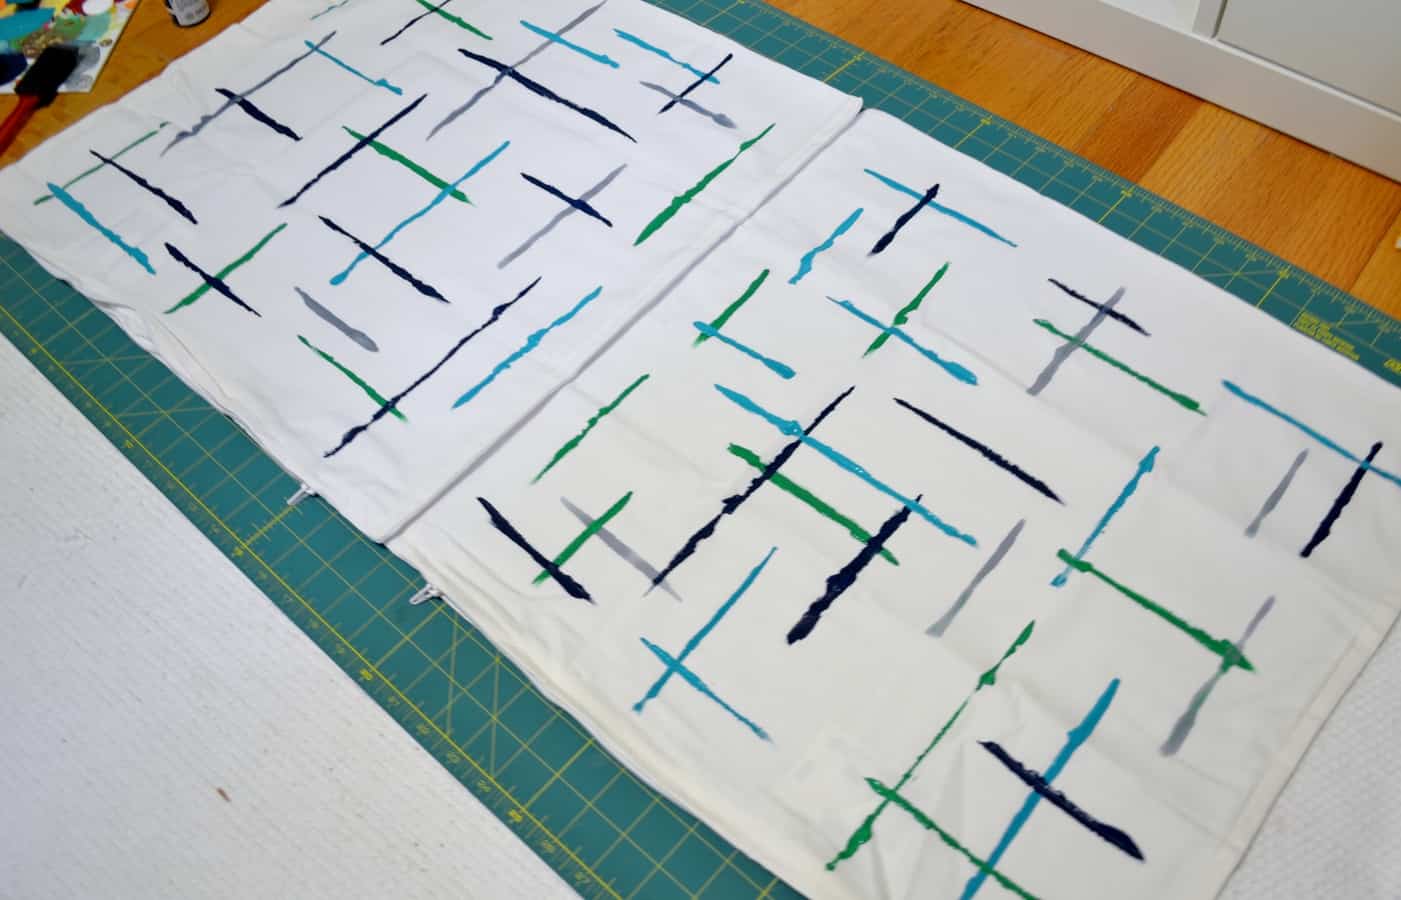
Add paint until you are happy with your pillow covers, let dry, and insert pillow forms. Easy as pie.
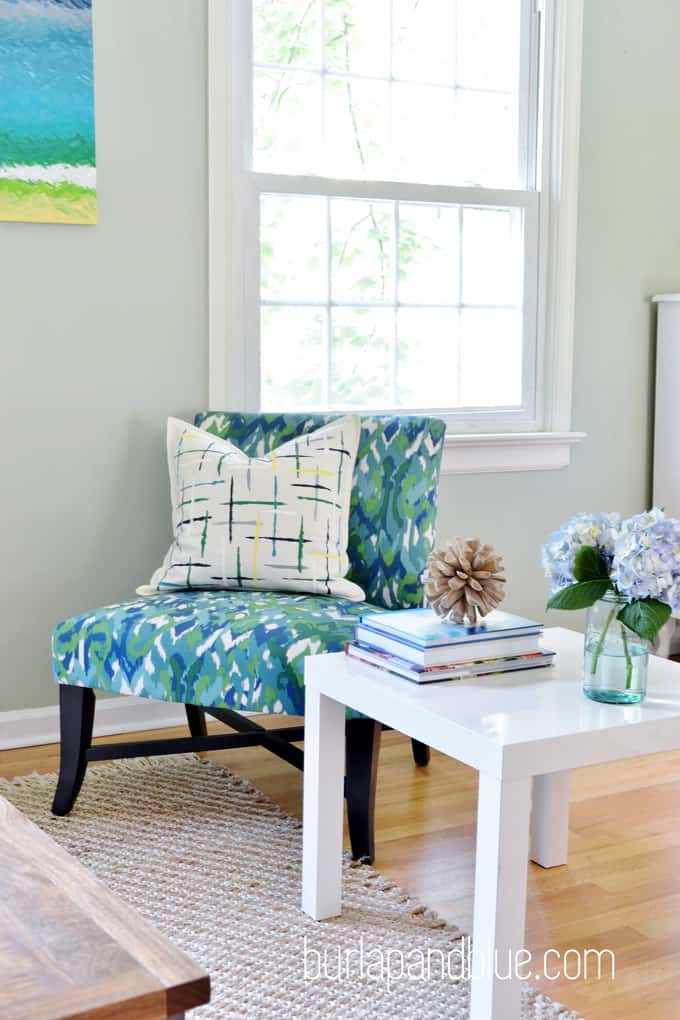
Is there any easier, more impactful way to update a room than with new pillows? I think not. I love the color, texture and pattern that these beauties add to the space!
Thanks for reading all about my DIY painted pillow! Have a crafty day!
Hilary
Wednesday 16th of July 2014
Love these! I've been meaning to pull out some stencils and create some pillows, but this looks even easier!
Carmody
Wednesday 9th of July 2014
Super cute!!!