
how to make glitter ornaments {a tutorial}
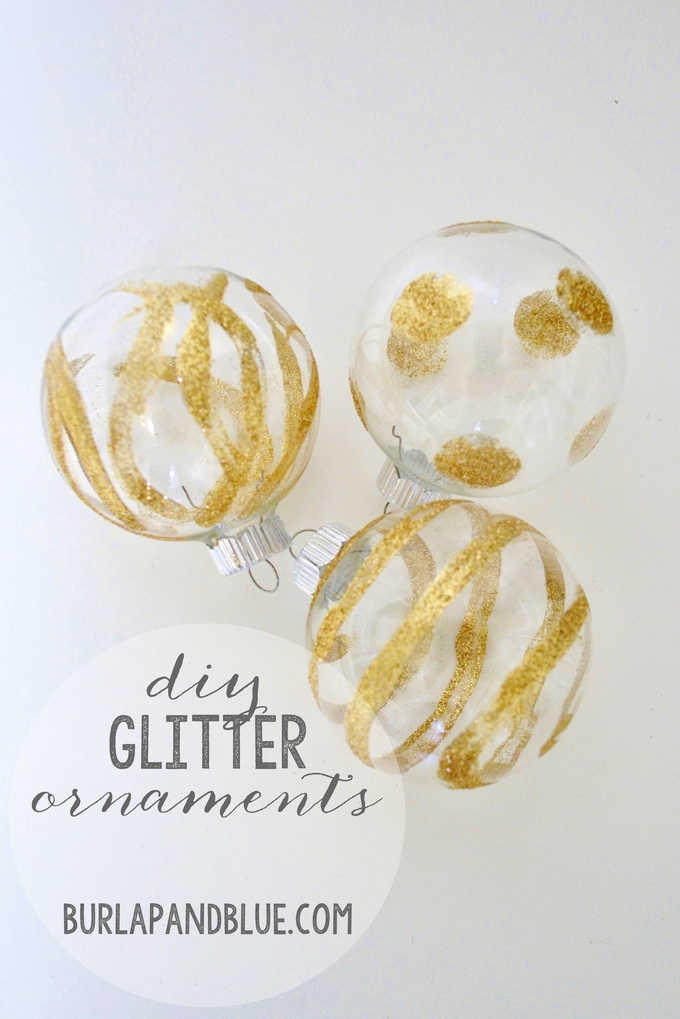
In the midst of the busy holidays, it’s always nice to take a crafty time-out . . . and if your craft time produces cute ornaments that can be used as gifts or even gift toppers, all the better!
These glitter handmade ornaments also do really well at craft fairs and there are so many ways to customize these cuties. Let’s get started!
how to make glitter ornaments
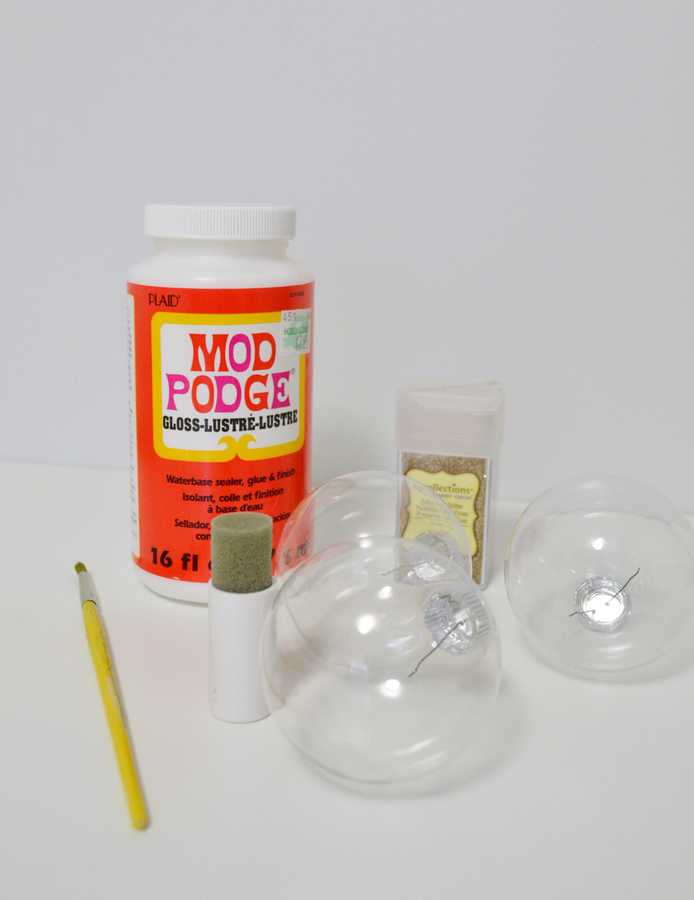
Materials:
Mod Podge Gloss
Glass Ornaments
Extra Fine Glitter
Foam Brush or Paint Brush
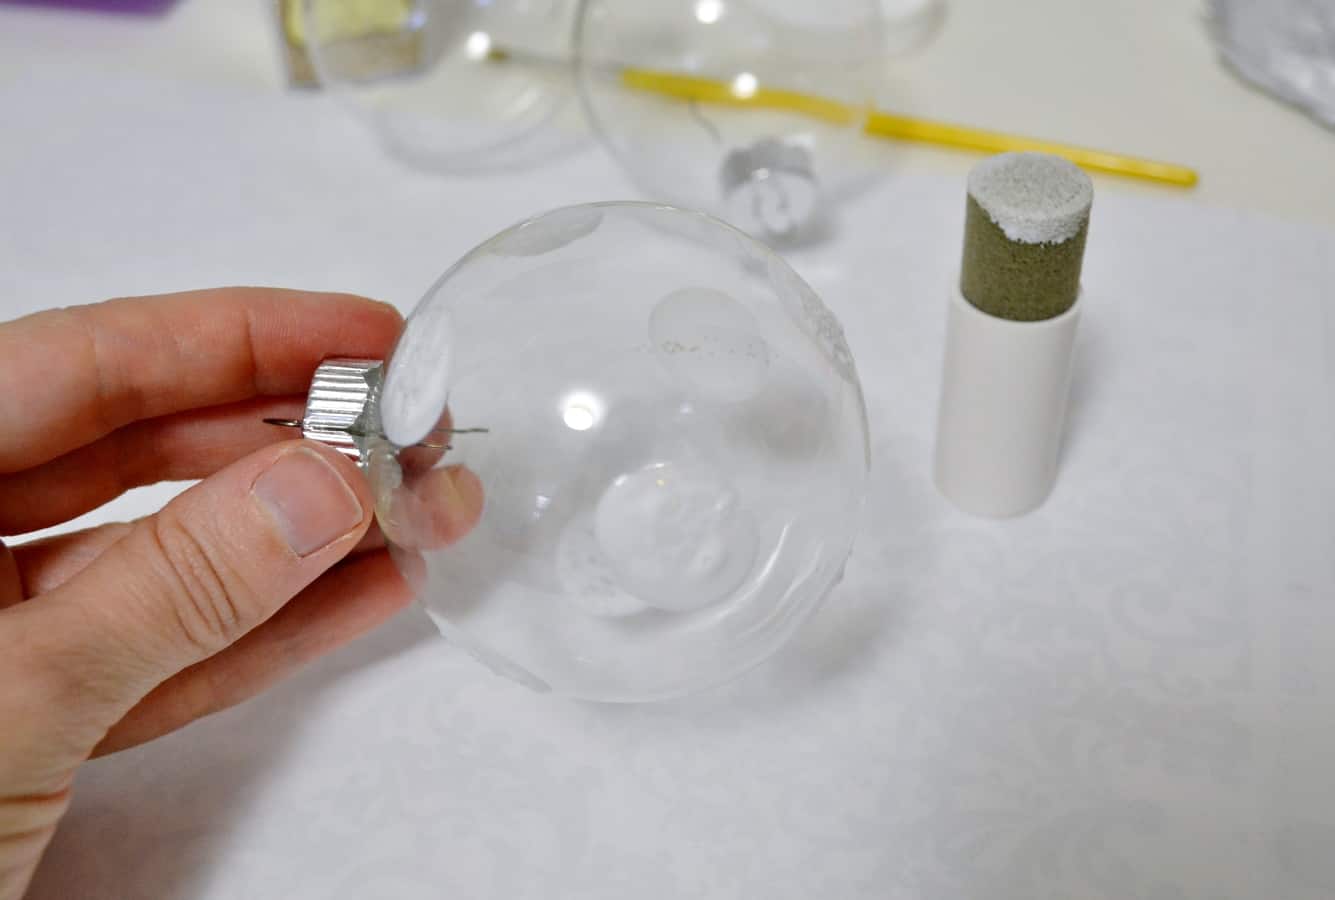
Step 1: First, you’ll want to take your Mod Podge, pour a little bit onto a piece of parchment paper or foil, and create your design on your ornament. I did simple dots, as well as free-form lines. Just don’t let this step take too long–Mod Podge dries fast!
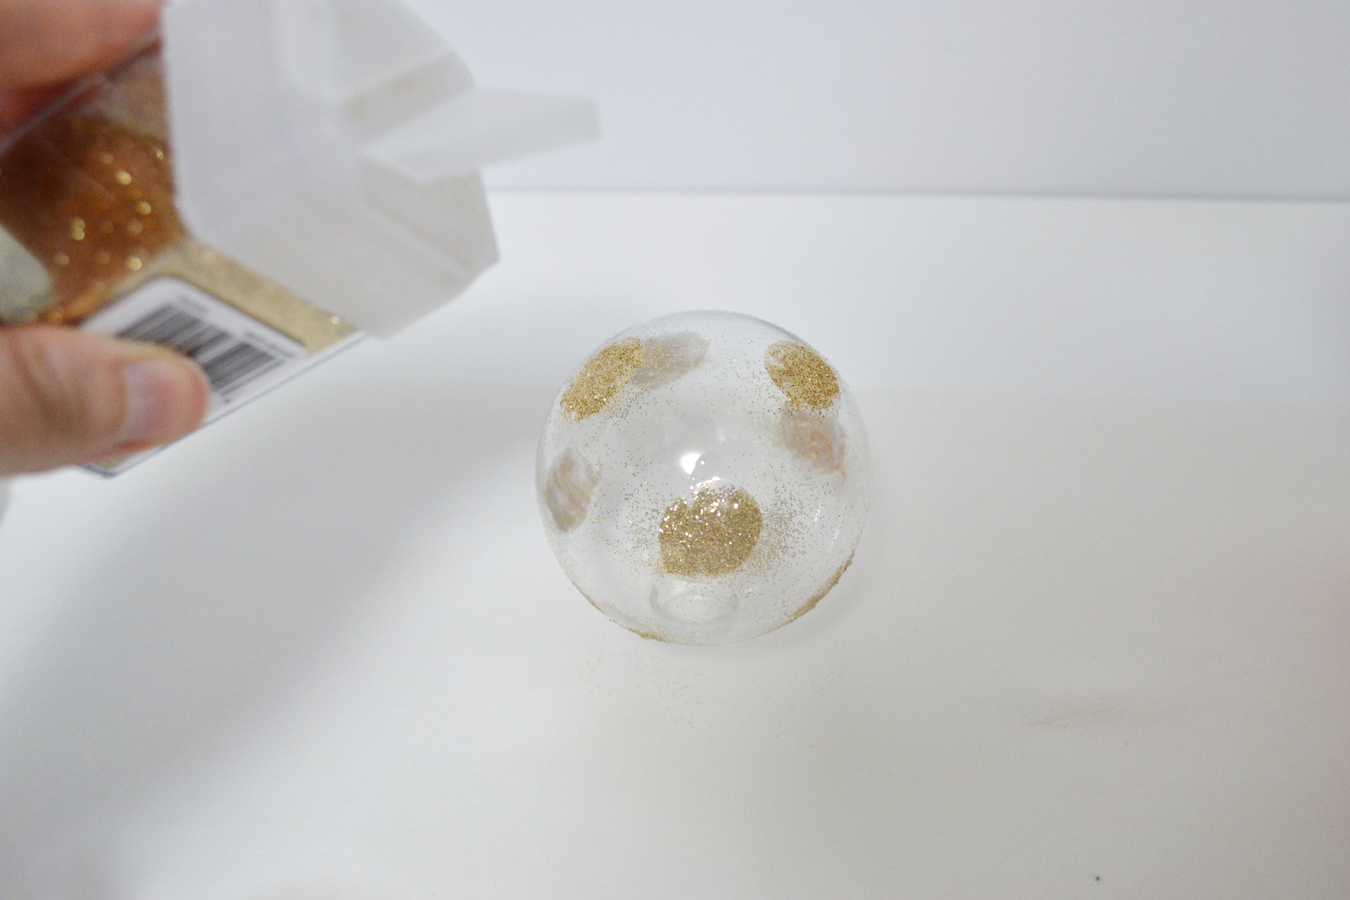
Step 2: Gently sprinkle your glitter all over the painted parts of your ornament. Let dry.
Step 3: Once dry, use a dry foam brush to gently remove the excess glitter. You may have to go back and touch up some spots (I know I did!)
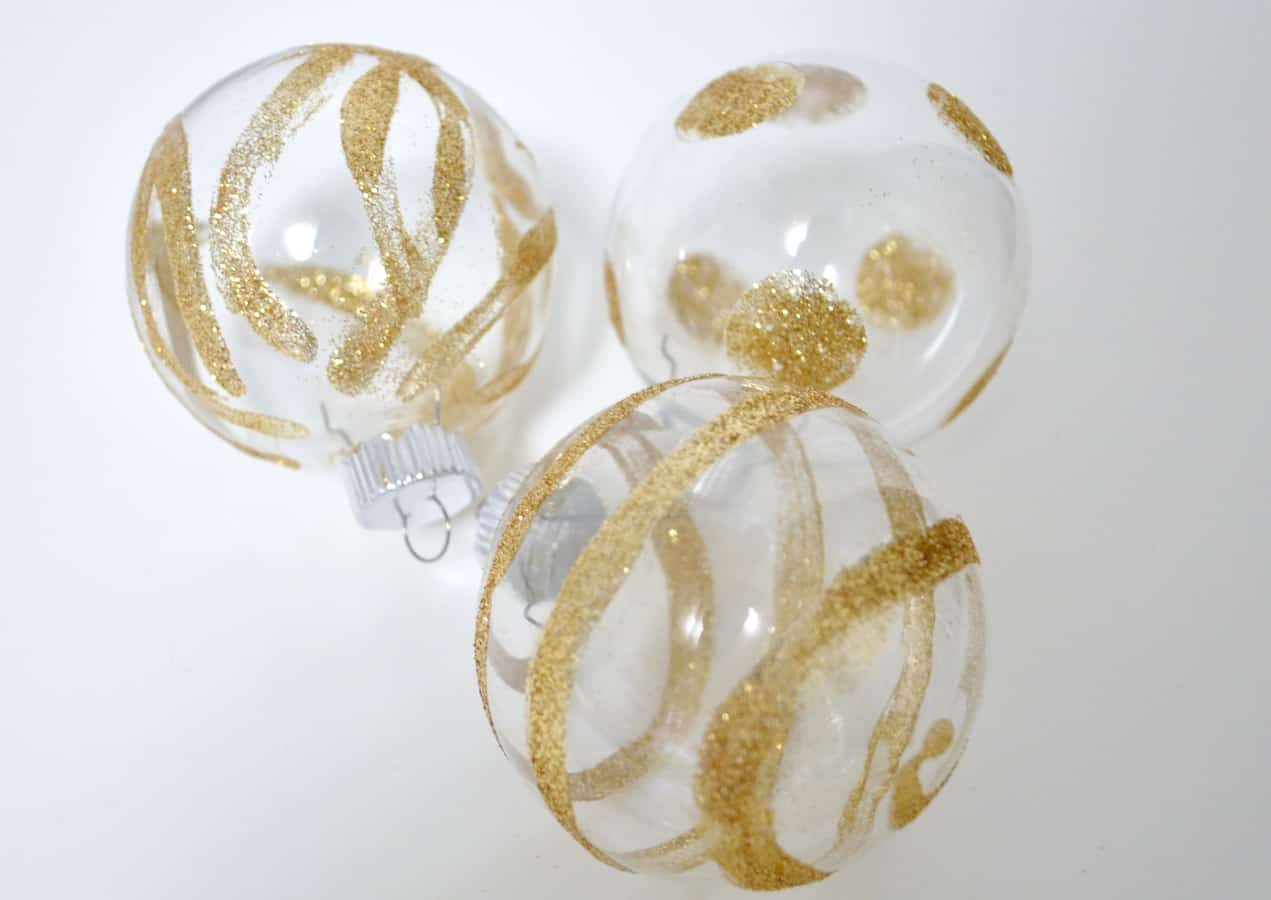
Thanks for reading all about my glitter ornaments! Have a crafty day!

That is definitley easier than I thought. They came out awesome.
That is such a great idea. I think I have some of those glass ornaments and I definitely have glitter 🙂
Beautiful! I haven't made ornaments with my kids yet. We should really do this as a Christmas tradition.
Wow, this are super cute! And they look not too hard to make!
Such a fun project- the ornaments are lovely!
Looks interesting. This is very helpful.
These are so pretty! I absolutely love them!
I love how that turned out. There are lots of glitter colors too, so this will be fun.
Those are too cute. I love modge podge, its perfect so many things!
Ohhhh those are so pretty and they look pretty easy to make too!
Awe I love love love this diy! It looks gorg!