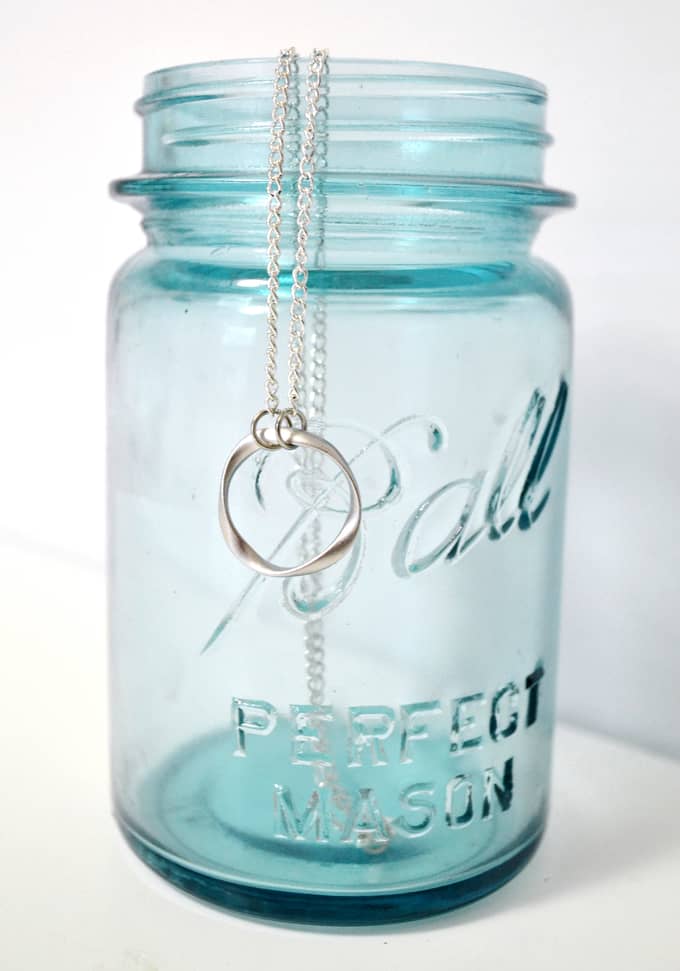
Jewelry making is one of my favorite beginner craft projects, and once you get the hang of the basics, there are so many ways to customize your pieces! This easy circle necklace tutorial will show you how to make this basic, but adorable, necklace that’s perfect for layering with other favorite pieces.
Materials:
- Circle Pendants
- Jump Rings
- Jewelry Pliers
- Closures
- Chain
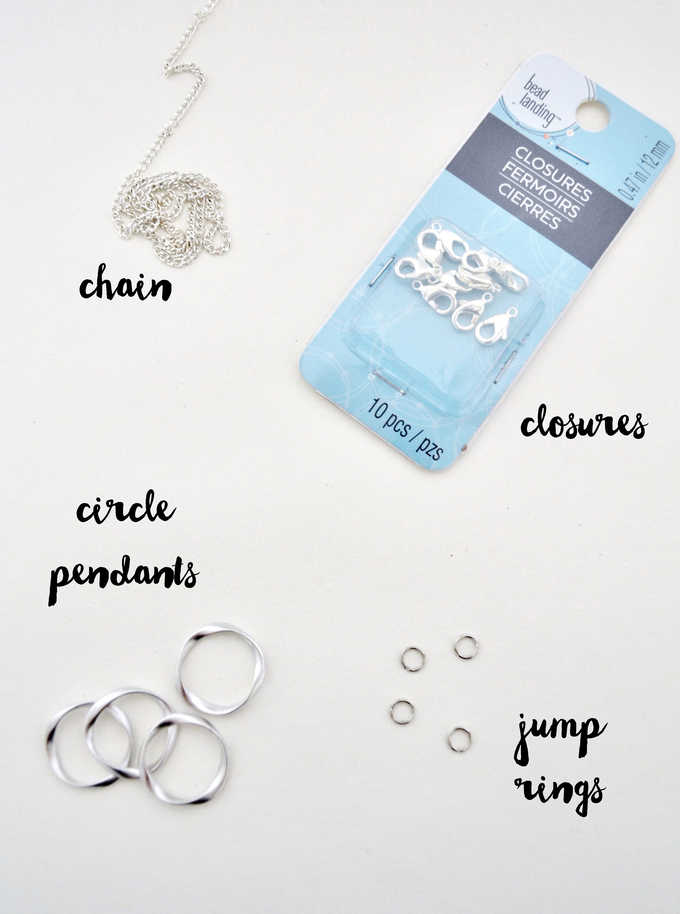
Step 1: You can find most of these materials at Michaels or Hobby Lobby. For a larger selection of pendants, you may want to check out Etsy! They have a great selection at fairly reasonable prices.
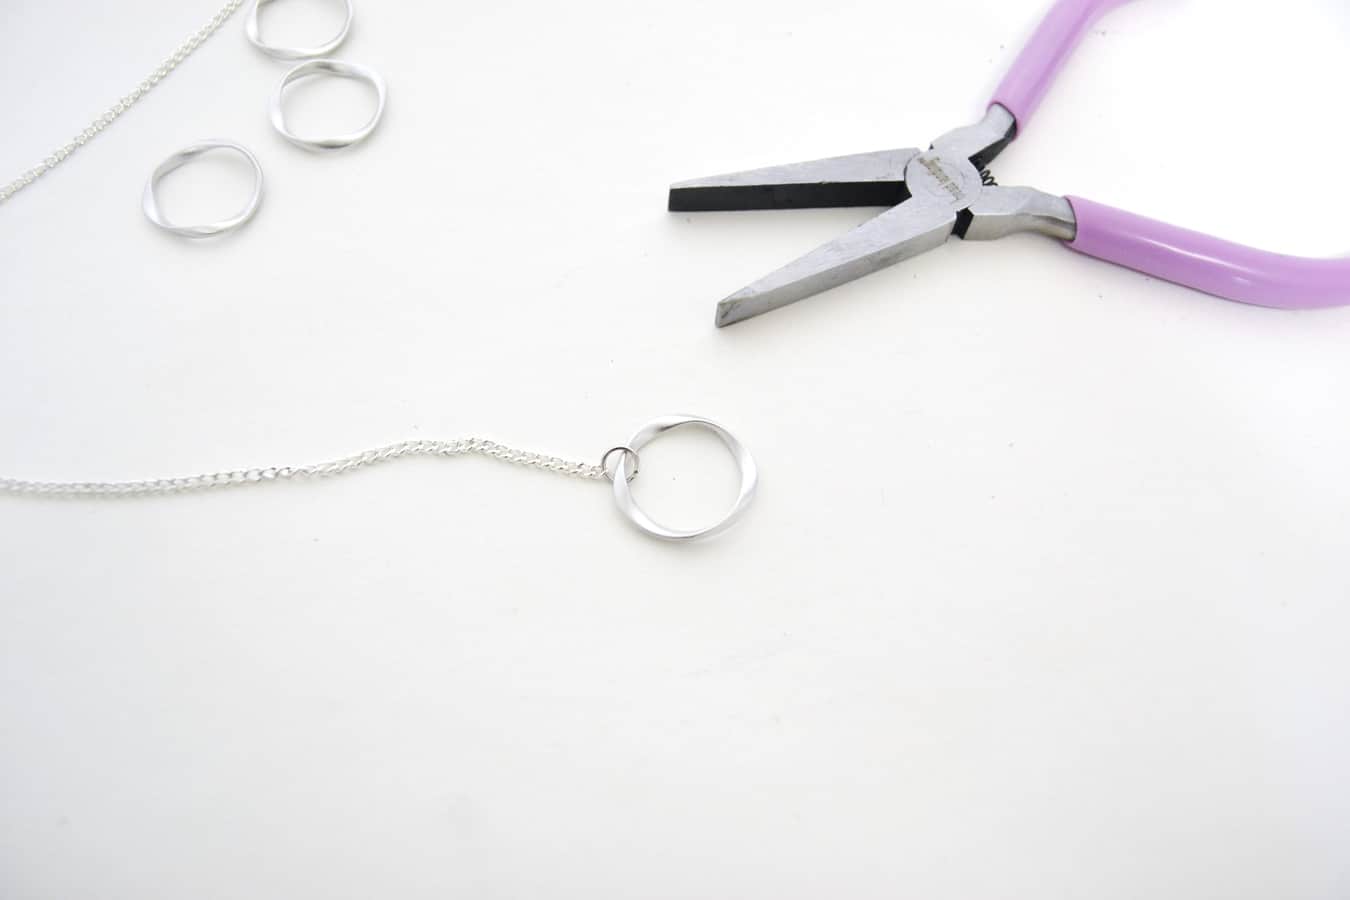
First, attach a jump ring to one end of your pendant. To do this, hold your jump ring with one set of pliers, and take a second set of pliers to gently pry it open. Hook one end of the pendant onto the open jump ring, as well as a length of chain. Use your pliers to gently close your jump ring.
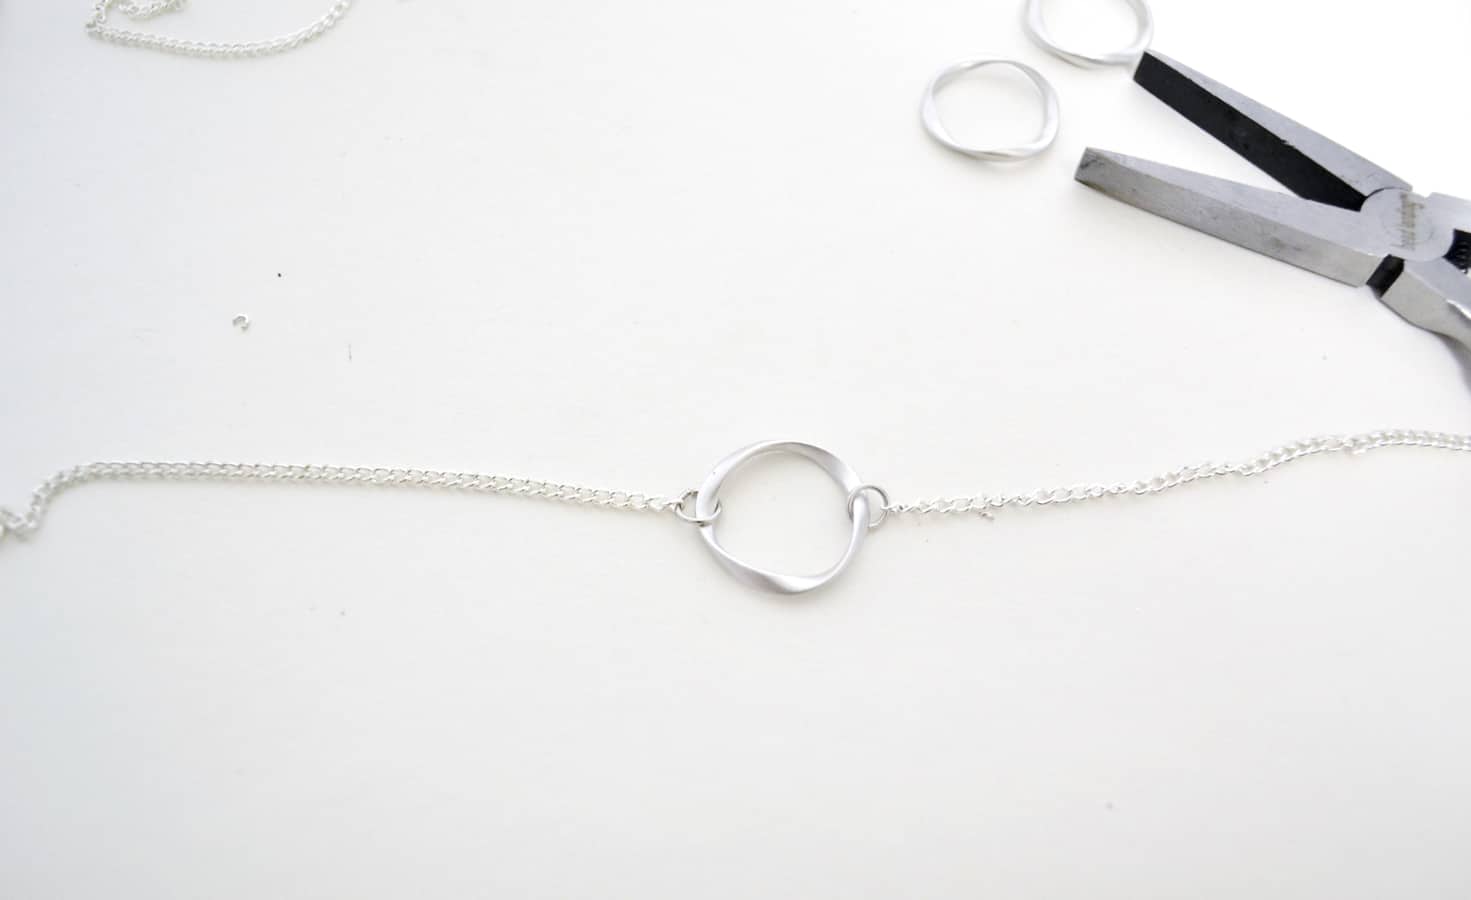
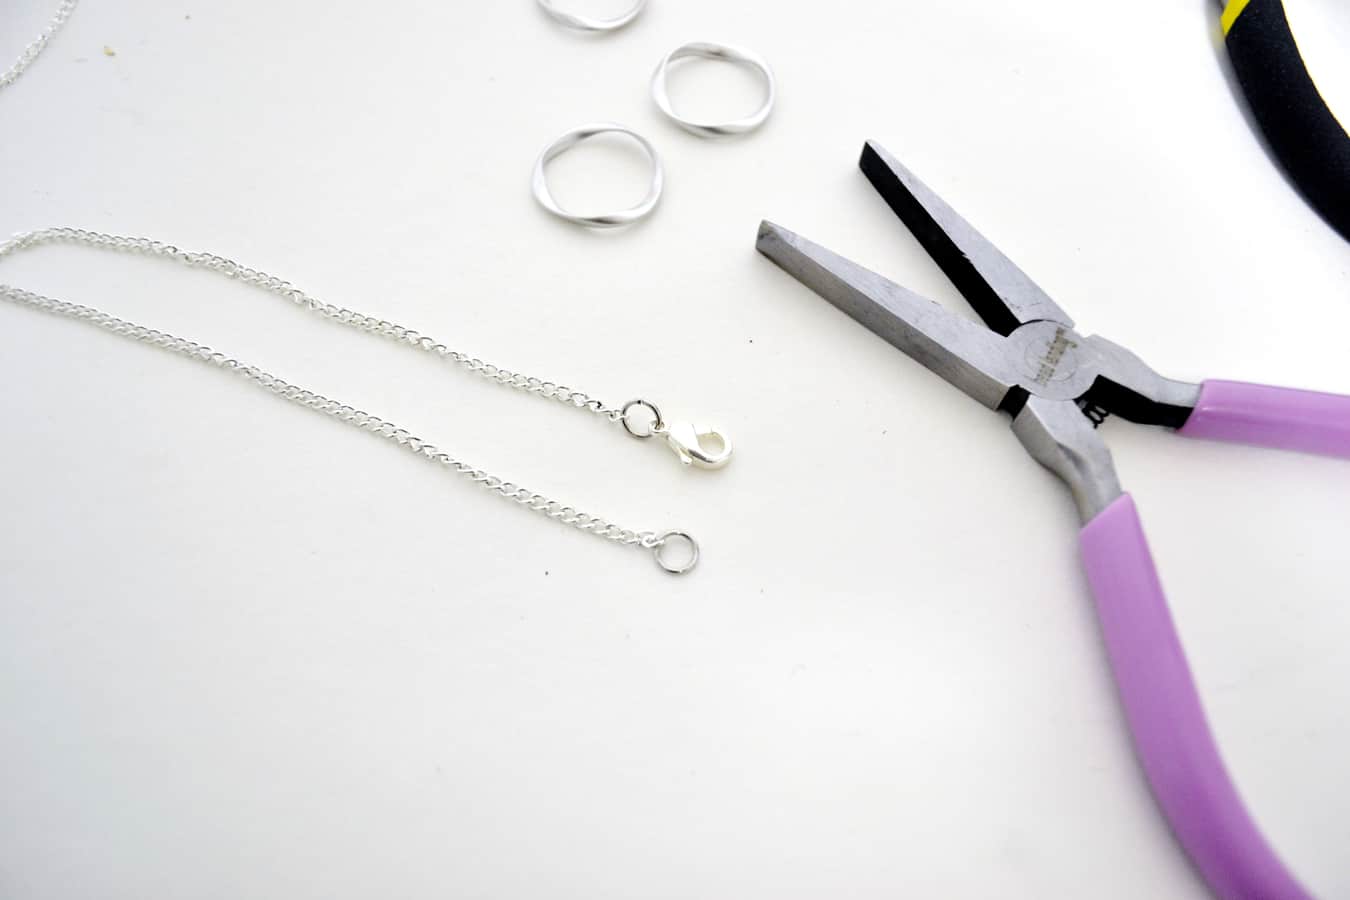
Step 2: Use your cutter pliers to snip the end of your chain, as well as cut a second piece of chain for the other end of the connector. To do this, you’ll have to decide on the final length of your necklace. I like mine to be about 16″ long (sometimes 18″). Each length of my chain was 7″ long. The other two inches came from the connector, jump rings, and clasp (so the total length was 16″).
Repeat step 1, attaching a jump ring and your second length of chain to your circle pendant.
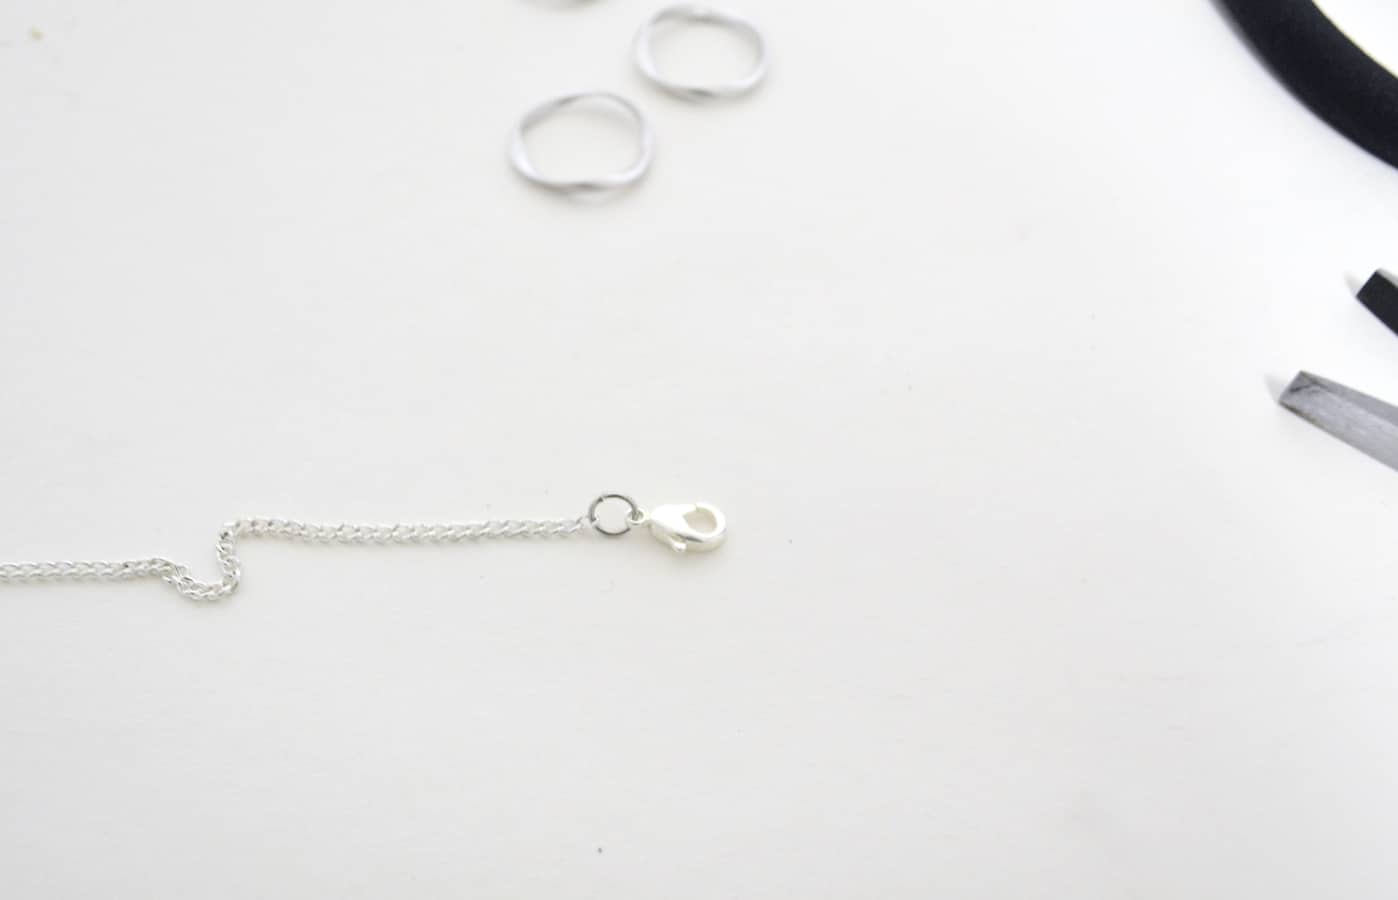
Step 3: At the end of one end of your chain, attach another jump ring. Also attach your closure to this same jump ring.
Step 4: At the end of your other piece of chain, attach another jump ring.
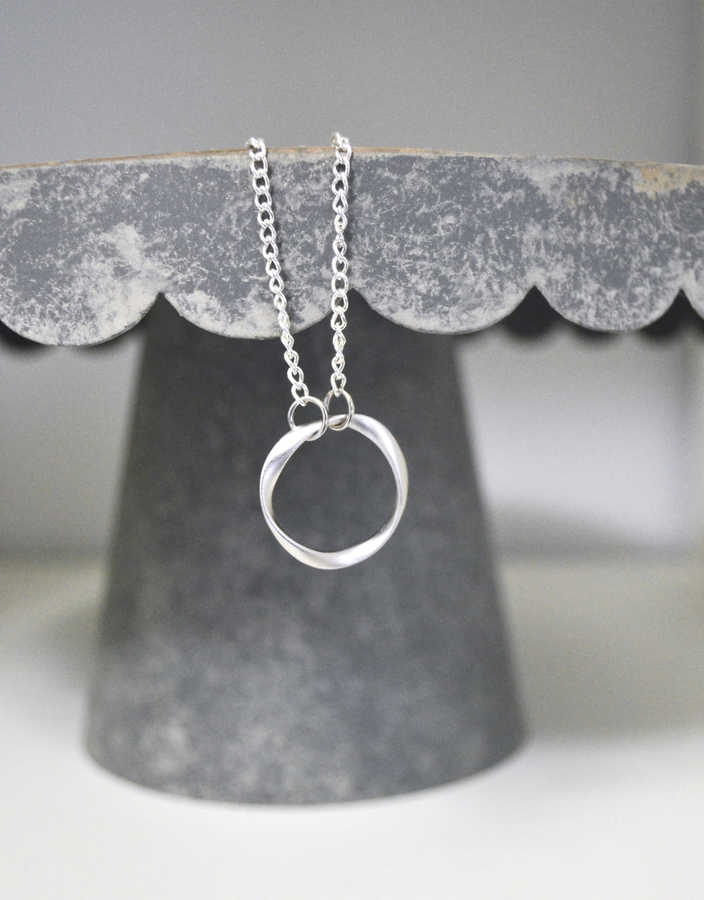
Such an easy DIY necklace that is perfect for gifts!
Thanks for reading my circle necklace tutorial. Have a lovely day!