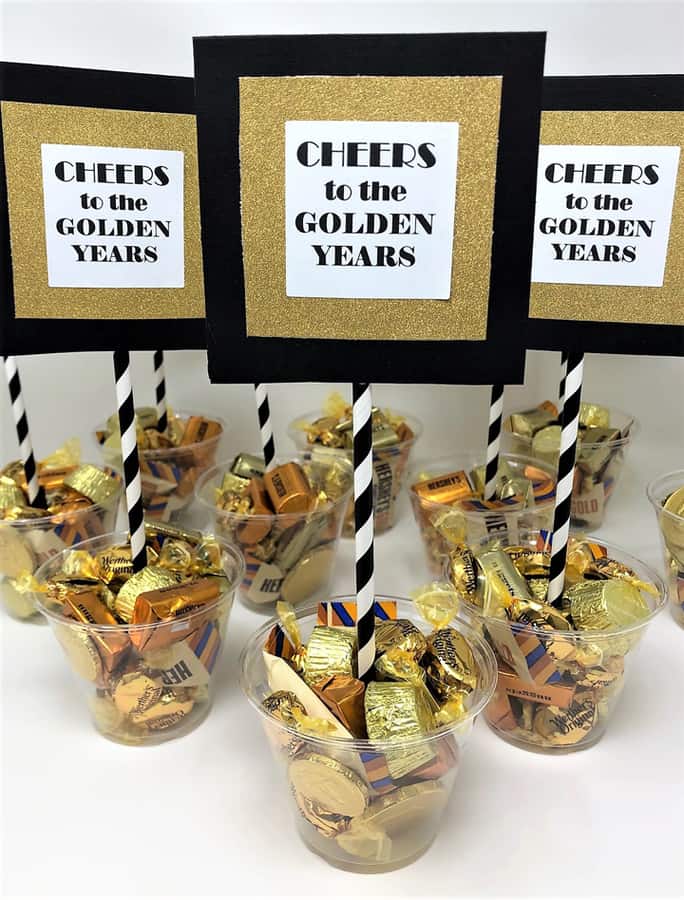
Looking for an easy retirement party centerpiece? Come see how to make these easy “cheers to the golden years” candy cups!
A few weeks ago, my mother-in-law asked me to help make decorations for my father-in-laws retirement party.
She didn’t want to go overboard, but wanted decor that was easy and festive. I saw something similar to these on pinterest, but knew I could make them cheaper (and put my own spin on them)!
Free, printable tutorial is below, but first a few tips:
I linked in the DIY card to the labels I used, but they’re a bit on the pricey side (and do not ship free). These Avery 2.5″ round labels are a much better value, and would work as well as the square labels I used.
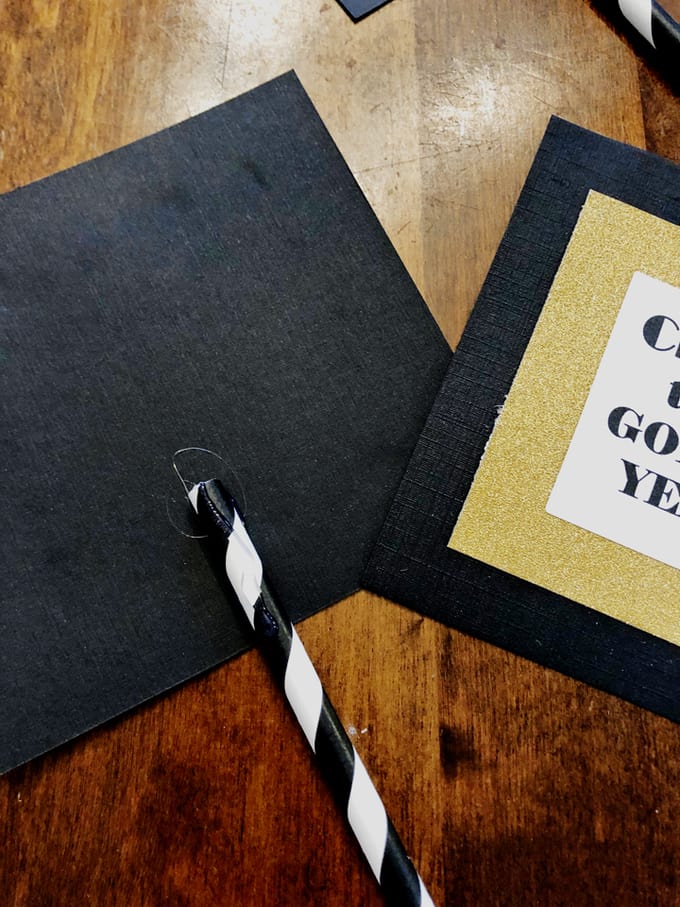
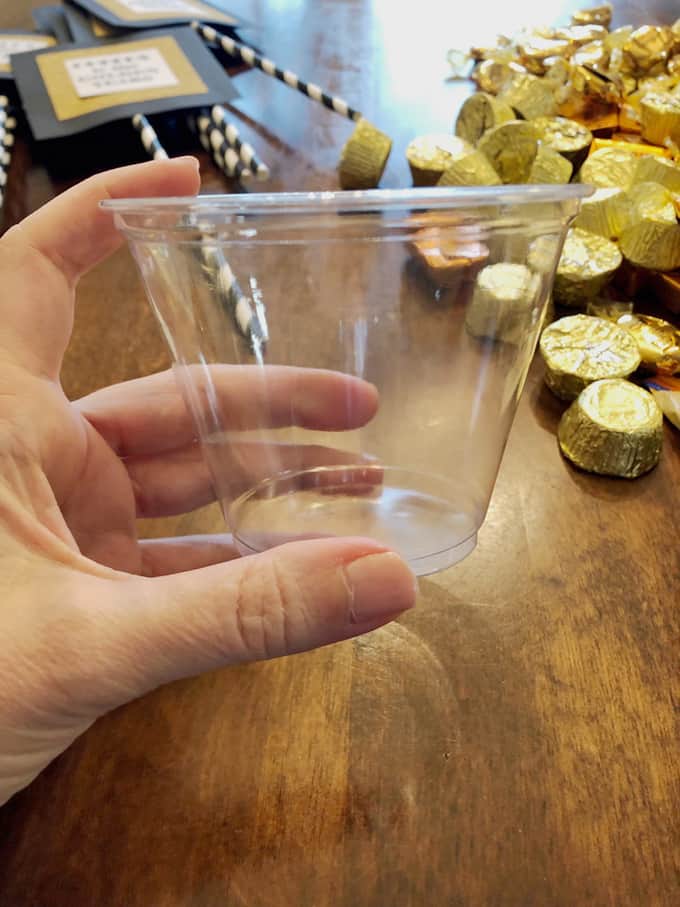
I also linked to the plastic wine cups that I used and they were great, BUT, if your hot glue is too hot, or you use too much of it, the straw could easily poke a hole through the bottom of the plastic cup. Just be careful if you use hot glue for this.
Instead, I think one from this list of Best Glue for Plastic would probably work better.
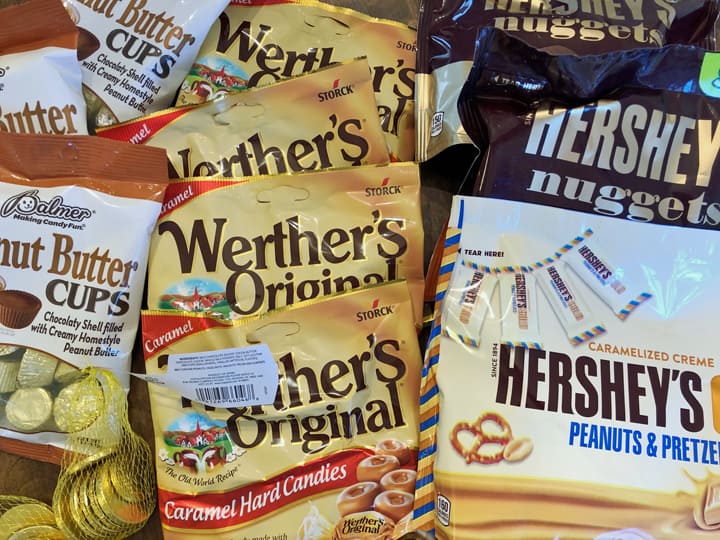
Let’s talk candy! I found my various “golden” themed candies at Dollar Tree and Target, but Amazon has a good selection, too. I linked to some good options in the card.

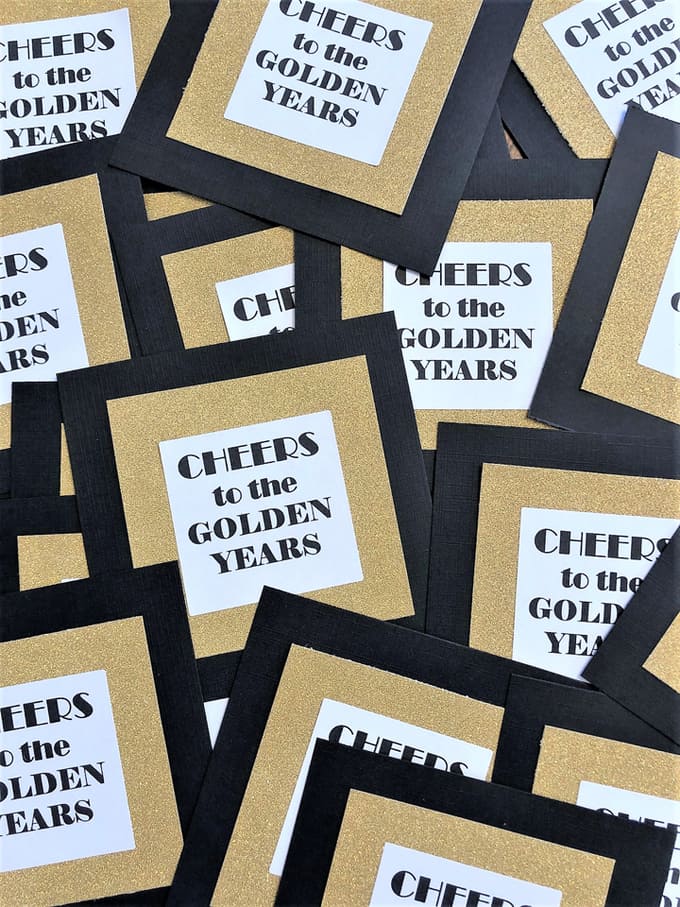
I made this printable design that you can download and add to your label template: “cheers to the golden years”
Looking for an easy retirement party centerpiece? Come see how to make these easy "cheers to the golden years" candy cups!Easy Retirement Party Centerpiece {Cheers to the Golden Years Candy Cups}
Materials
Tools
Instructions
If you end up making these yourself, send me a pic: I’d love to see!
Thanks so much for reading all about our Easy Retirement Party Centerpiece {Cheers to the Golden Years Candy Cups}.
Have a great day!