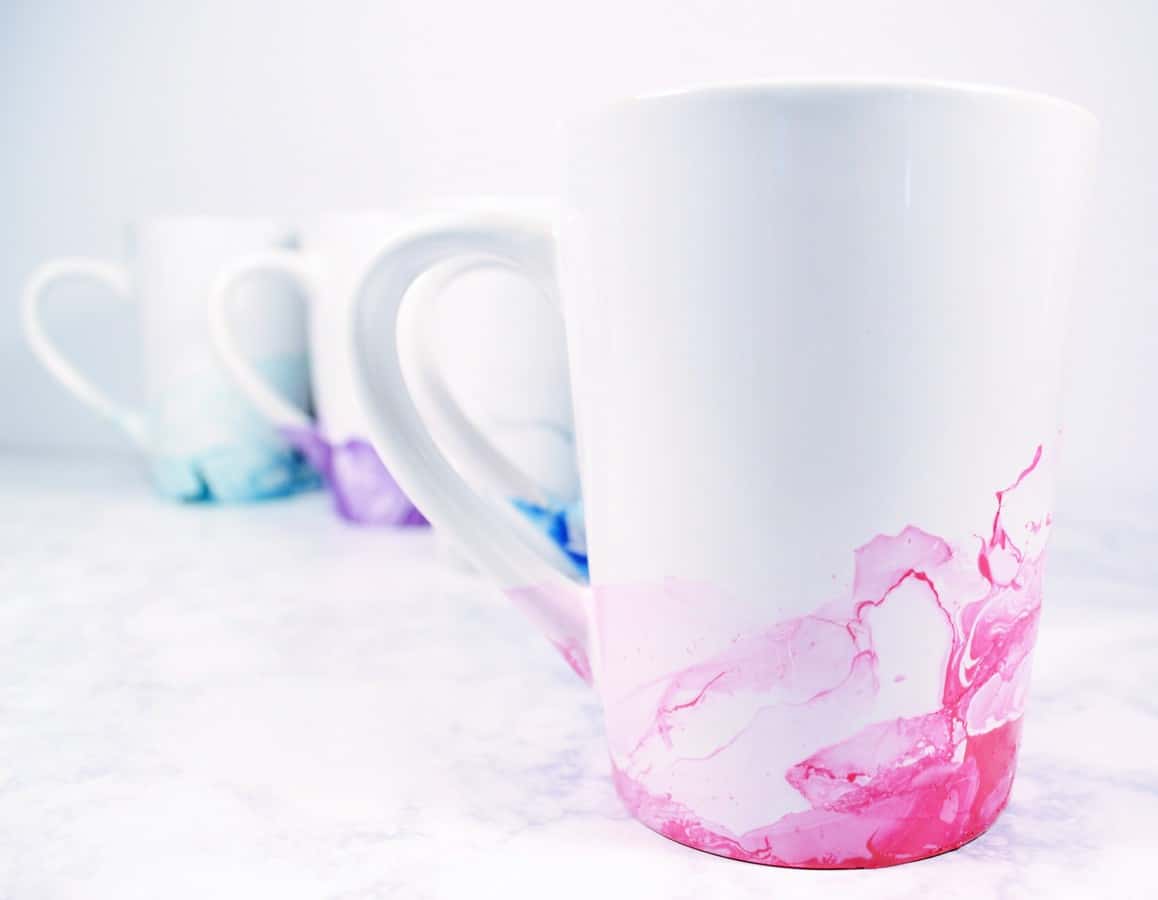
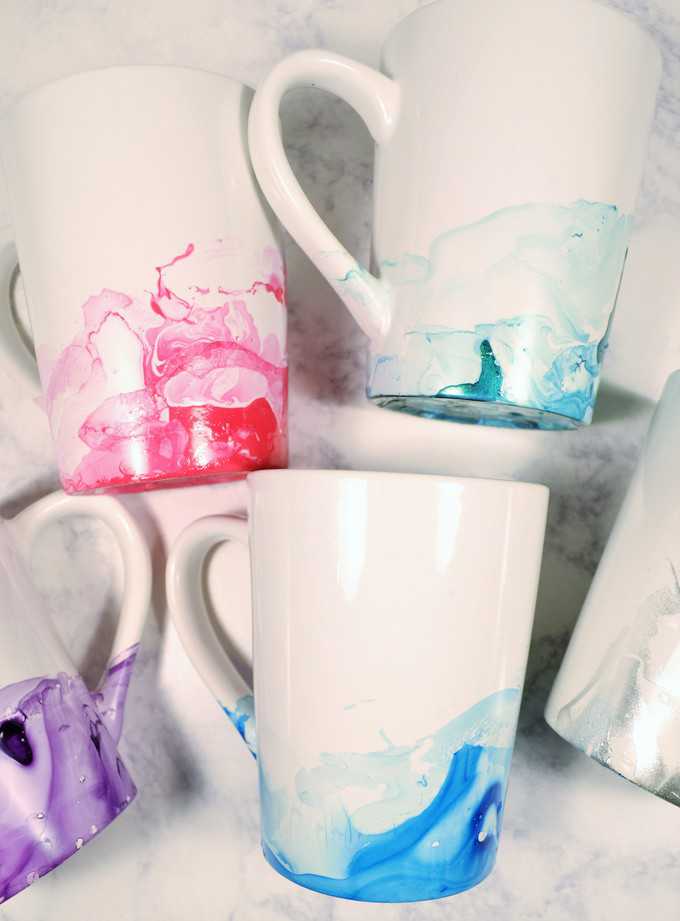
Nail polish mugs are an easy and quick craft project!
Make them for yourself and your own home, or make a batch to give as gifts!
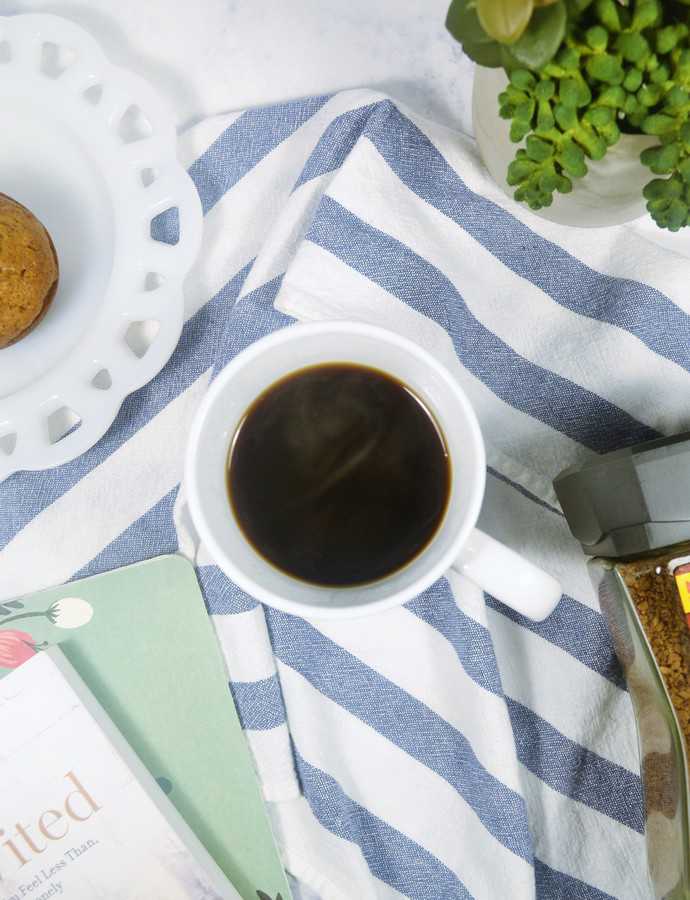
As the weather gets cooler, a great cup of coffee or tea is my fairly constant companion throughout the day. It warms me, energizes me, and helps me tackle my to-do list.
In short, it helps me live my very best life!!
Another essential aspect of living my best life is, for me, is crafting!
Looking through my collection of cute, but non-coordinating mugs, I decided an easy mug craft needed to move to the top of my to-do list, so I tried my hand at the DIY mug trend…with nail polish!
I’ve seen nail polish marbling done before, and I’ve always loved the organic and free form feel of the end result.
These nail polish mugs are perfect for gifting. Just add a small bag or coffee or tea bags inside the mug for an easy and inexpensive gift.
Before we get to the how-to, though, let me re-introduce you to my favorite thing to put inside of one of these marbled cuties…
Want to learn to make your own nail polish mugs? For coffee, tea, hot chocolate or whatever else you’d like?
Let’s get started…
How to Make Nail Polish Mugs
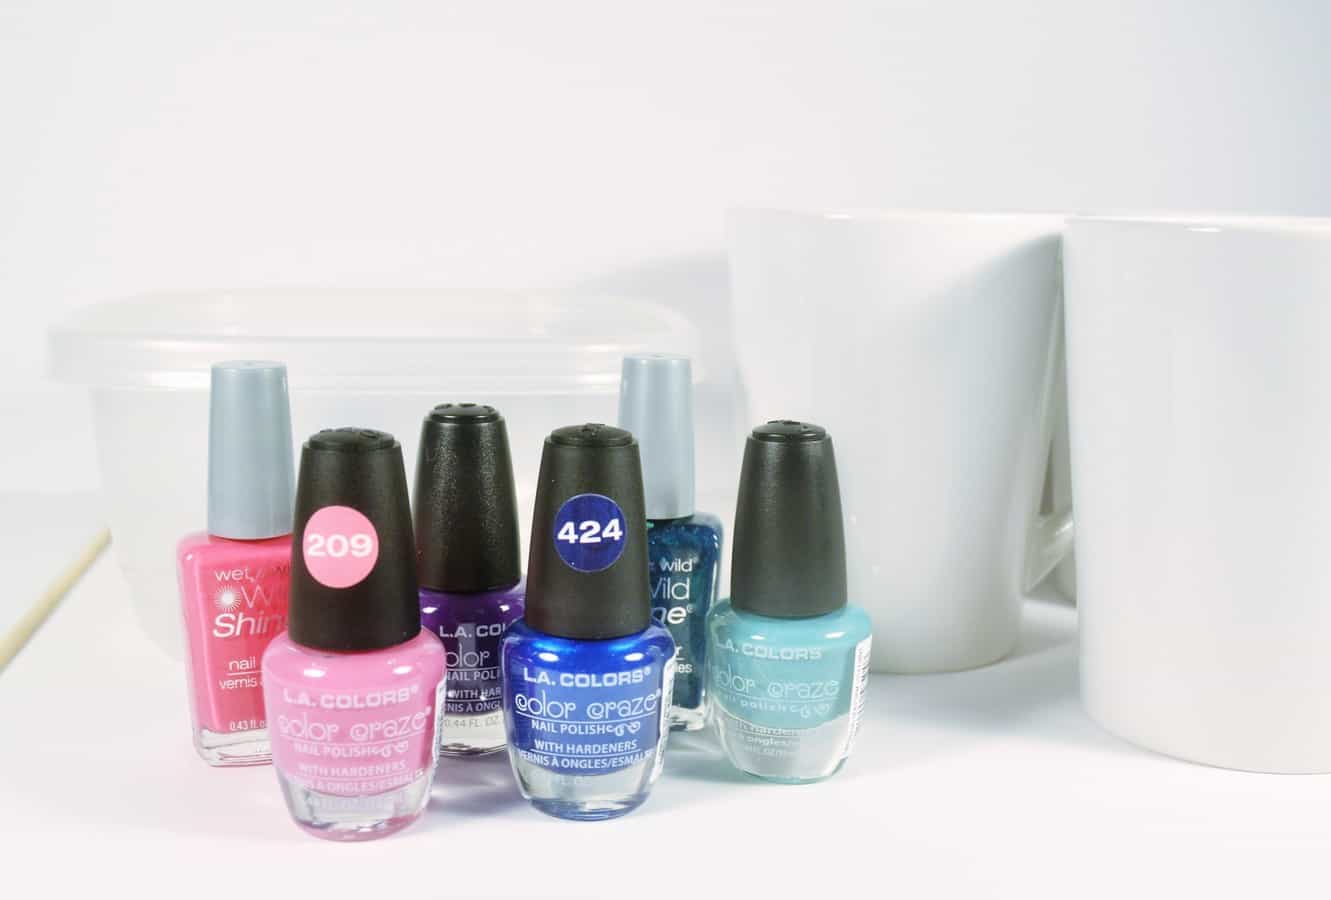
Materials:
Nail Polish (here’s a cheap set of 12 nail polishes–a little more than $1 a piece)
Plain White Mugs (Washed and Dried-I found mine from World Market, but you can also get some for a bit cheaper here!!)
Disposable Tub (Old tuppeware works great here)
Skewer or Toothpick
Parchment Paper
The best tips I can give you for marbling with nail polish are these: 1) use hot water, and, 2) work very, very quickly.
The nail polish is going to want to harden pretty quickly upon hitting the surface of the water, and hot water will delay this process a bit.
This is probably the biggest mistake people make and the one thing I get the most complaints about. You definitely have to work quickly (and use HOT water) to get the best results.
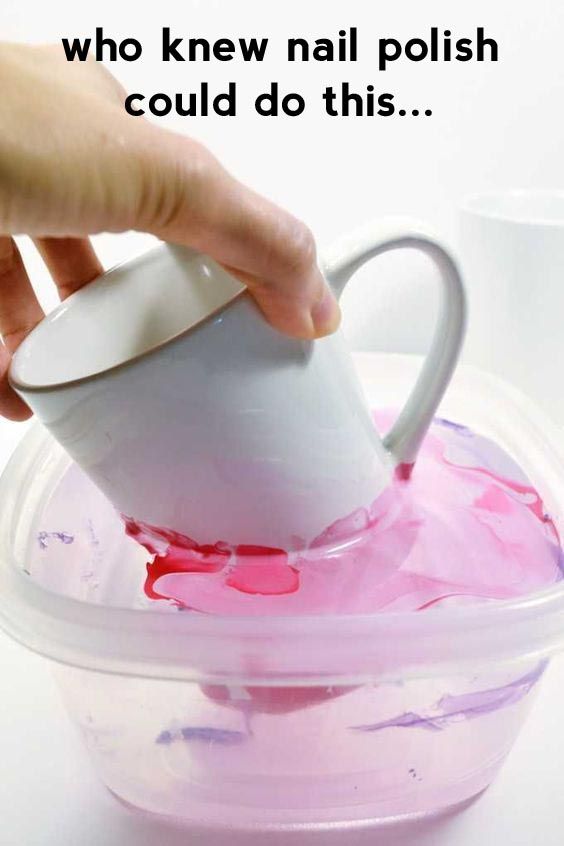
Fill your tub (use one that you don’t mind throwing away afterwards) with hot water, and carefully drip your nail polish onto the surface of the water.
Pour as close to the surface as you can, as this will keep the nail polish from sinking down into your water.
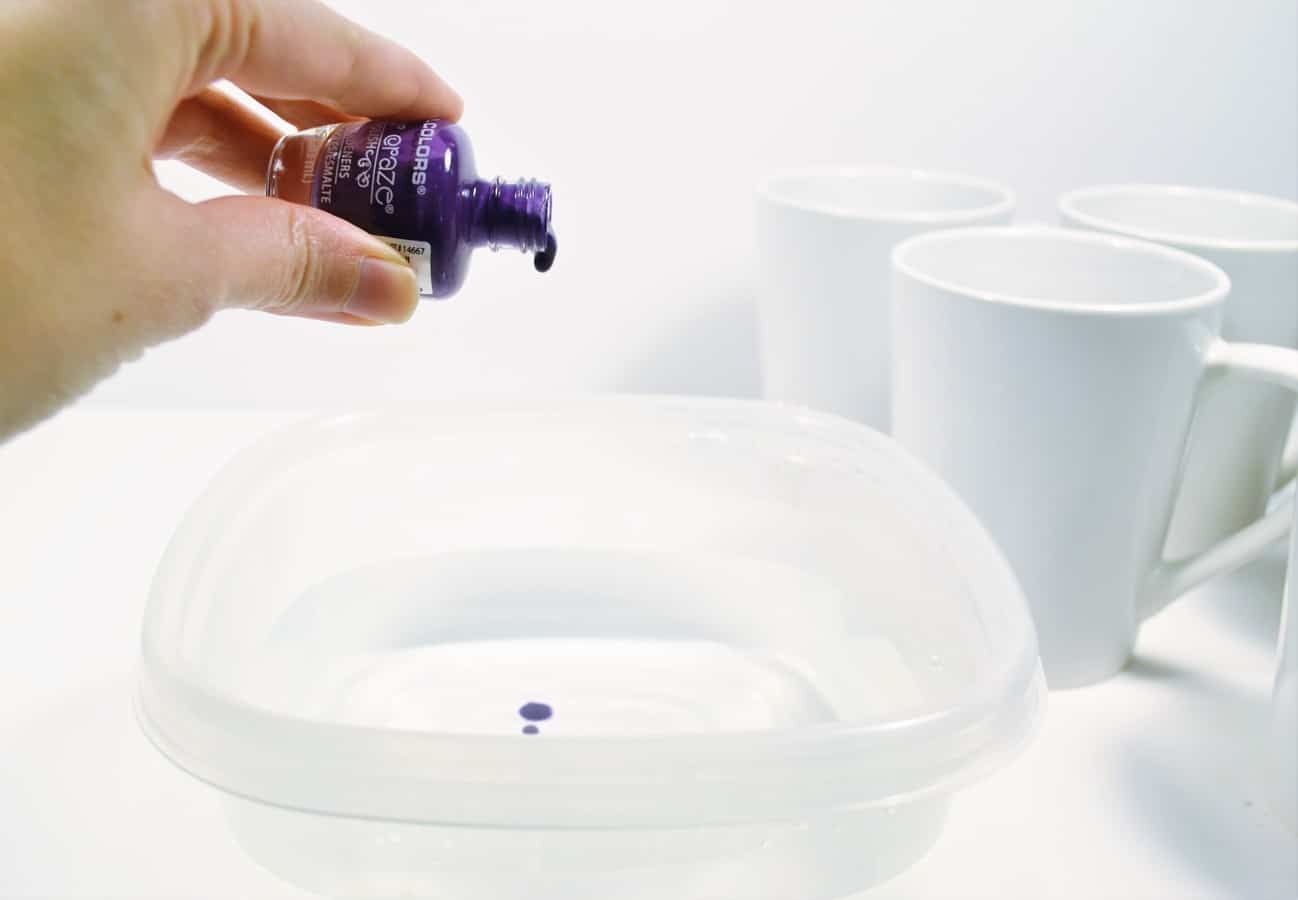
If desired, use your toothpick or skewer to swirl the polish around so that it covers the surface of the water.
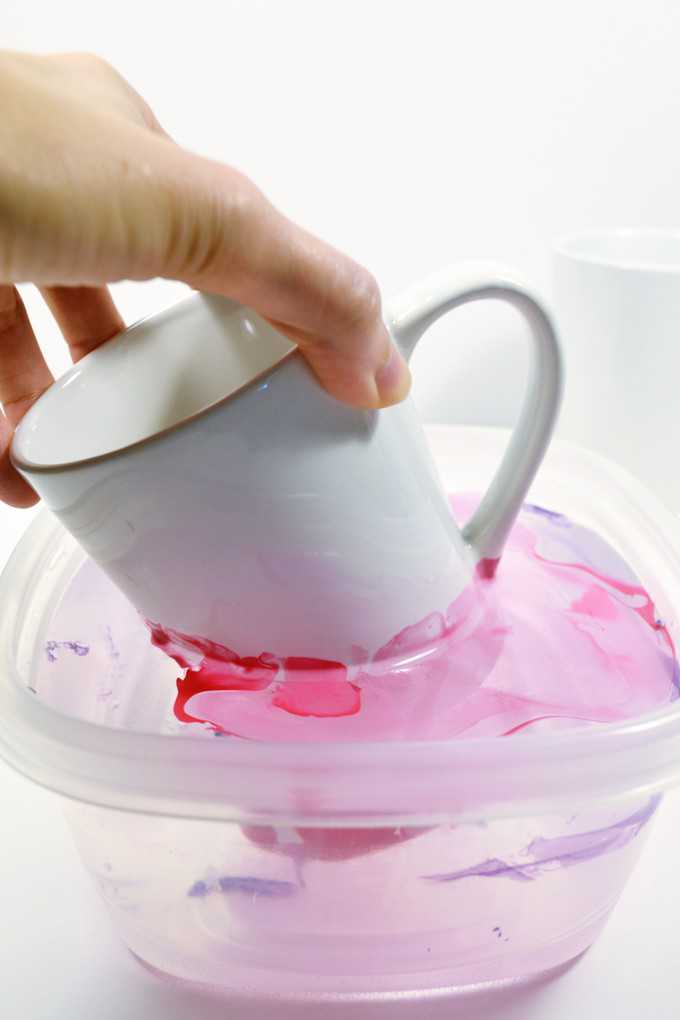
Immediately dip your mug into the water, and let it sit for a second or two to help the polish adhere to the mug.
Remove mug, and place upside down on parchment paper to dry.
Switch out water between mugs, and repeat!
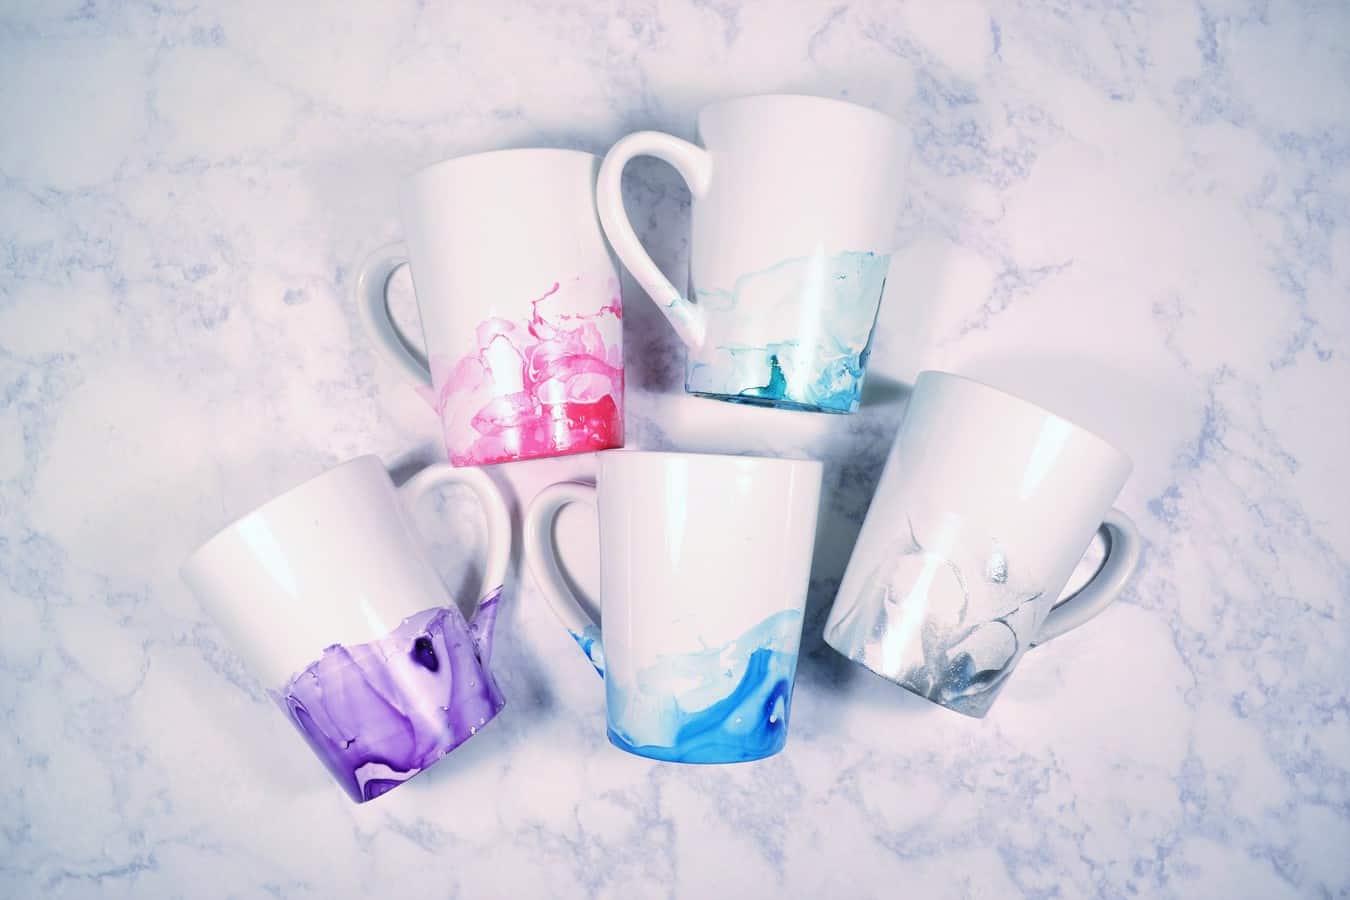
Once you begin, you’ll be amazed at how quickly the process goes. I marbled all five of these mugs in less than 10 minutes.
If desired, you can seal with a couple of coats of Dishwasher Safe Mod Podge.
I’m not sure if I’d necessarily stick them in the dishwasher, but it’ll give them a bit more protection from day-to-day hand washing.
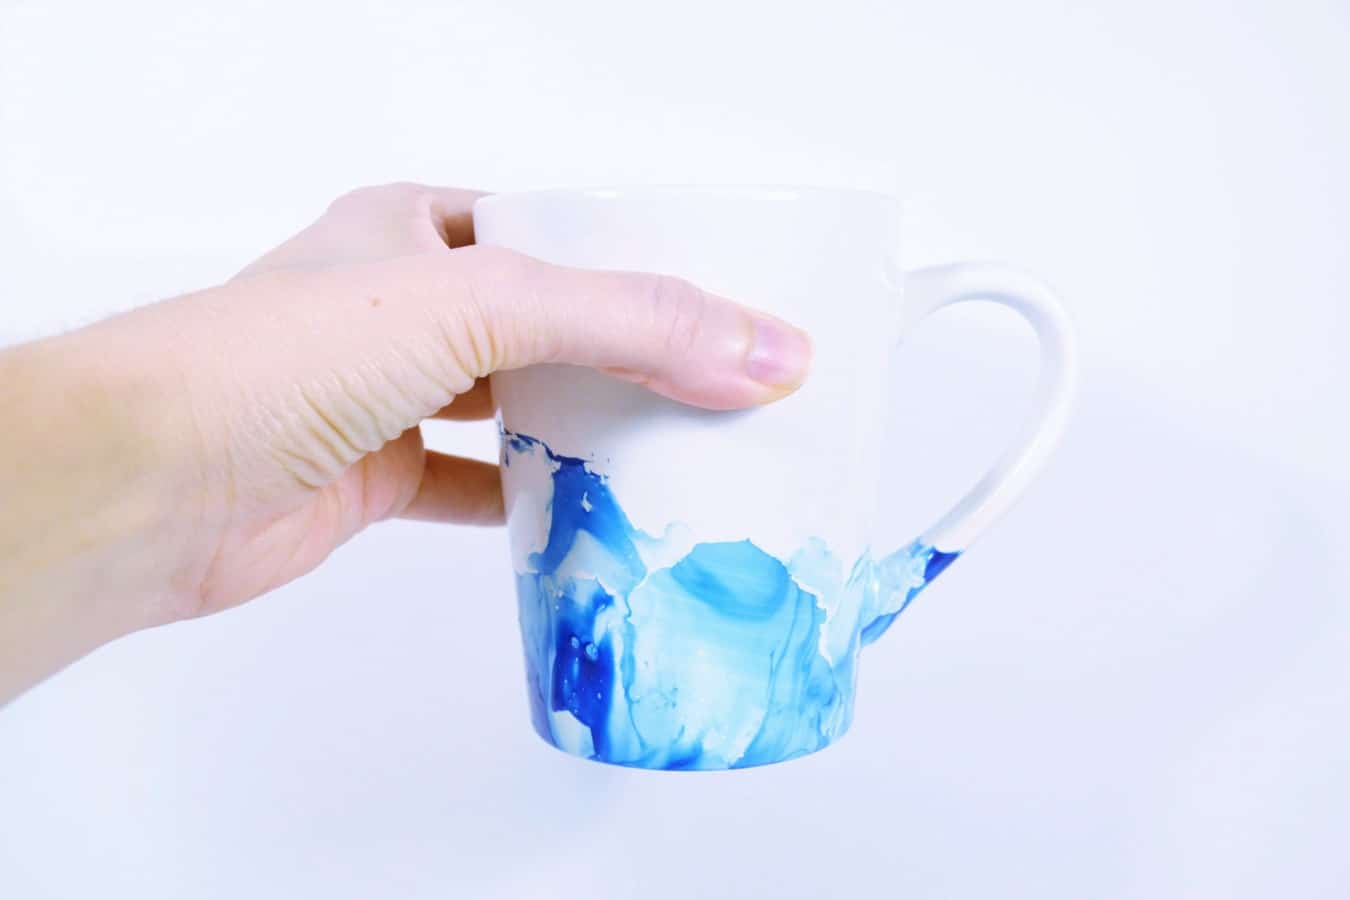
Quick note: You will want to be careful not to get any nail polish near the top of the mugs (where your mouth would touch).
As I said above, I’d recommend hand washing only.
Can You Use Nail Polish On Ceramics?
I get asked this a lot and the answer is YES!
The mugs I used here are ceramic mugs.
You could also decorate ceramic vases, dishes and more with this technique.
Again, I would recommend hand washing and not decorating portions of your ceramics that will touch food.
Does Nail Polish Stay on Mugs?
This is another question I hear a lot.
If you hand wash these mugs, the nail polish will absolutely stay on longer.
Long term, I am not sure how long the nail polish will stay on mugs. If you’ve done this project and have an idea, please leave a comment and let us know!
I LOVE giving these as gifts, and they also make great items to make and sell at craft fairs or online!
Not only that, I use them often for my morning cup of coffee 🙂
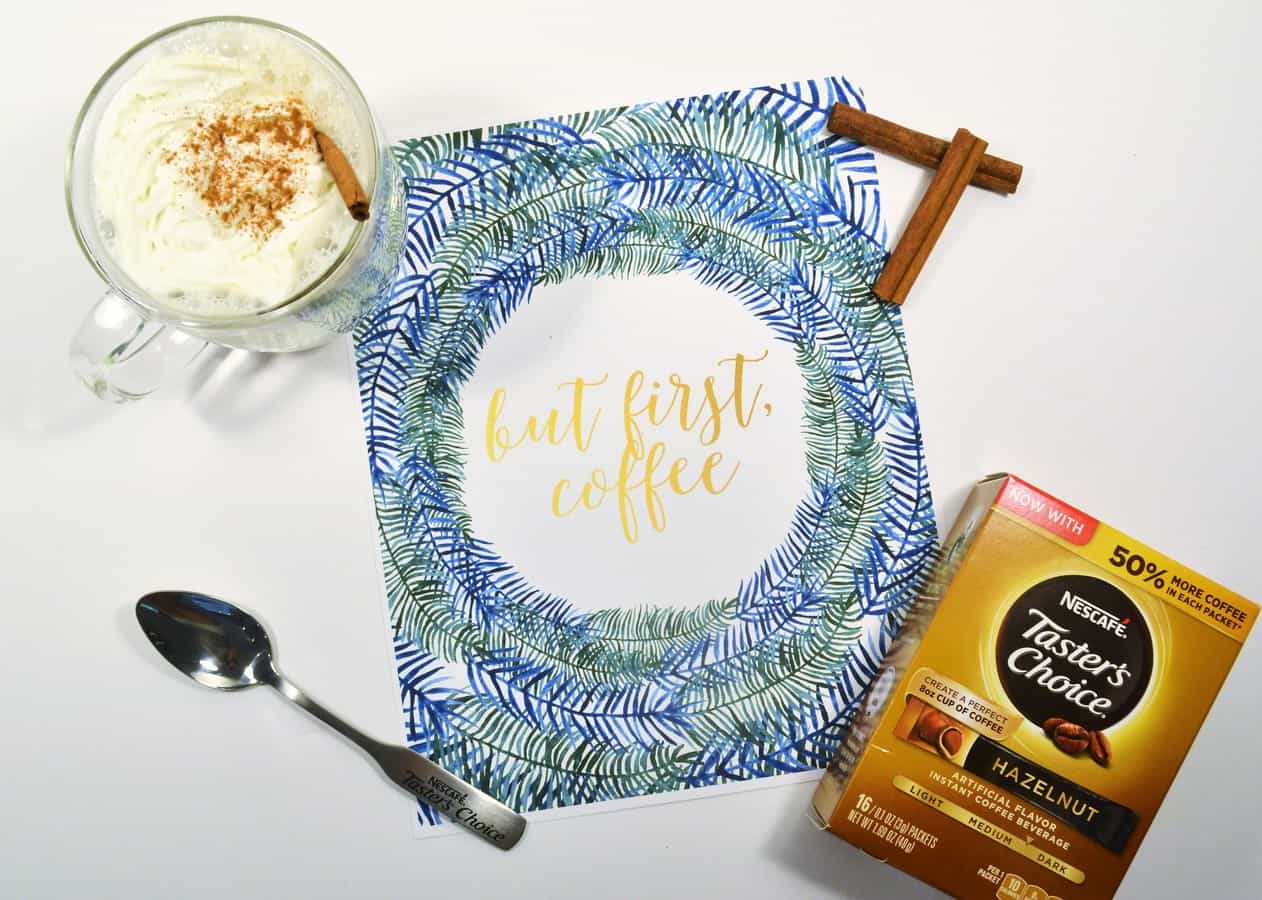
Want more coffee inspiration? These “but first, coffee” printables are perfect to add to your kitchen or coffee bar.
Thanks for reading all about my marbled nail polish mugs!
Have a crafty day!
Fanny
Monday 21st of August 2023
I like this idea
Emily
Tuesday 19th of October 2021
2I always loved to do DIY projects. This one is Great!! Plus a Great GIFT idea!! Thanks for Sharing, Will definitely use your idea...Way to go....
Gavin Yates
Monday 14th of June 2021
Thanks so much for this. Going to do this th is summer.
Linda
Wednesday 9th of June 2021
The Blue Bunny ad covers all your photos.
Lynda
Friday 9th of April 2021
I can’t wait to try these mugs, but I will have to wait until the lockdown is over. They r beautiful and they would make an excellent Christmas gift. A set of 6 with some fancy coffee or tea. I can’t wait to start. Would it work on plain glass? I paint plain glass and as long as it’s kept out of the dishwasher they r fine. I might try cuz I have lots of plain glass. Thank u for sharing. Regards Lynda
[email protected]