I’m not gonna lie, this was close to being a big craft-fail. The red paint that I chose is a bit dark for my taste (though it’s kinda growing on me) and the vinyl decal backing paper started pulling my carefully-executed paint stripes up (hence, the copious amounts of distressing to make it look purposeful).
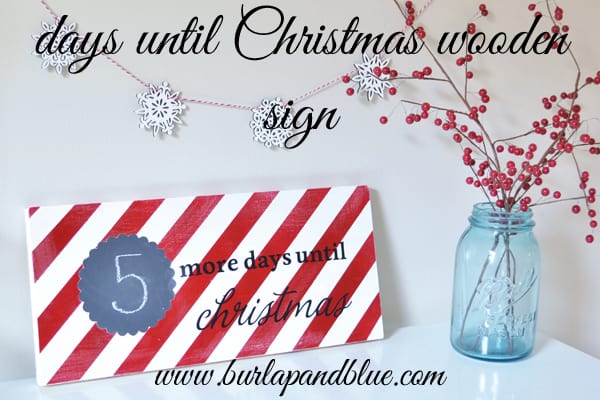
With a little creativity, though, and high-quality vinyl from Belvedere Designs, I have a creation that is still pretty awesome and my son is going to LOVE as we count down the days until his favorite holiday (okay, mine too). Keep reading for the full how-to…
Materials:
days until Christmas vinyl from Belvedere Designs (comes in three pieces)
wooden board
paint

Step 1: Gather your supplies, and get ready to apply your vinyl. First time? Don’t be nervous. Belvedere Designs includes a handy instruction enclosure to help you through the process, plus, an application squeegee to ensure your vinyl creations turn out perfectly. Detailed photo tutorials are also available on their site.
Step 2: Let’s begin! I used a 7″x16″ board that my husband cut, but you can easily find wooden boards at Michaels or Hobby Lobby.
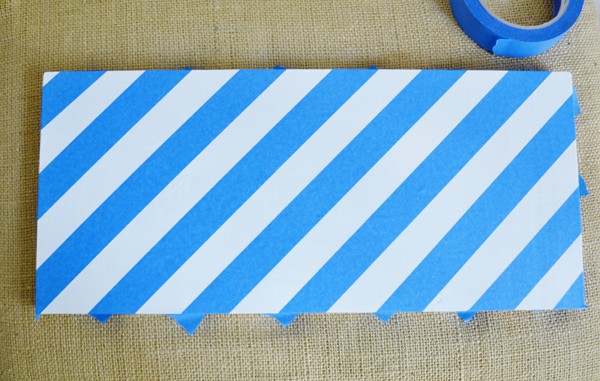
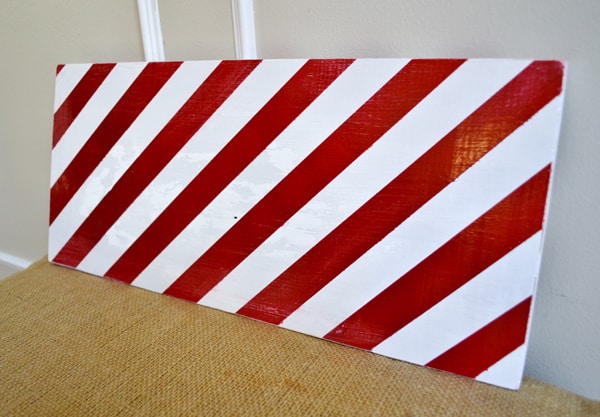
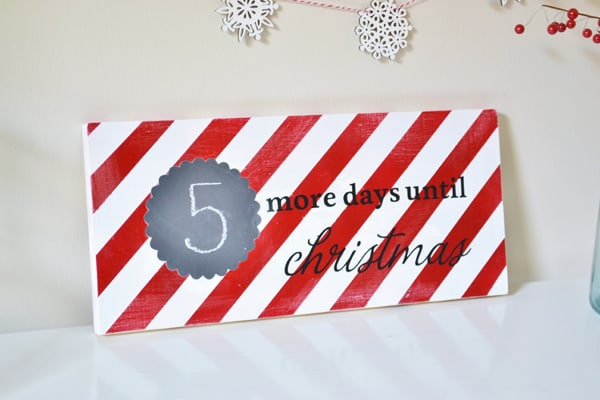
I painted the board with white spray paint, then used painters tape to mark out diagonal stripes on the board. I then painted the board with Krylon’s Cherry Red spray paint and removed the tape to get the candy cane-like stripes. Nothing says Christmas to me like red and white stripes!
If you are an impatient crafter (like myself) and don’t give your paint enough time to cure, and removing your tape also removes some of your paint…then grab a piece of sandpaper, distress your board, and it’ll all look like you meant for it to happen.
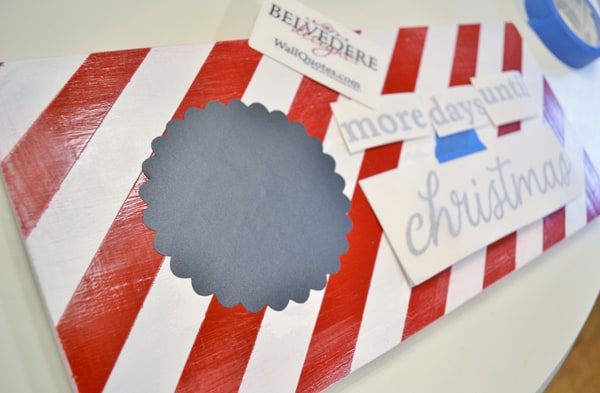
Step 3: Let’s get to the fun stuff. Take your scalloped chalkboard decal and place it on the left side of your board. It’s as easy as peel and stick, folks. Then, cut your “more days until” piece so that you have three separate pieces, and place them, along with the “Christmas” decal, onto your board.
I started with the “christmas” decal first. Use a piece of tape to hold it where you want it, and using the tape as a hinge, flip up decal and peel off backing. Lay decal back down carefully, and starting from the center, squeegee the vinyl decal firmly.
Step 4: Carefully peel back the transfer tape. To do this, start at a corner and peel the transfer tape off at a 180 degree angle-back and down rather than up and away. If necessary, use your fingers to press down on the letters as you peel back the tape.
Step 5: Following the same steps, apply the words “more,” then “days,” and, lastly, “until.”
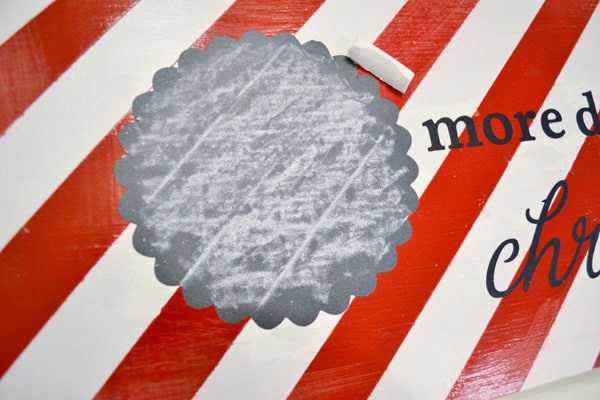
Step 6: Lastly, be sure to prime the chalkboard piece! To do this, rub a piece of chalk over your chalkboard vinyl, erase with a paper towel or cloth, and repeat. Your chalkboard vinyl is now ready to use!
And you’re done!
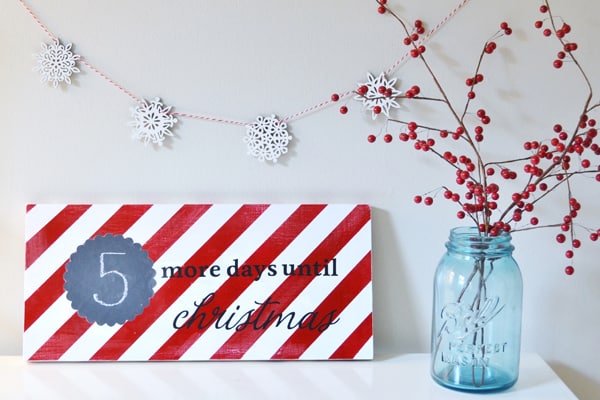
It may not be picture-perfect, but I love it anyway. There are so many ways to customize this, as well! If you create one of these, please leave a comment with the link so I can see and share!