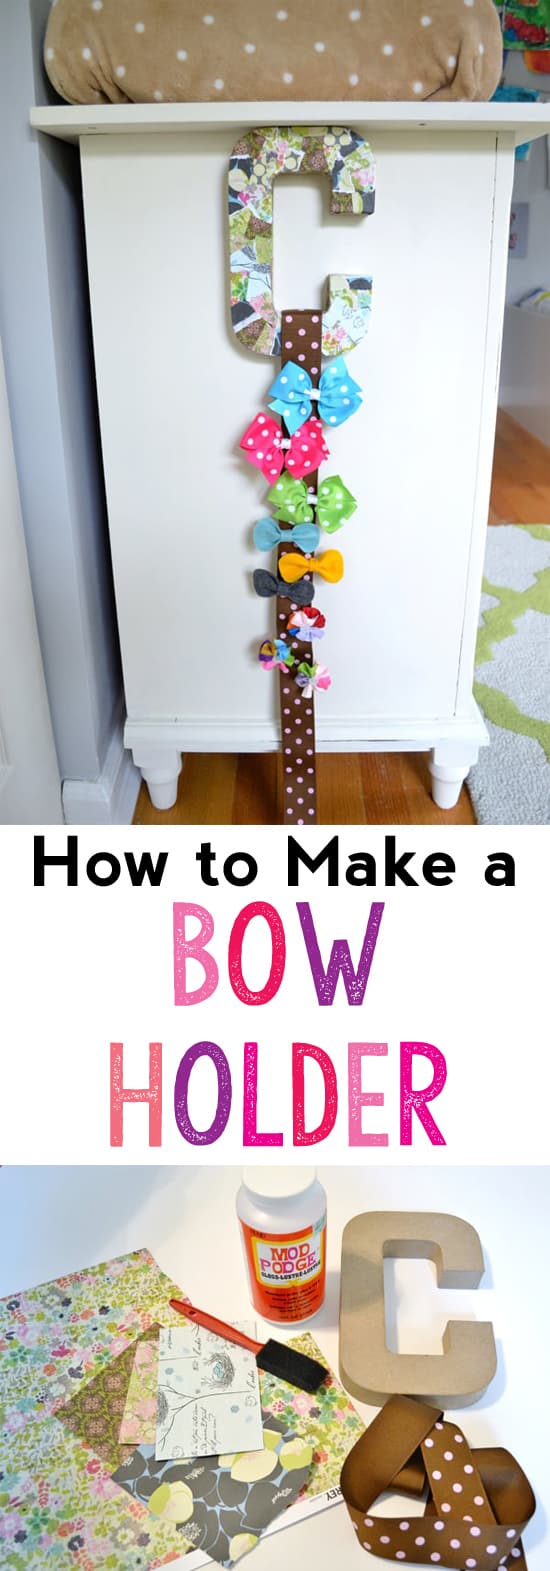
Have a little girl? This ribbon bow holder is perfect for containing and displaying all the bows and ribbons she most likely has
Using mod podge, this bow holder is a cute and creative way of holding all her favorite hair accessories.
As most of you know, I have a two-month-old little girl. And do you know what one of my biggest dilemmas was in preparing for her?
Nope-it doesn’t have to do with feeding schedules, what to pack for the hospital, or choosing a name-it’s figuring out what to do with all those adorable hair bows I’ve been collecting for her!
This simple bow holder is adorable and versatile…and so easy to make! Let’s get started!
Materials:
Mod Podge
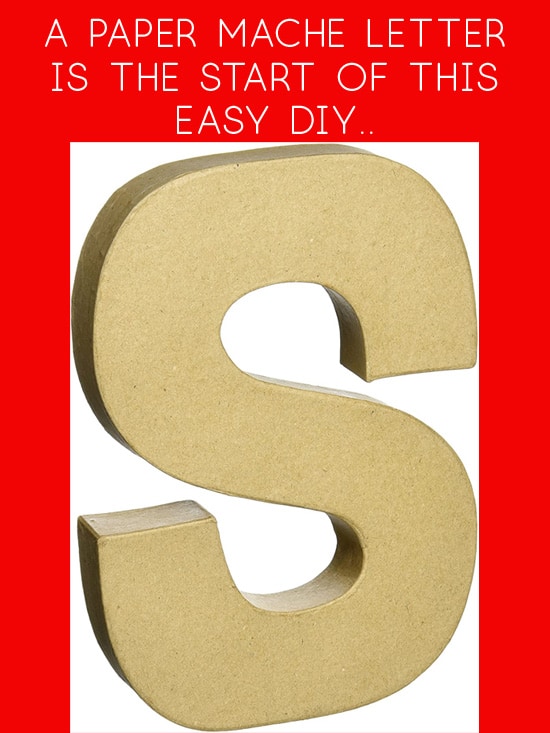
wooden or paper mache letter (I got mine from Hobby Lobby)
foam brush
scrapbook paper
ribbon

Step 1: Gather your supplies, and begin by tearing your scrapbook paper into pieces.

Step 2: It’s time to pull out the Mod Podge and attach your paper to your letter.
There are many ways to do this, but I work in small sections, adding some Mod Podge to the letter and attaching the paper. It took me about 10 minutes to cover the whole letter. I worked on the front first, then tackled the sides of the letter.
Here’s the letter with just the top covered in paper….

After working on the sides of the letter, folding down and Mod Podging the paper, your letter will look something like this:

Step 3: Once dry, add a layer or two of Mod Podge to seal your letter.
Step 4: Take a piece of wide ribbon, fold it over your letter, and attach with a bit of hot glue.
And you’re done!


Have a lovely day!
Pam
Saturday 5th of March 2022
I love this idea. How would you attach the ribbon if the letter you are using is a M? Also how are you finishing the end of the ribbon so it doesn't fray? I look forward to some ideas.
Thank you.