
personalized photo ornaments {a tutorial}
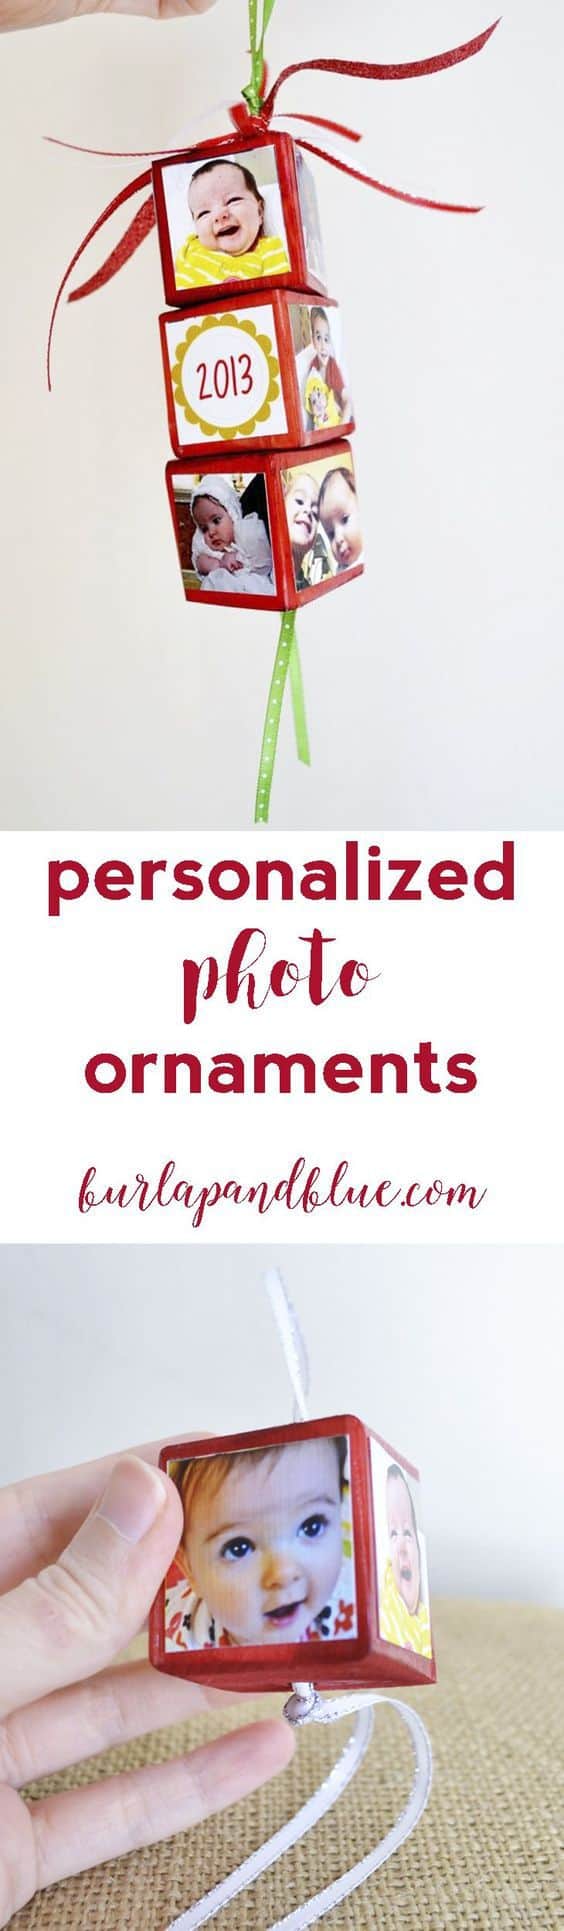
These personalized photo ornaments make a GREAT Christmas gift for grandparents and other family members.
Photo ornaments are a fun Christmas craft that are easy to customize!
Happy day-before-Thanksgiving, friends!
I have the perfect ornament tutorial to share with you all today.
It's hard to believe Christmas is upon us, and these will make a GREAT gift for the loved ones in your life (I should know...I've already made four of these cuties to give away)!
Materials:
Mod Podge
wood blocks (sanded, with a hole drilled through the center)
foam brush
square photos
ribbon
Rit dye (optional)
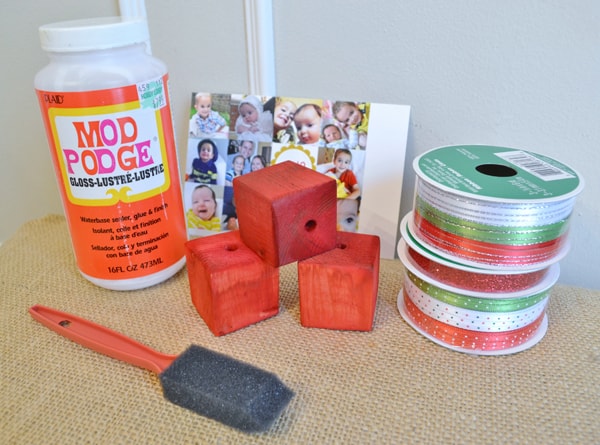
Step 1: First, you'll need to resize and print out the images you want to use on your blocks.
The blocks that I used are 1.5" cube, so I shrunk my photos down to 1.25". I used four photos per block, and used three blocks per ornament for a total of 12 pictures per ornament.
Don't forget to also create a square for the date! If you're unable to make the blocks yourself, you can easily find them online (here's a link to some I found on Amazon).
FYI-I used Photoshop Elements to resize my images, but any photo editor should work.
Step 2: If desired, use Rit dye to dye your blocks. Here's a tutorial I did last year on dyeing clothespins-just use the same technique for dyeing your blocks. Step 3: Using scissors, cut our your images, and Mod Podge them onto the four sides of your blocks.

Step 4: Let dry. Apply 3 coats of Mod Podge to seal, allowing your blocks to dry well in between coats.
Almost done! Now we're ready to add the ribbon.
I used a length of ribbon that was 25" long, you may need a different length depending on the size of your blocks.
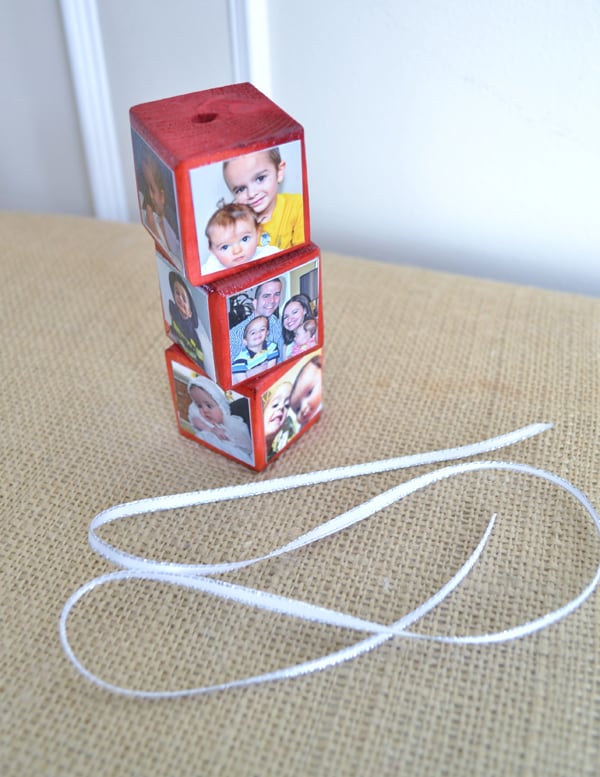
Step 5: Fold your ribbon in half, and tie a knot at the top of your ribbon. This is how your ornament will hang from your tree (or wherever your recipient decides to display it).

Step 6: Take the loose ends of your ribbon, and string all three blocks onto it. You can tie a knot between each block (like the photo below), or skip it. I think it looks fine either way! Once done, tie a knot at the bottom of the ribbon to hold the blocks on. Lastly, take lengths of ribbon and tie to the loop end of the ribbon to decorate it!


Have a wonderful Thanksgiving holiday, see you all next week!


Oh wow. I love this. Seems simple enough for this girl to do. Thank you for sharing this.
Ahhh! These are so adorable! I kinda want to make one with all my favorite pets! <3
Love this simple and festive ornament! Please share this project at my Show Me Saturday linky party. My readers would LOVE this!
Pinning and sharing!
~ Ashley