
rag wreath {coastal inspired}--a tutorial
Good Morning, all! Hope everyone had a wonderful long weekend! Mine was busy and perfect and full of family and friends, but I definitely missed you all. Today, I have a fun and inexpensive tutorial for you all...
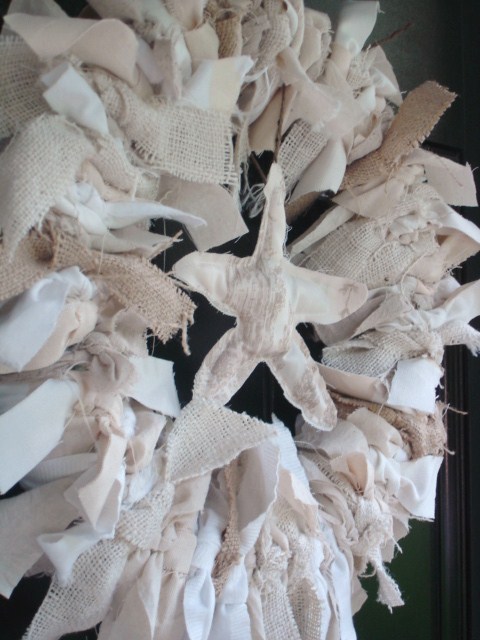
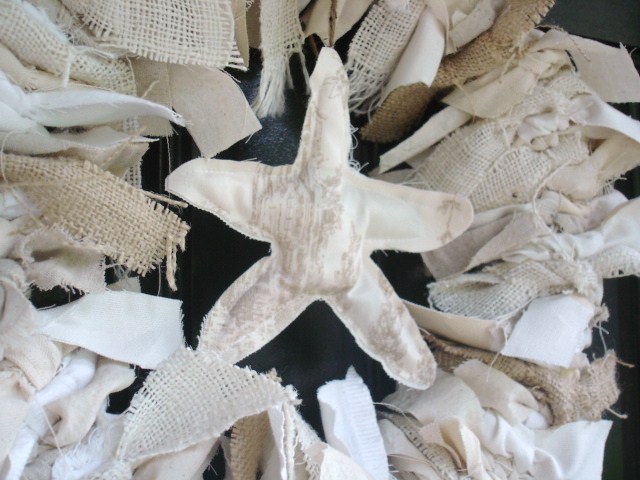
It's a coastal rag wreath, inspired by my love of all the current coastal trend combined with my love of the shabby simplicity of rag wreaths. It was cheap, easy and fun to make. Keep reading for the how-to!
Materials Needed:
foam wreath form
fabric scraps
scissors
ribbon for hanging
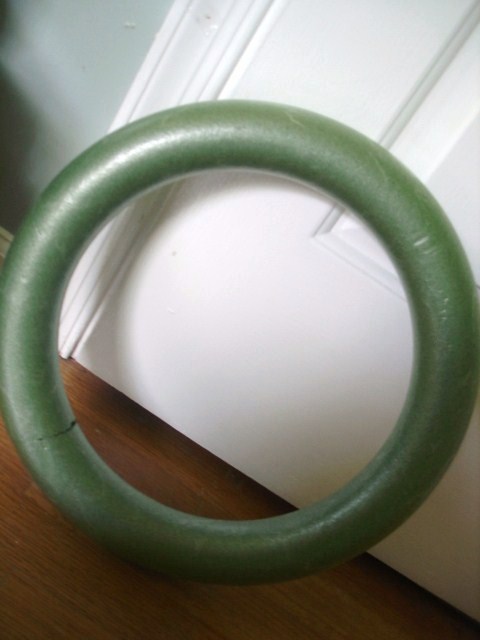
Step 1: Collect your materials. For the wreath form, I used a basic foam wreath that I picked up at the Dollar Tree, though I know Michaels has these as well. Also, gather the fabrics you want to use for this wreath. I stuck with neutral tones of both quilting weight and decorator weight fabrics. The heavier fabrics are a bit stiffer and hang differently than the quilting weight fabrics, and I tend to like the intermingling of the two.
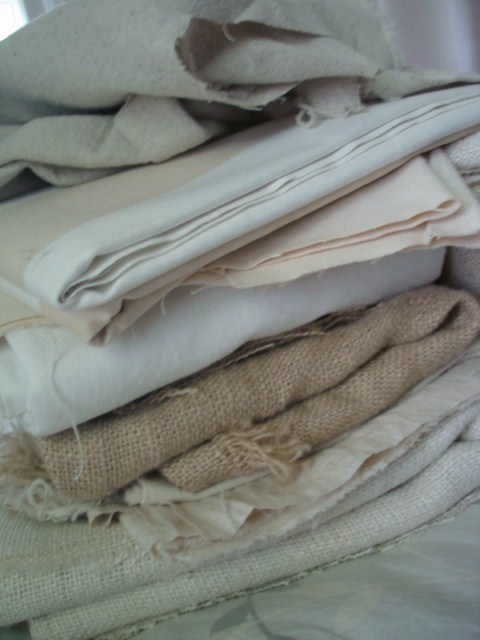
Step 2: Cut strips of your fabrics, about 6-8 inches long (check one before cutting all to make sure you are happy with the length!).
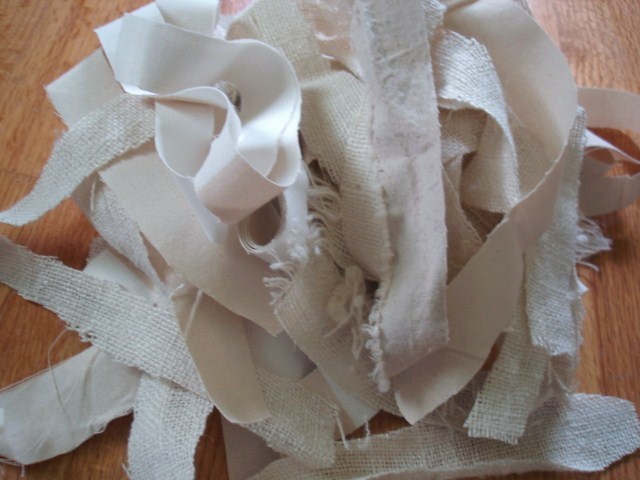
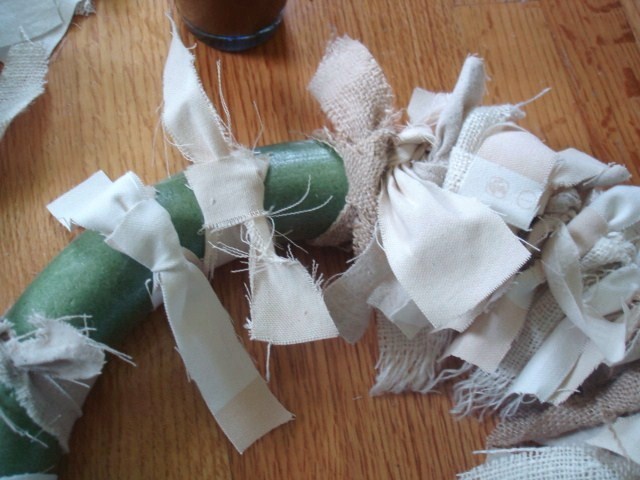
Step 3: Here is where the fun begins-take your individual strips and start tying them to your wreath form. I tended to tie square knots, but I don't think it matters. Every once in a while, push your tied strips together...I think the tighter together they are, the better the finished product looks.
Keep in mind that it's best to look at crafting, like life, as a journey, not a destination...this takes forever and a day to do...and, yes, that is an iced coffee in the background. Like I said, you may want to get comfortable.
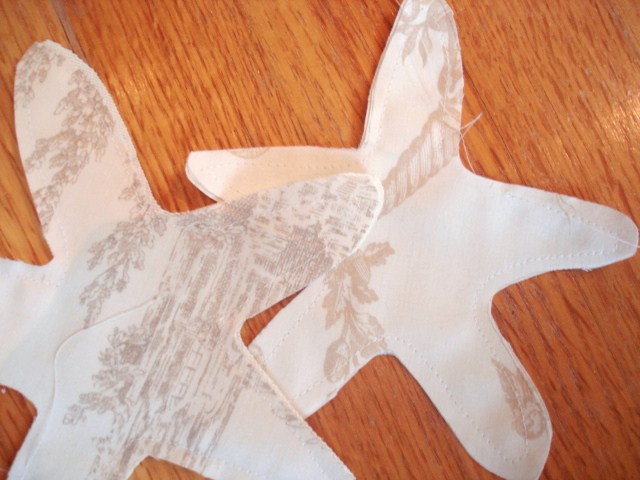
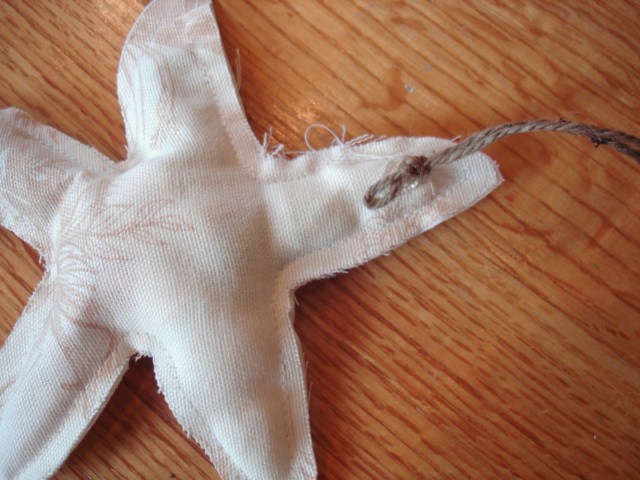
Step 4: Once you have tied all of your fabric scraps, the next step is making the ragged starfish for the center of your wreath. To do this, draw a starfish onto your fabric of choice and cut it out. With wrong sides together, stitch around your starfish, leaving a few inches for stuffing. Stuff your starfish with whatever you have on hand (for me, this means more fabric scraps), and then stitch your hole closed. Hot glue a length of twine to the back of your starfish for hanging. Easy Peasy.
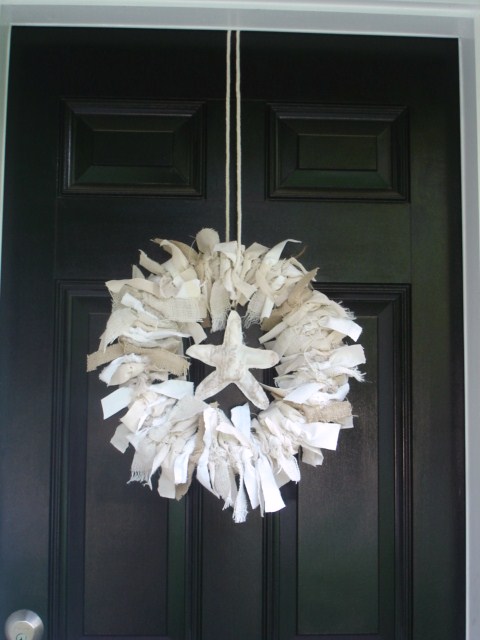
Step 5: Decide on what you want to hang your wreath with. I debated between wide jute ribbon, cream satin ribbon, and cotton cording. I tried all three, and liked the natural, simple look of the cotton cording the best.
And you're done!
Thanks for reading, have a great week!
I LOVE this tutorial! Thanks for sharing this idea! I think I'm going to try this with a bunch of vintage lace I have! Have a wonderful day!
I already made a wreath like this but the idea of putting an ornament in the middle is great and this is such a great way to make an easy and quick seasonal decoration. Love this one!
*Gasp!* This one is so pretty!! Such a great idea. I just love the beachy feel to this.
Beautiful!! And a tutorial to follow!! Fantastic!
So pretty! Love the star in the middle.
So cute! I'm definitely going to try this. Thank you for the great tutorial.
This wreath is so perfectly shabby beachy chic and elegant - wonderful job! Thanks for sharing! Come see me sometime - I'm giving away 3 super glamalicious Sam Moon cuff bracelets:
http://www.sceneofthegrime.blogspot.com
♥Laurie
LOVE it!! I had just posted a lovely rag wreath too! Wont you check it out? TFS!
Love this! I'm going to give it a try and if mine works I'll link to you! Thank you bunches for the inspiration...xoxo
It would look great on my door...love it!!!! 🙂
~Kim
Oh, it's so cute! I like the neutrals.
So charming, I love the textured fabrics!
This is wonderful!
I love this!! Thanks so much !!
Beautiful... I think I have all the material I need to make this. Thank you for linking to my party!
What a fantastic project! I love the finished result! Love the starfish too! Great job!
LOVE this! and the best part is, i can totally do it! 🙂
LOVE this! and the best part is, i can totally do it! 🙂
LOVE this! and the best part is, i can totally do it! 🙂
LOVE this! and the best part is, i can totally do it! 🙂
LOVE this! and the best part is, i can totally do it! 🙂
LOVE this! and the best part is, i can totally do it! 🙂
LOVE this! and the best part is, i can totally do it! 🙂
Thanks as soon as I'm done painting my door I will make one of these.
Great idea!
I really like this wreath...and you make it look so simple to make!
I love this so much! Wish I had the time (and patience) to give it a go. I think I'll just have to admire your's for the time being!
Jeanine
What a cute and summery wreath!