Want to learn how to make stickers? In this post, we are sharing several ways to make your own stickers, with tips on how to choose the right sticker paper, and how to sell your stickers!
Stickers are so, so popular right now, and for good reason!
Stickers are inexpensive to make, versatile, great to sell and easy to package and ship! They are the perfect DIY craft for almost any age level.
They are truly having their moment in the sun, so there is no better time to learn how to make your own stickers. It’s a great art hobby to try!
In this ultimate post on making stickers, you will learn what you need to make stickers, and we will share several techniques to make them.
Try them all, and then choose your favorite!

We will also shares tips on what paper to use to make stickers, and what programs you need to make stickers (if any).
Let’s get started…
What Materials Do You Need to Make Stickers?
What you will need to make stickers at home does depend on the process you use to make your stickers.
Fortunately, there are several ways of making DIY stickers, and each will need slightly different supplies.
One of the easiest ways to make stickers, though, is with packing tape, parchment paper, and either hand drawn or computer printed images.
Another simple way is with sticker paper and a printer.
You can also easily make stickers with contact paper and Sharpies.
If you own a Cricut machine, you can use that to make your DIY stickers at home.
Lastly, you can make stickers with adhesive foam sheets and Sharpies (or glitter glue or puffy paint).
I’ll share with you how to make stickers with each method below, but first, let’s talk about the best printer for stickers.
Best Printer for Stickers
Printing stickers at home is so economical and easy!
The question I get asked more than anything, though, is this: what is the best printer for printing out digital stickers or even free printable stickers?
There’s not one right answer, so we made a whole post on the best printer for stickers.
It’ll take just a few minutes to read through and hopefully will help you find the best printer for your sticker making needs!
How to Make Stickers with Packing Tape
Making stickers with parchment paper and packing tape is super simple, and you probably have all the supplies you need already in your house!
To make stickers with tape, you will need packing tape, parchment paper, and your images.
You can either hand draw images, make easy doodles, banners (learn how to draw a banner), or print off images using your computer and printer.
If you are hand drawing your images, simply draw your pictures or designs onto paper (regular printer paper or cardstock is fine for this).
If you are printing out your images, print out onto regular paper or cardstock.
Cut out your image, leaving a small white border around your drawing.
Lay down a piece of parchment paper, and place a length of packing tape (larger than your image), sticky side down, on top of your parchment paper.
The parchment paper is necessary so that you can easily peel your sticker off of the paper.
Take your image, and place it on top of your packing tape. Next, take another piece of packing tape and lay it on top of your image.
Make sure your packing tape covers your entire sticker, leaving a bit of a border around your sticker (maybe a quarter of an inch or so).
Smooth out your packing tape, so that there are no air bubbles.
Lastly, when you are ready to use your sticker, pull up your sticker from the packing tape, use scissors to cut around your sticker (make sure to leave a small border of tape), and your sticker is ready to use!

How to Make Stickers with Sticker Paper
Making stickers with sticker paper is probably the easiest and simplest method, but, if you don’t have sticker paper lying around your house, you will need to buy some.
Best Sticker Paper
Sticker paper is exactly what it sounds like.
It’s a paper with an adhesive backing that can be printed on using your home printer.
It’s usually sized at 8.5″x11″ and can be found on Amazon or Walmart (among other places0.
We have an in-depth post on the best sticker paper that is worth checking out to make sure you get the very best sticker paper for making stickers.
In short, though, for the best bang for your buck, this Amazon sticker paper is a clear winner.
For the best bang for your buck, though, this Amazon paper is a clear winner.
Best Vinyl Sticker Paper
When you are looking for waterproof paper to create stickers, what you are actually looking for is sticker paper made from vinyl.
Vinyl sticker paper is durable, waterproof and perfect for so many projects. It’s also a little more expensive than normal sticker paper.
If you buy stickers online, most likely, they will be printed on vinyl/waterproof sticker paper.
This is our favorite, all-purpose waterproof sticker paper!

How to Make Digital Stickers
Once you have your sticker paper of choice, as well as a computer and printer, it’s time to make your digital stickers.
You can use several programs to make your stickers. Personally, I like Photoshop Elements, but you can use Canva, PicMonkey or any other photo editing program.
Once you are in your program of choice, you will need to design or upload your sticker.
You can also purchase premade designs to use in your stickers (places like Etsy and Creative Market are great for finding these premade designs).
Just be sure to check the licensing terms to see if you are allowed to sell the stickers or if they are for personal use only.
Once your designs are created, it’s time to print.
How to Print Digital Stickers
Lastly, you’ll need to print your digitally-designed stickers.
Your sticker paper will probably come with instructions on how to best use it.
In short, you will print out your stickers (make sure your printer settings are adjusted for the type of paper you are using), and then, using sharp scissors or a paper cutting tool, cut out your stickers.
How to Make Stickers with Contact Paper
It’s super simple to make stickers at home with contact paper and Sharpies!
This is best if you want to make hand-drawn stickers.
It’s also a great birthday party activity and is on my list of things to do at a sleepover for kids and teens!
All you need for this method is contact paper and Sharpies.
Simply draw your designs (maybe try one of these Sharpies art ideas) on the clear side of your contact paper, and then, using sharp scissors cut out your designs.
Unpeel the contact paper from the backing, and your sticker is ready to use.
Easy peasy!
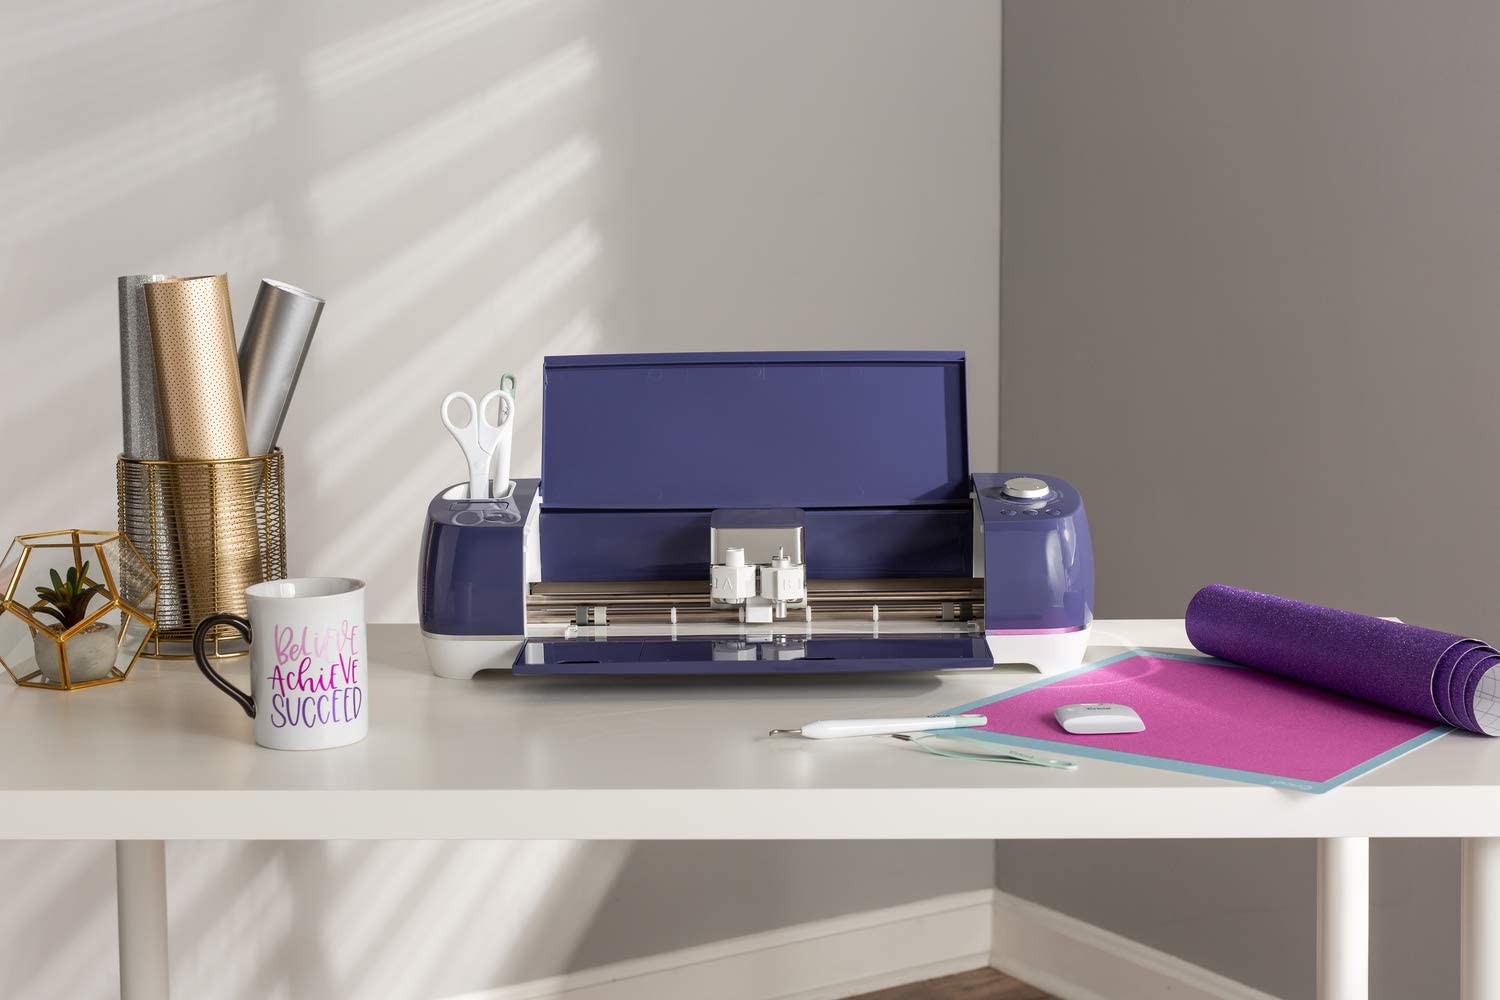
How to Make Stickers with a Cricut Machine
If you have a Cricut machine, this is probably the most “professional” way of making your own stickers, especially if you are making stickers to sell.
You probably already use your Cricut with free SVG files, and now I’ll show you how to use it to make stickers, too.
We’ve talked before about how to choose the best Cricut, but for printing stickers you will need the Print then Cut feature, which isn’t available on the Cricut Joy.
Print then Cut is a handy feature that will cut around whatever materials you print out. It’s perfect for making stickers!
We will also use the Offset Tool, which adds an outline around your images.
First, in your Cricut Design Space, insert the images you want to use for your stickers.
Once you have your image selected, you can then click on the Offset tool in the menu.
Either slide the little circle to the left or right to change the size of your offset, or you can type in the exact size you want your offset to be (somewhere between .1 and .15 are good places to start). Experiment a bit to see what you like best.
Once the offset is applied, there will now be two layers: the original image layer and the offset layer.
The offset layer will be set to black. You will need to select the layer and change it to white.
Next, use the flatter tool in the bottom corner to flatten the offset layer and the image layer into one single layer.
Your image is ready to be printed (using Print then Cut)! Do this for all images you want to print as stickers.
The maximum print area size for Print Then Cut projects is 9.25″ x 6.75″.
To maximize your printing shapes, I would add a shape to your design space that is 9.25″ x 6.75″. Then, place your stickers on the rectangle.
You can resize and move them so that they fit while minimizing wasted space. Lastly, hide the rectangle.
To print, use the Attach tool or Flatten tool to attach your stickers in place (so they print out where you want them).
Print your stickers, then place them on your mat, then insert it into your machine.
Cut out your stickers, and you’re done!
Super cute and professional looking stickers ready to sell using your Cricut machine.
Looking for more Cricut and Silhouette tips and inspiration?
We share our picks for the best heat transfer vinyl, and our picks for best vinyl for Cricut!
How to Make Stickers with Foam Sheets
Foam sheets are such a great and super simple way to make DIY stickers at home!
All you need are foam sheets (I prefer white for this), and Sharpies.
You could even use glitter glue or paint pens for this activity.
Just like making stickers with contact paper, you will draw your designs on the top of the foam sheet.
Cut around your design with scissors, and then peel off the backing.
Your foam stickers are ready to use!
Want something a little bit more unique? You can also use adhesive cork sheets for this!
Making simple stickers with foam sheets would also make an easy and creative YouTube Video Idea for Kids to film!
How do I make a picture into a sticker?
If you have a picture you are looking to make into a sticker, I would recommend the sticker paper method.
You will need to upload the picture you would like to make into a sticker (you can do this by scanning it), and then print it out using sticker paper.
Lastly, you will need to use sharp scissors to cut around the image. That’s it! A simple sticker using any picture you like.
How to Make Stickers to Sell
Selling stickers (and other paper products you’ve created) is one of my favorite crafts to make money.
It’s a fantastic hobby for all ages.
So, once you have your stickers, it’s time to package them up to sell.
I love packaging stickers in small glassine bags, and sealing the bag with a cute sticker.
You can also tie a length of twine around your bag to add some more color and interest to your packaging.
You can use sturdy cardboard mailers to ship your stickers (this is to keep them from bending during transport).
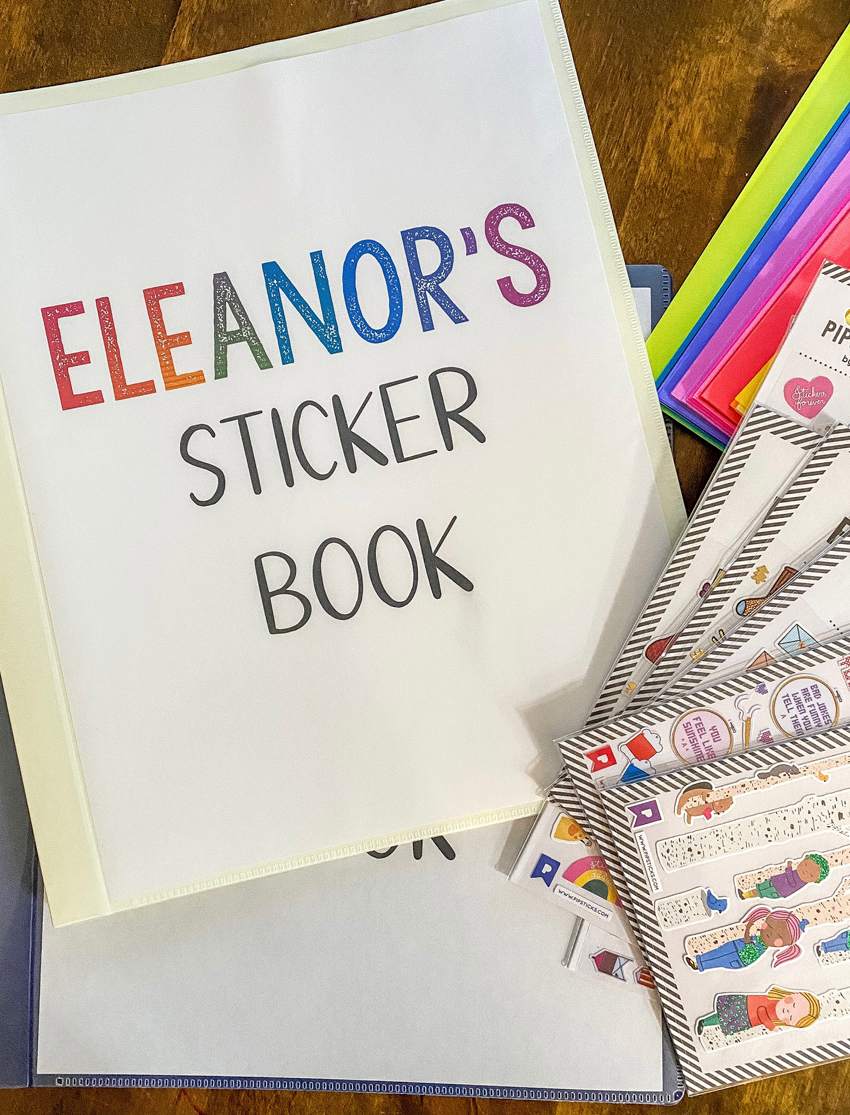
(making stickers for yourself or a gift? learn how to make a DIY sticker book to display your favorites!)
Where to Sell Stickers
My favorite place to sell (and buy) stickers is Etsy.
You can also sell your stickers directly from your website, or in local craft shows.
How to Make Money Selling Stickers on Etsy
If you decide to sell your stickers on Etsy, you’ll want to know how to make the most money!
I’ve sold on Etsy for over ten years, and I have lots of tips on how to make the most of the platform.
One, make sure your photos are fantastic. This is really important!
Clear, well lit photos DO make a difference. Also, be sure to include a number of photos from different angles, and including an item for scale so potential customers have all the information they need to make a purchase.
Next, pay close attention to how you are phrasing your Etsy titles and tags to take advantage of these two features of your listings.
Also, if you can offer free shipping, try to do so! Many people love free shipping, and only look at listings that offer it.
You can encourage larger purchases by offering free shipping for orders over a certain amount, or only offer free shipping to certain countries.
Lastly, presentation is everything. Pack your order with care, and maybe even include a thank you note and/or freebie, to make opening your package a memorable experience for your customer.
You can absolutely make money selling stickers on Etsy. It just may take a little time and patience to grow your online business.
Where to Print Stickers Online
Okay, let’s say you love the idea of DIY custom stickers, but you really want a professional look and don’t have a Cricut or other cutting machine?
There are definitely inexpensive and high-quality options for printing stickers online!
I have not used these sites, so I would research and check out reviews before committing to one!
Jukebox
Jukebox boasts high quality, weather resistant and easy to peel stickers.
They can create any shape sticker you want, and also offer one business day turnaround if you need your stickers in a hurry.
Uprinting
Uprinting is another inexpensive option for printing out your stickers online.
Their site is easy-to-navigate, and there are a lot of reviews to help get a feel for the quality of the stickers.
They also offer various material options from high gloss to matte to vinyl!
Thanks so much for reading all about How to Make Stickers {Easy Way to Make DIY Stickers to Sell or Keep}.
Have a great day!