
washi tape lampshade (a tutorial)
Hello, Friends!
Like most of you, I just love when I can make something cute for my home out of things that I already have on hand. Last Spring, I taught you all how to take a glass jar and turn it into a lamp, and, a few weeks ago, I decided that I wanted to update the lampshade.
One plain Jane lampshade, a few rolls of Washi tape later, and I had this....
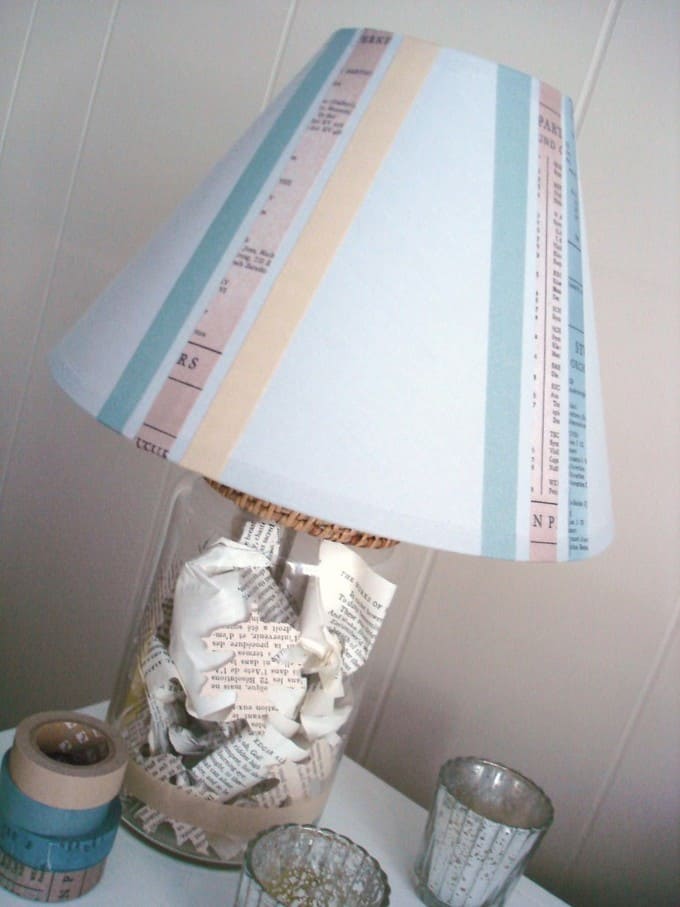
First, let's chat about what I put inside the jar/lamp...
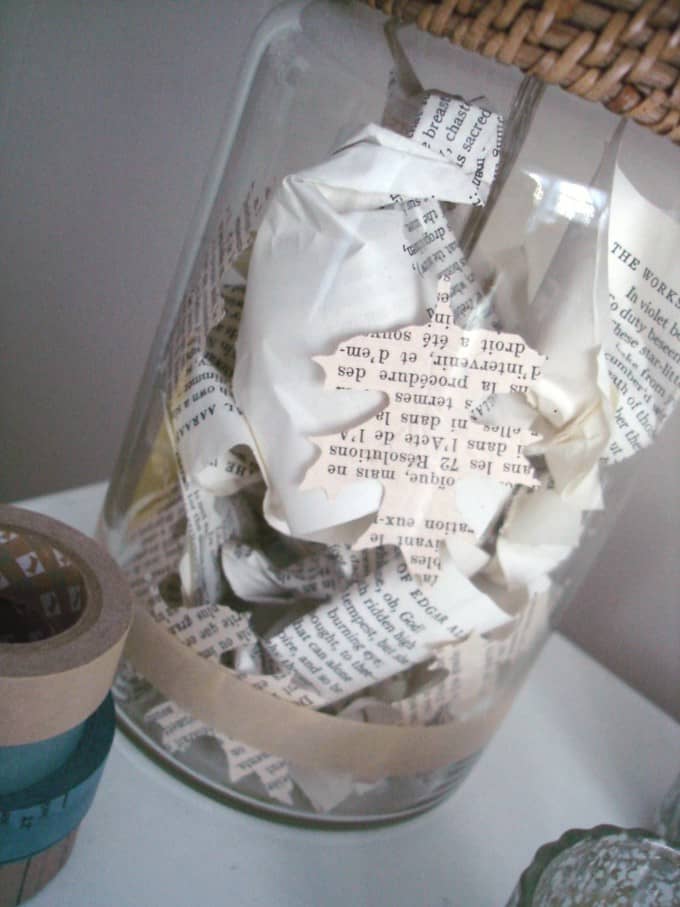
If you'll remember, I had rolled up lengths of paper in it before. I took those same pieces, crumpled them up for a different aesthetic, put them back in, and added some book page fall leaves to continue the theme.
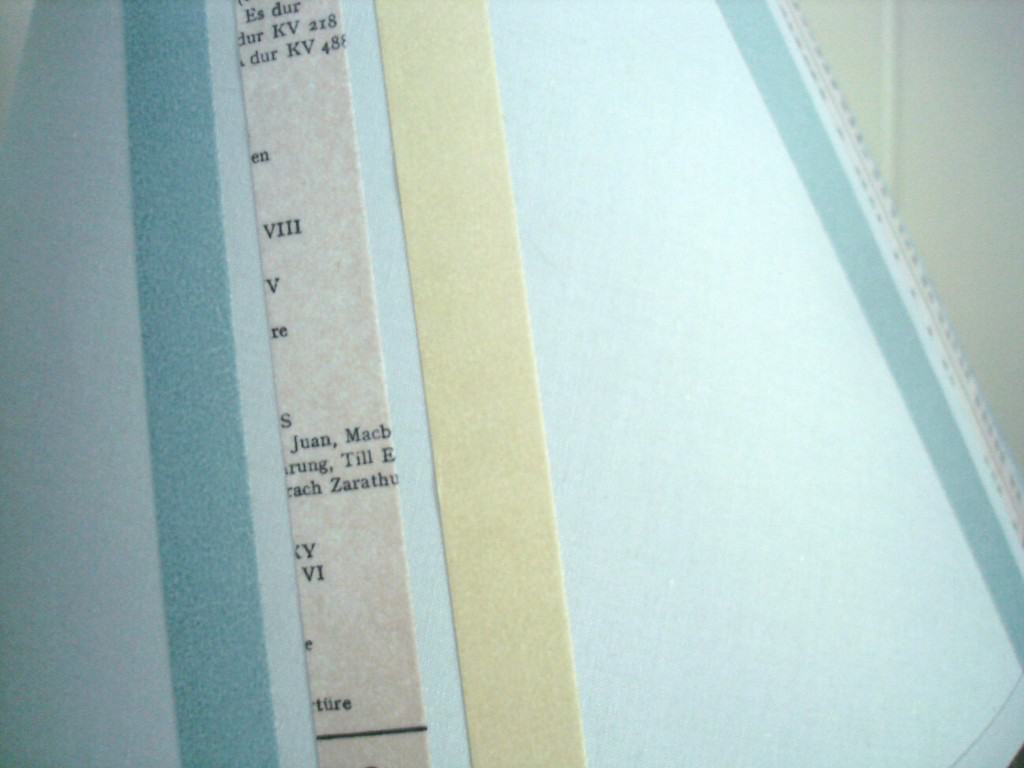
I then took my lampshade and several rolls of washi tape, and got to work. I created three sections of tape, three lengths of tape per section. I then added a strip of tape around the base of the lamp for a bit of crafty cohesiveness (solid color tape was a gift from my SIL, patterned tape came from Pretty Tape).
The best part?
Washi tape is removable, so, when I get tired of this look, I can remove the tape try something new!
Did you have a chance to get crafty this weekend? What did you create?

Curses!! So, I went to the etsy site and ordered a bunch of the washi tape.....my hubby will most likely be leaving you a comment to "thank" you! LOL!!!
I have never seen that tape before......I LOVE it and the ideas are already springing forth!! 🙂
Thank you so much for your kind comment on my blog!! 🙂 just checked yours out and am loving it!! I'm your latest follower!!! I've been dyin 2 try that tape and now I'm inspired to create my own lamp with it!! Thx!! 🙂
New reader here... and I absolutely love what you've done! I definitely need to get my hands on some of this tape and try something similar. Thanks for sharing!