
typography heart ornaments (tutorial and giveaway)
Last week, I had the privilege of guest posting on one of my very favorite blogs, Tatertots and Jello, where I shared the DIY for these fun and easy typography ornaments. Today, I wanted to share it here with you all! Don't forget to scroll down to the end of the post for a fun surprise...
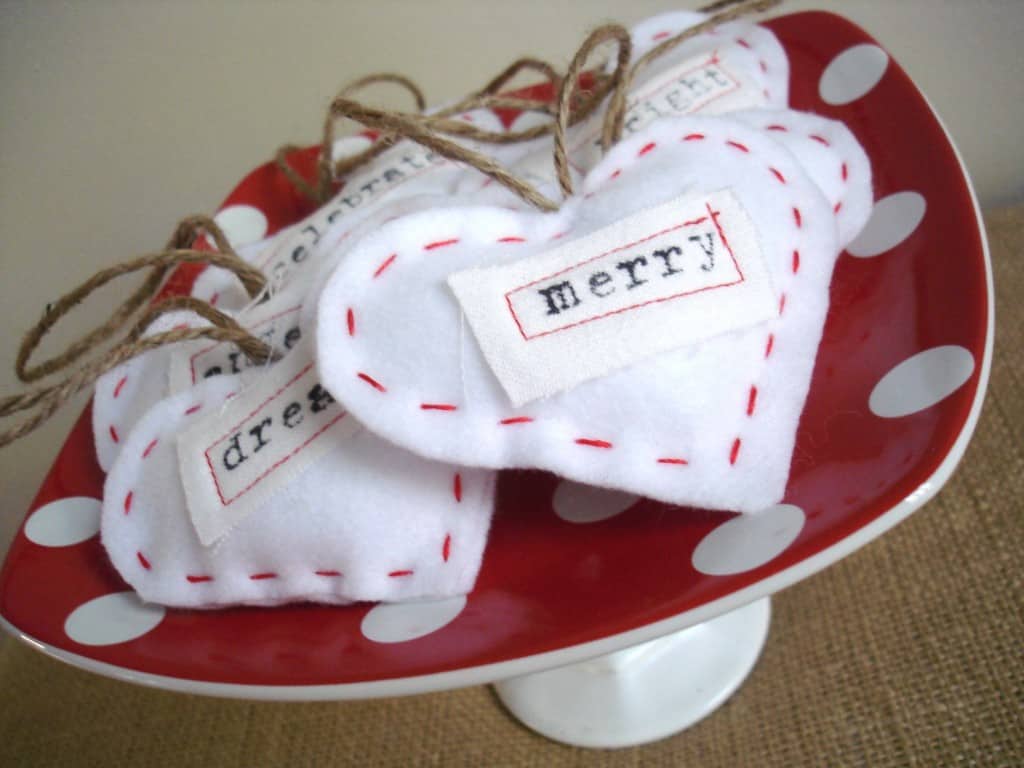
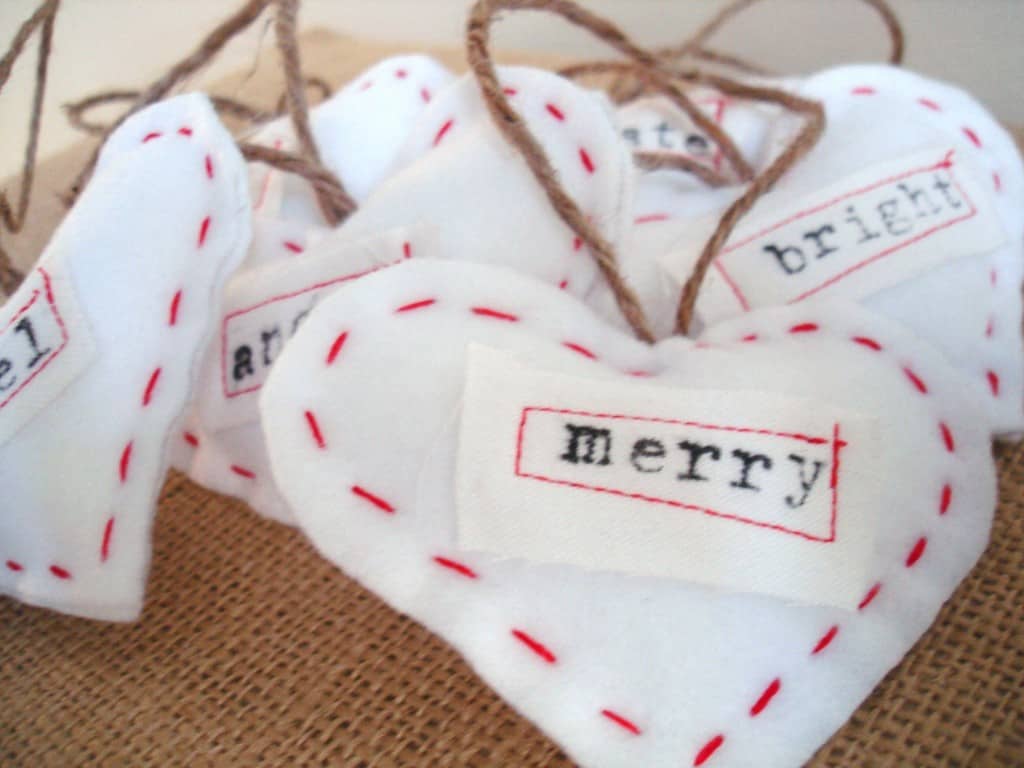
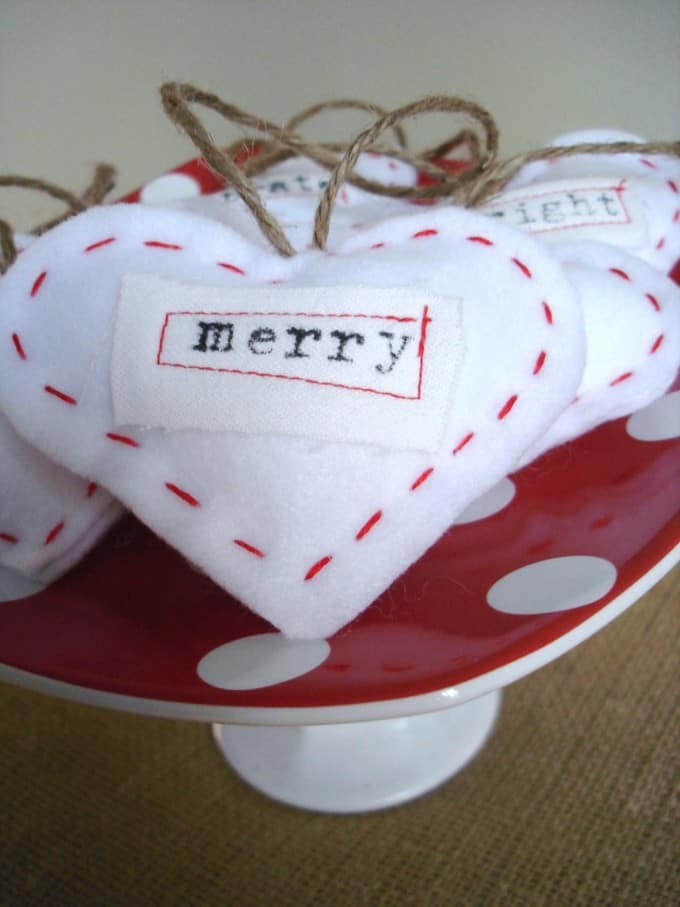
Use them as ornaments, gift toppers, or just display them in a pretty bowl (or maybe on a pretty pedestal?) for easy holiday decorating.
Materials:
felt
white cotton fabric
stamps and ink
embroidery thread and needle
poly fiber-fill to stuff
felt
white cotton fabric
stamps and ink
embroidery thread and needle
poly fiber-fill to stuff
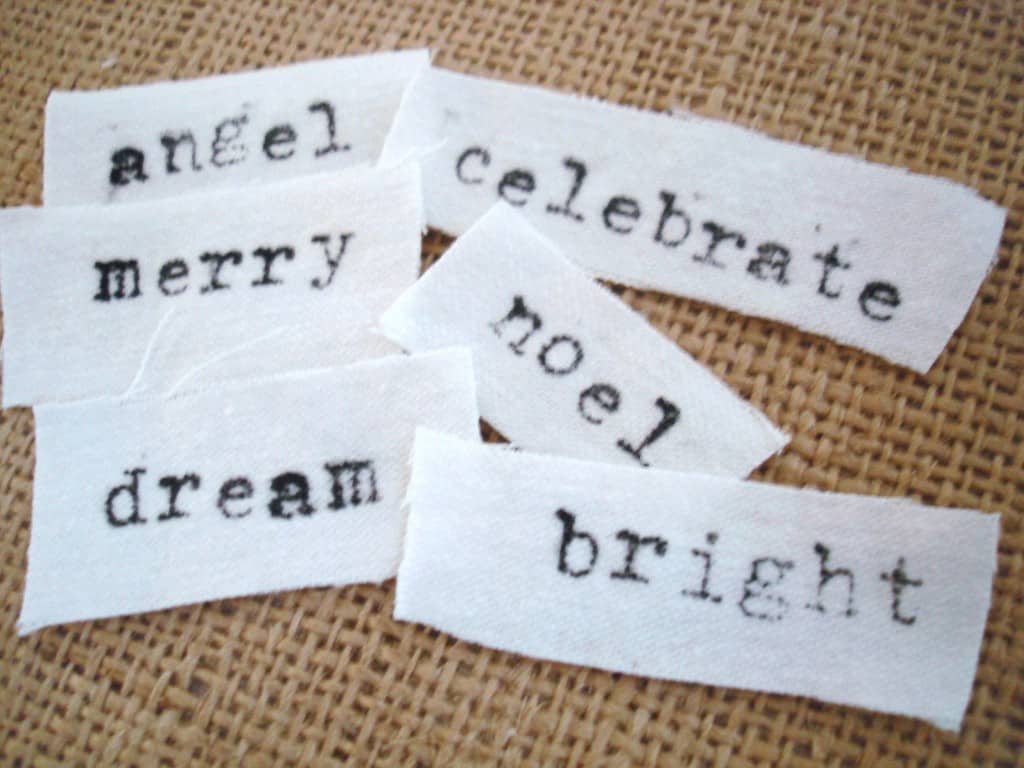
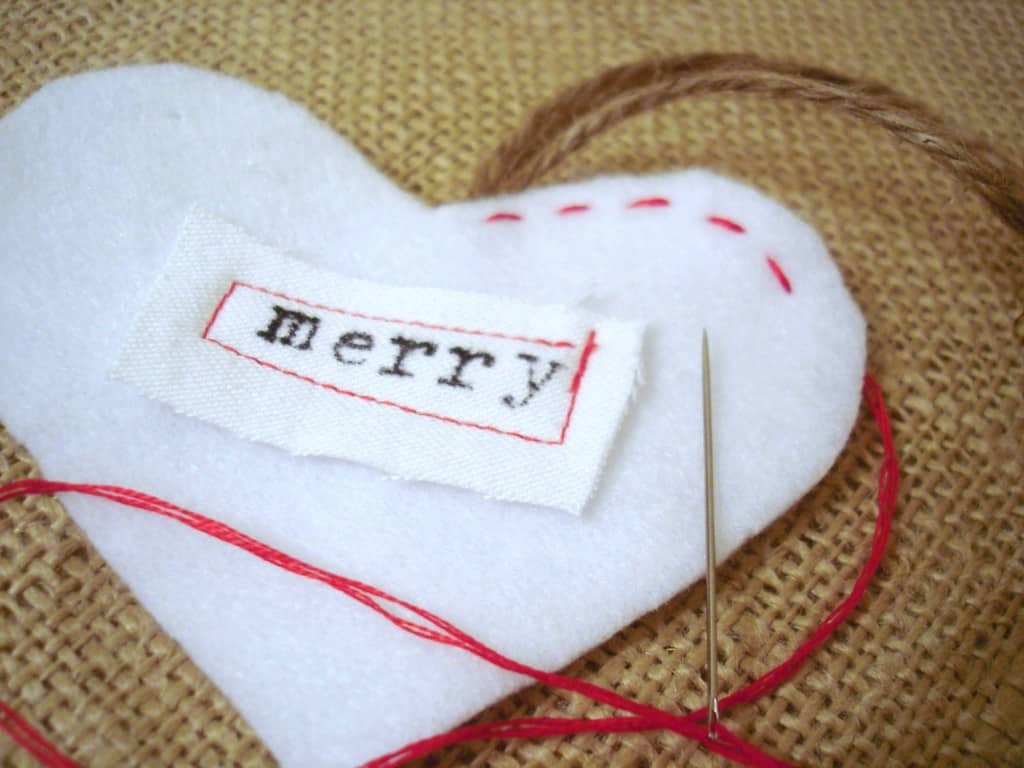
Step 1: Make a template for your hearts, and cut these out of felt. They can be any size you desire, mine are about 4" wide at the widest point. Then, using alphabet stamps (or even your own handwriting!), stamp out your words onto cotton fabric (I used Kona Cotton). Some suggestions? Noel, Merry, Bright, Angel, Celebrate, Joy, Peace, Hope...or, if using as gift toppers, stamp out the recipients and the date. Wouldn't that make a fun keepsake? Cut these out as well.
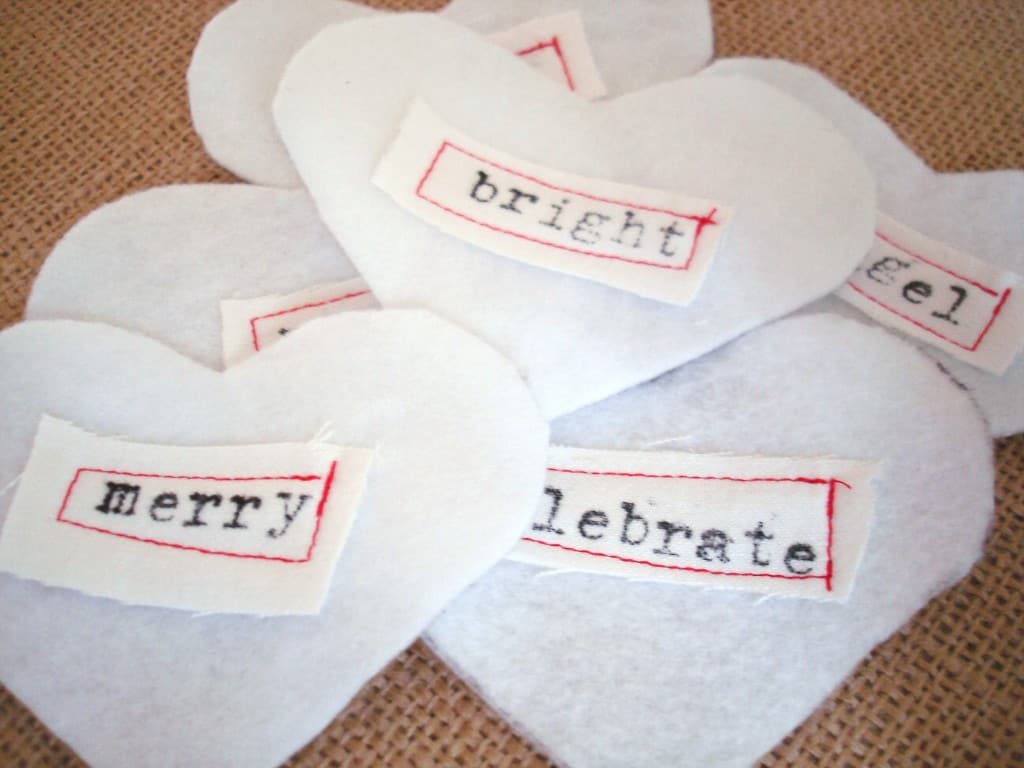
Step 3: Using your sewing machine (fabric glue will work if you don't sew), take each word, and sew it onto a felt heart. I used red thread because it contrasted nicely with the white (oh who am I kidding? It was what was still on my machine after sewing my son's Halloween costume together--but, you have to admit, it does look good with the white (smiles)).
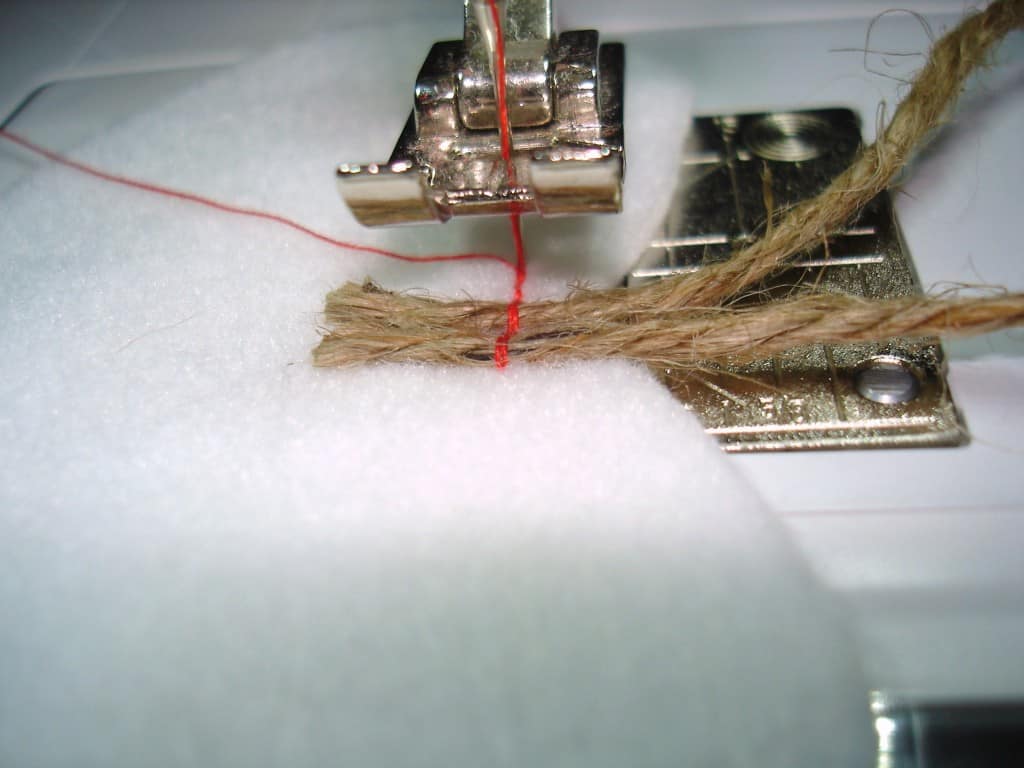
Step 3: Now you should have your words sewn into half of your hearts. Take the other half of your hearts, fold a length of jute twine in half, and sew it onto the inside of the heart.
Step 4: Take two of your felt hearts (one with a word on it, and one with the twine sew in), and start to sew a running stitch, leaving a gap for stuffing. Never done any embroidery or hand sewing before? Not a problem, there are many, many tutorials out there. Basically, you just pass the needle in and out of the fabric, making the surface stitches of equal length. For your first stitch, make sure to come up in between the two pieces of felt to hide the knot.
After stitching most of the way around the heart, stuff your heart, and stitch it closed, tying your knot on the backside of your heart.
What sweet ornaments! I really enjoy your blog and it's so kind of you to host a giveaway!
These are adorable. Thanks!
I already like your FB page. Thanks!
I'm a follower, and I like your facebook page 🙂 Cute ornaments!
I subscribe by email 🙂
Silverize at hotmail
I shared this giveaway on my blog
favepaintings.blogspot.com/2011/12/holiday-giveaway-1219-burlap.html
I subscribe to your blog via email.
I am a fan of your Facebook page.
These heart ornaments are precious! I am an email subscriber.
Email subscriber. Would love to win these, thank you for the chance.
These are adorable!!
This are to die for!! I love collecting and obtaining ornaments and am going to do this project today, I'm so excited!! I'm making one for everyone on my Christmas list. Thanks for this adorable post and everything you do! (I have bookmarked your how-to letter like a pro..can't wait to try that out also!)
Thanks for the opportunity to win this give-away, crossing my fingers!
I already follow you on Facebook 🙂
Jessica Rush
Can't wait to try these out! Everyone go check out her site, it's adorable! burlap+blue
https://burlapandblue.com/2011/12/12/typography-heart-ornaments-tutorial-and-giveaway/#comment-4994
Like · · 19 seconds ago
I follow your blog via GFC
I like your fb page..These ornaments are so cute!
Adorable ornaments! I'm a follower!
These are adorable! I'm going to make a batch! Thanks for the idea! I just subscribed!